*** IMPORTANT - I'm retiring my digital files - SVG/PNG/DXF/EPS - and printables from 31st December 2025 ***
*** Please ensure that you have everything you need - files and/or instructions printed off from the website (find them currently in the ARCHIVES section) - by 31st December 2025 as they will not be available after this date ***

Celestial Sun and Moon SVG
Shadow Box Template
- Home
- SVG files
- Shadow Box SVGs
- Sun & Moon Shadow Box
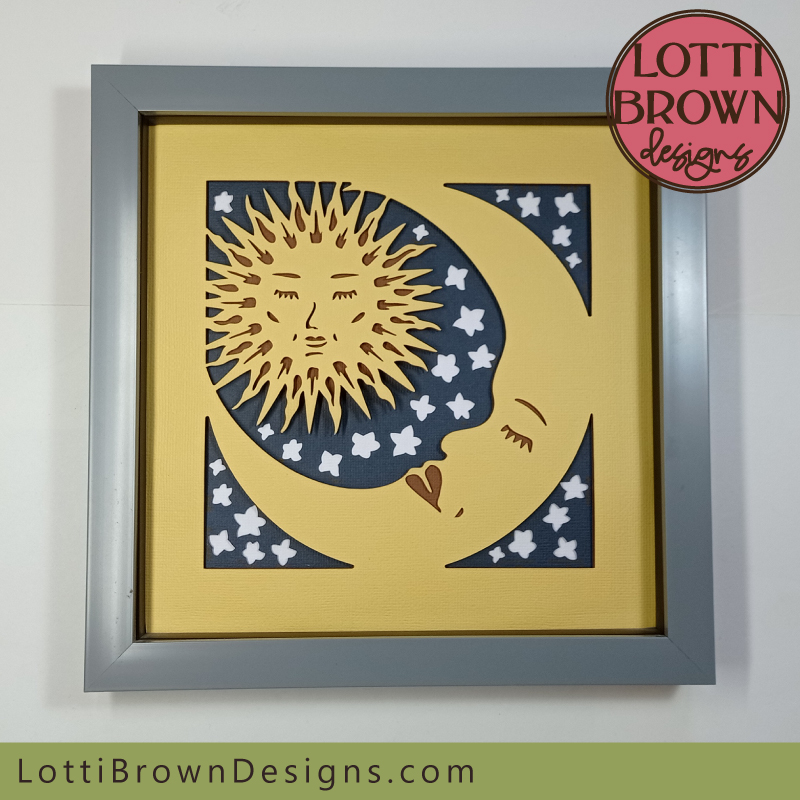
Celestial sun and moon SVG file to make a beautiful shadow box perfect for a mystical style or it would even look fantastic on a nursery wall with its peaceful vibe...
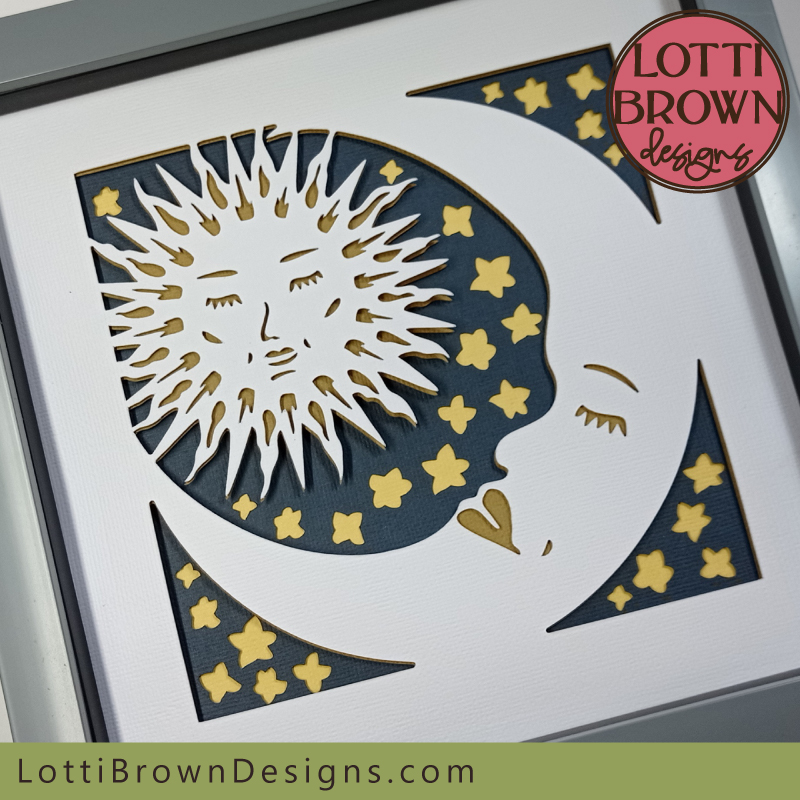 Sun, moon and stars celestial shadow box template
Get the celestial shadow box template from my store here...
Celestial shadow box digital template with sun, moon and stars design
Ideal for Cricut and similar cutting machines or hand-cut papercutting projects
SVG, DXF, EPS and PNG file formats
For personal use & small-business commercial use
For physical/craft products only - no digital products, use, or sharing
Celestial Sun and Moon SVG Template for Shadow Box
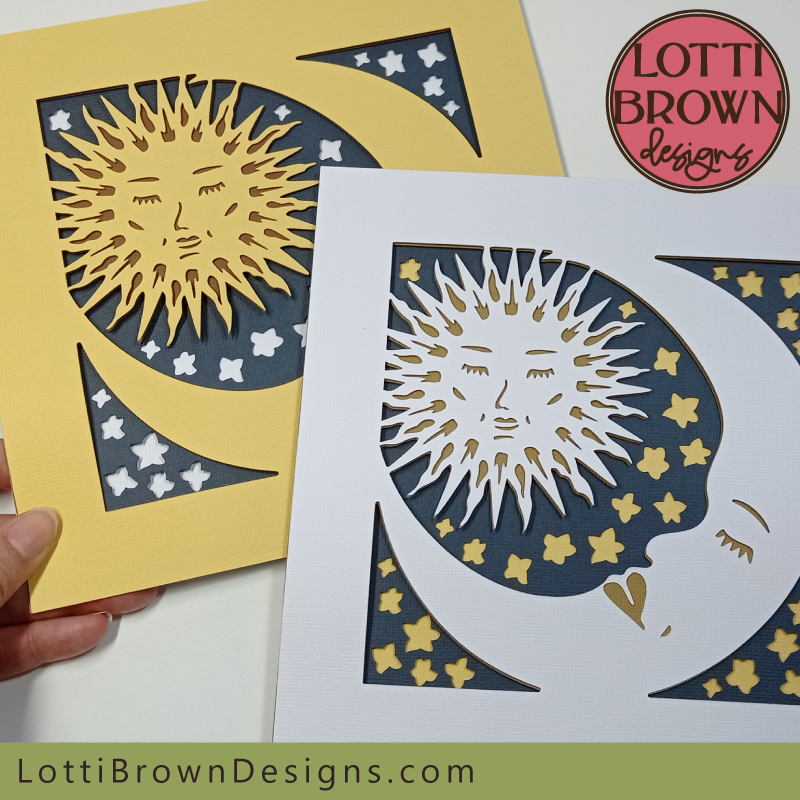 Paper cut celestial sun, moon and stars shadow box craft project with template and instructions
After making my recent celestial sun-face card template (here) I decided to use my sun and moon SVGs to create a celestial shadow box template for you. It was a spur of the moment, thing, but I ended up loving this far more than I even expected to!
Here I show you how to make it. Don't worry, it's super easy with just four layers so it's also really quick to make and would make an amazing gift that could suit almost any occasion.
About the celestial sun and moon icons
The sun and moon icons with the face as we see here date from the medieval period in Western culture and became popular during the Renaissance era as people become more interested in the sky and its celestial bodies. Celestial just means 'of the sky'. The sun with a face was also used by the Ancient Greeks and Romans, Ancient Egyptians, and Aztec culture as well as indigenous American peoples.
The meaning of the symbols are to do with duality (like the black and white of the yin and yang). The sun is often seen to represent the masculine, life, vitality, passion, strength, heat, joy, while the moon symbolizes the feminine, peace, night, gentleness, coolness - the other side of life - we need both for our lives to keep turning.
The moon and sun symbols also represent the passing of time - demonstrated by the journey of the celestial bodies (sun, moon & stars) across the night sky.
So the image of the moon embracing the sun is about our lives - the dark together the light, the passion, joy, gentleness, peacefulness, both masculine and feminine, and the turn of the seasons and the passing of time.
How to Make the Celestial Shadow Box
What you'll need:
- Cardstock - in four different colours. I discuss colour options just below. I've used Sizzix 'Surfacez' cardstock throughout and cut with the 'Cardstock for intricate cuts' setting in Cricut Design Space. If you need tips for choosing and using cardstock with a Cricut, you can find those here...
- Double-sided sticky pads - these stick the layers together and have a little bit of foam to separate the layers a little to give a better shadow effect.
- Frame - a box frame that's a little deeper will give you the best results for your shadow box. I've used a frame that's around 8 x 8 inches (20 x 20cm)
- A way to cut your card layers - I'm using my Cricut Maker cutting machine. You will be also able to use the template with other cutting machines or if you want to cut by hand.
- The celestial sun, moon & stars shadow box template - available from my store here
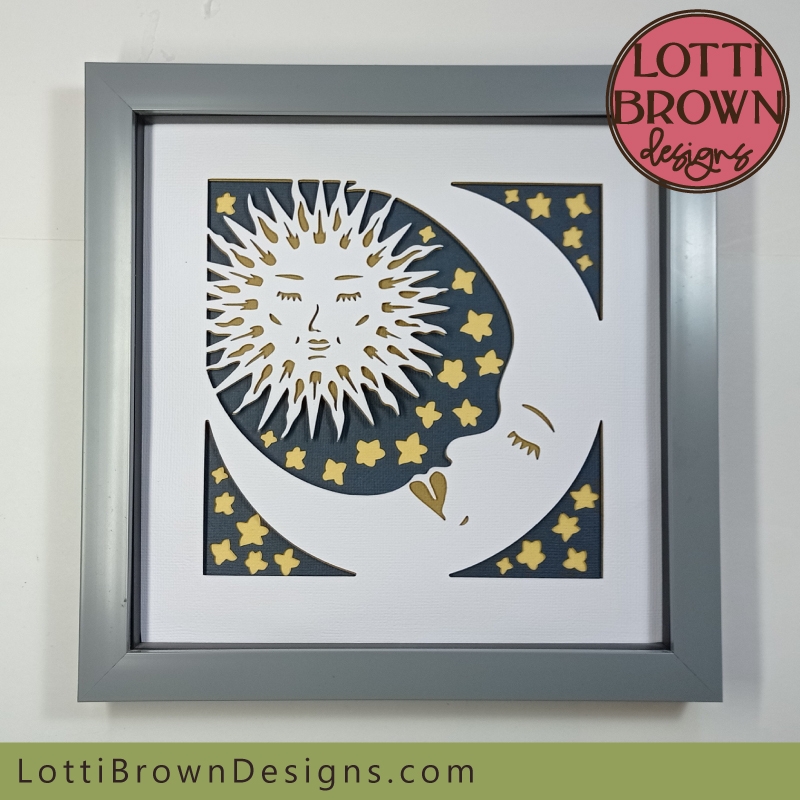 Celestial shadow box project idea and template
Choosing Colours
The colours in my shadow box template are the white version (above) but I also made an alternative version to inspire you to get creative and give you an alternative vision for your project. I can't actually decide which one I like best, can you..?
You're free to choose whichever colours you like for your project, of course, but here are some tips that I discovered when I was selecting colours...
I used the very dark grey Sizzix cardstock for the background of each as it's got a lovely blue tone to the grey which I think works really well for the night sky - a dark blue, rich royal blue or night-black could also work well.
I think the top layer with the moon and sun needs to be a fairly pale colour, either white, cream or yellow - you could also possibly go pink, peach, or pale blue or green.
It's actually the next layer that you need to take the most care with - the one that shows through as the detail for the moon and sun faces. This layer needs to have enough contrast so that the designs shows through well - this is easy if you're using white for the top layer, but if you're opting for a brighter yellow as the top layer, choose something fairly dark - I've gone for a brown, as you can see below...
The very bottom layer is actually the layer for the stars so it's likely you'll want these kind of star-coloured - I suggest a white, cream, or yellow colour. I think it's nice to have these a slightly different colour than the moon and sun so that they're decidedly part of the background of the design rather than competing with the main elements (the sun and moon).
I hope that gives you some ideas. If you've chosen your colours, we can get started with the project below...
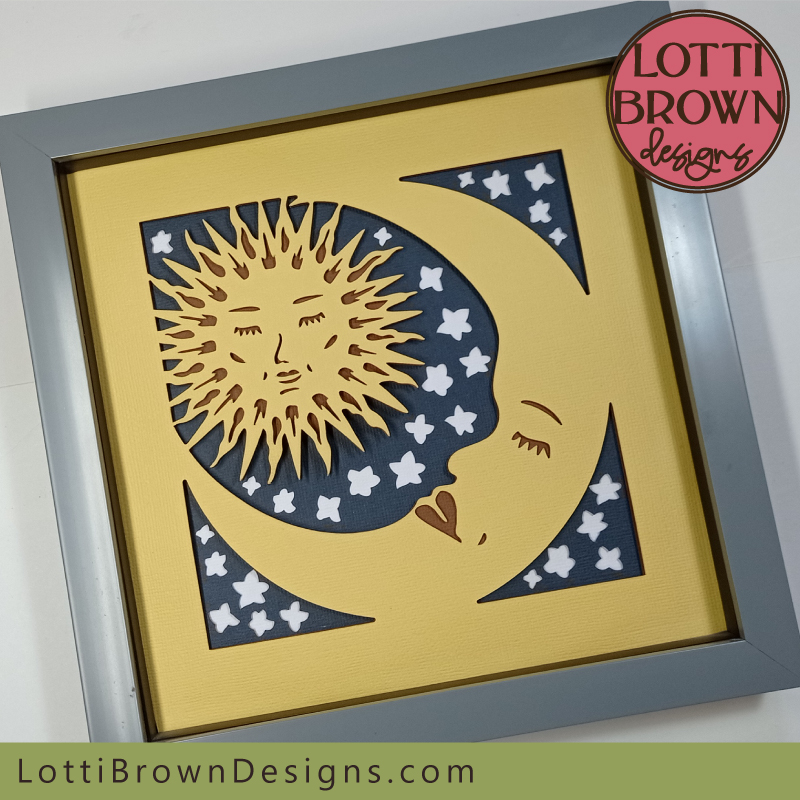 Sun, moon, and stars shadow box wall art
Craft Tutorial for The Celestial Shadow Box
You can print these instructions to help you if you wish - the print button is just below and you can also find print buttons on the top right on the webpage and towards the bottom of the page, below the instructions.
First resize the design to fit your chosen frame - I created the celestial sun and moon SVG template to fit my 20 x 20cm (8 x 8 inch) shadow box frame.
Please measure your own frame before you start and if necessary resize the template using your chosen cutting machine program so that it fits nicely inside your own frame.P
If you need help with accessing, downloading or opening your file, you can find that here... I also have some basic help for using your Cricut here!
When you've got all four layers cut and ready to go, we can get started - see the image just below...
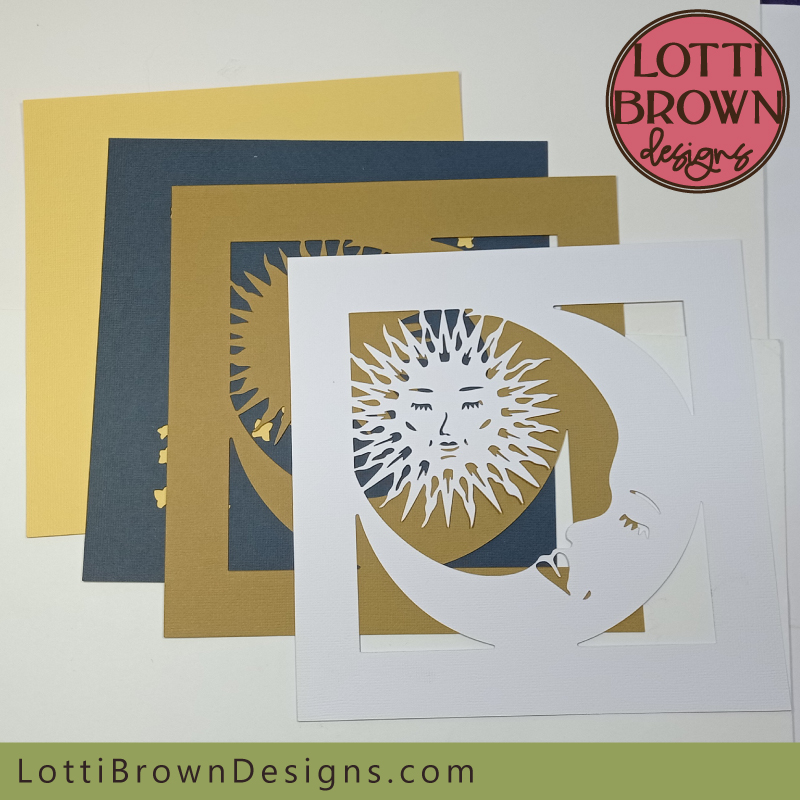 Cut layers ready to assemble
- For shadow boxes, I nearly always start at the bottom/back of the layers. So for this project, it's the plain square for the bottom/back layer - and the cut-stars layer will go on top.
- Add double-sided sticky tabs to the BACK of the cut-stars layer. You'll likely need around 2 to 4 tabs per edge - you can double them up to make them higher if you want more separation between each layer. Try and go around close to the edge like you can see in my photo below. This is because it works better if we try and get the tabs positioned in roughly the same place on each layer to avoid sagging. So make a mental note as you're positioning your sticky tabs as we'll try and get them in a similar place for the next layer too. See mine in the image below...
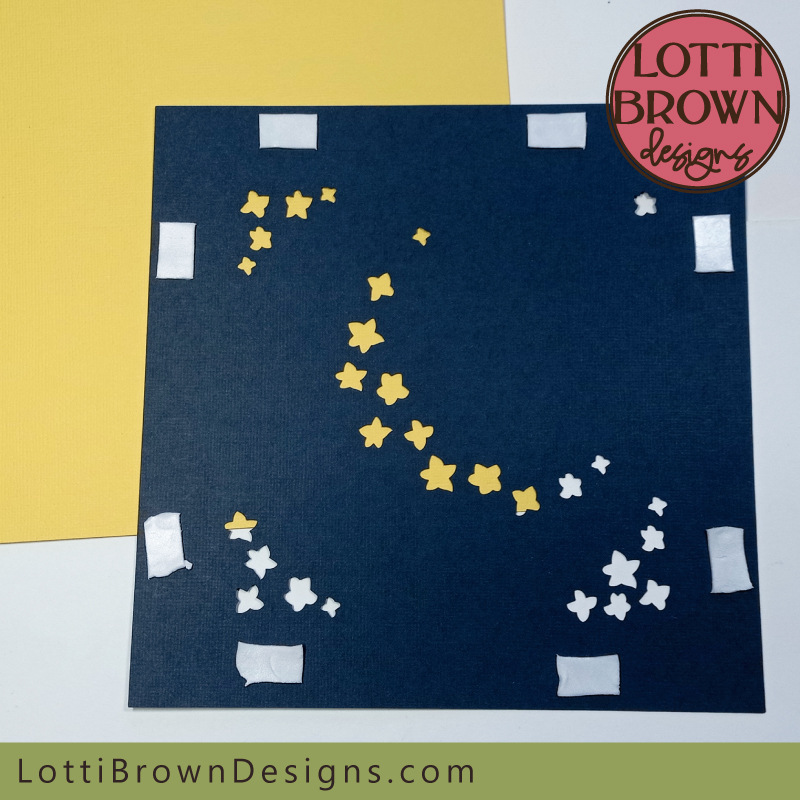 Add double-sided sticky tabs to the BACK of the cut-stars layer
- Next, carefully turn over the cut-stars layer, line up the top edge with the top edge of the plain square below, and use this to align both pieces together, and carefully lower the top piece down and stick in place - see my photo below...
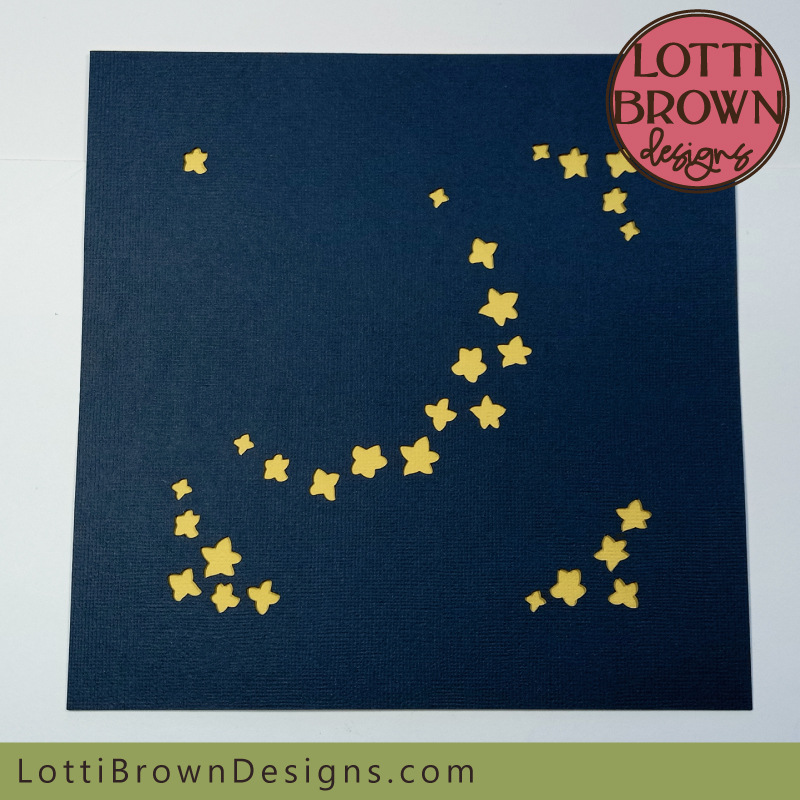 Stick the cut-stars layer in place
- Then we repeat the process adding the double-sided sticky tabs to the BACK of the next layer, trying to get them in similar spots around the edge - just like mine in the photo below...
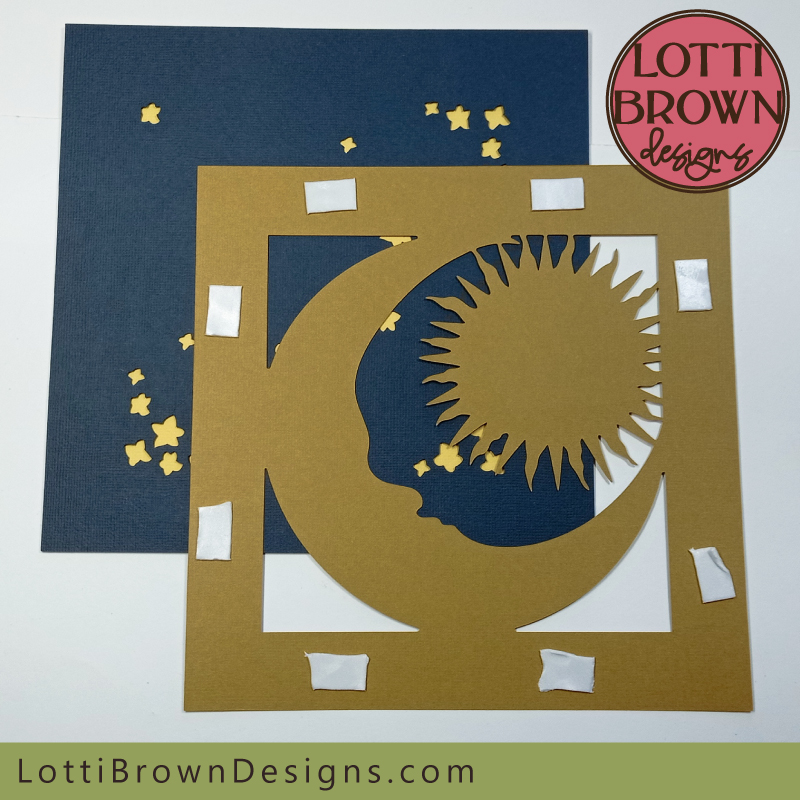 Adding double-sided sticky tabs to the REVERSE of the next layer
- Next, align the two top edges again, and carefully lower this layer in place so that it looks like mine in the photo below. It's quickly taking shape!
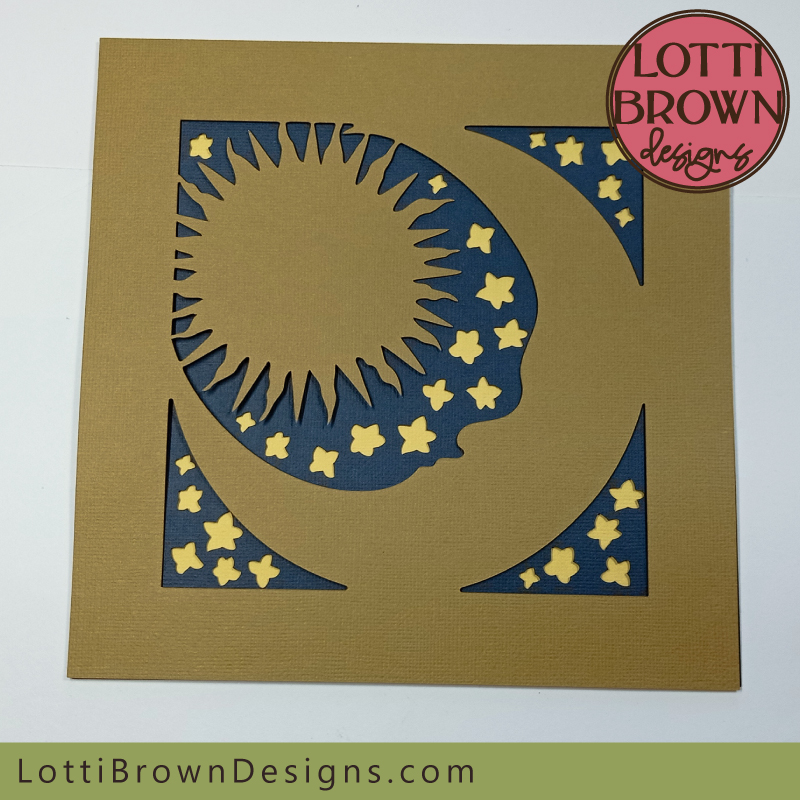 Align the top edges carefully then lower the layer and stick in place
- Now, we just need to add those double-sided sticky tabs to the BACK of the final layer, trying once again to get them in a similar position to the other layers, as much as possible. See mine in the photo below...
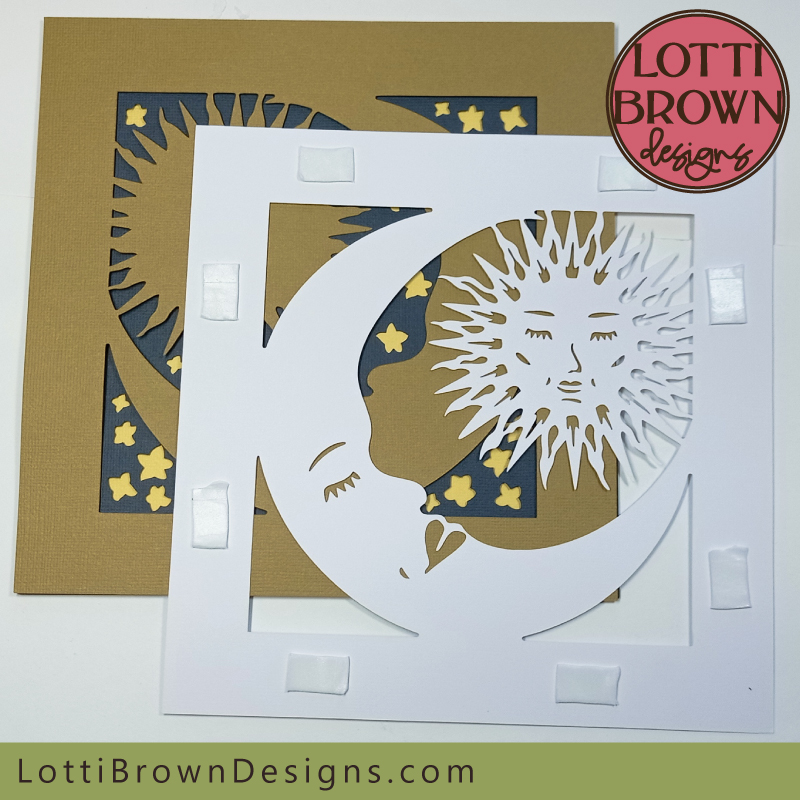 Add double-sided sticky tabs to the BACK of the final layer
- Next, the final step - simply turn over the final layer, line up the top edge with the layers below and gently lower the top layer into place and stick down. It should now look something like mine in the photo below...
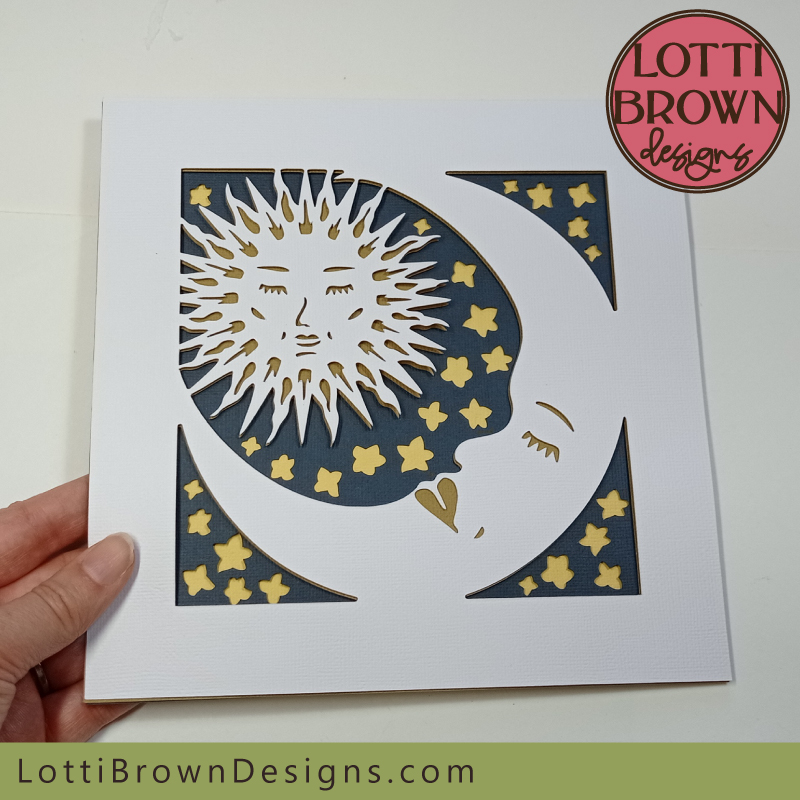 The final layer of the sun, moon & stars shadow box project is in place!
Now, the only thing left to do is to put your celestial sun and moon shadow box project nicely into its frame. See mine in the photo below...
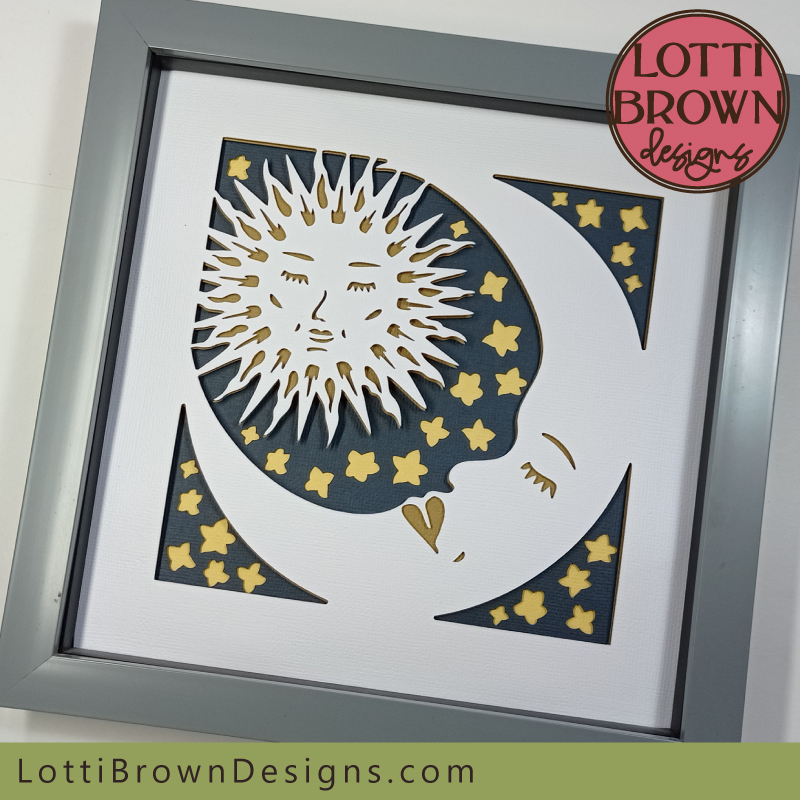 Frame your celestial shadow box project to set it off nicely
And here's what the alternative version I made looks like (below)...
Buy the Celestial Shadow Box Template
If you like this project, you can get my celestial sun and moon SVG, DXF, EPS and PNG shadow box template from my store at the link just below...
 Sun, moon and stars celestial shadow box template
Get the sun & moon shadow box template from my store here...
Digital download for Cricut and similar cutting machines or to paper cut by hand
SVG, DXF, EPS & PNG file formats all included
For personal crafting and small business commercial use (up to 200 products)
For physical (craft) products only - no digital products, use, or sharing
If you enjoy making shadow boxes, take a look at more of my shadow box designs on this page...
You Might Also Like:
Lotti Brown's Designs & Templates
How-tos...
- How to use SVG cut files for Cricut (also other cut file formats & machines)
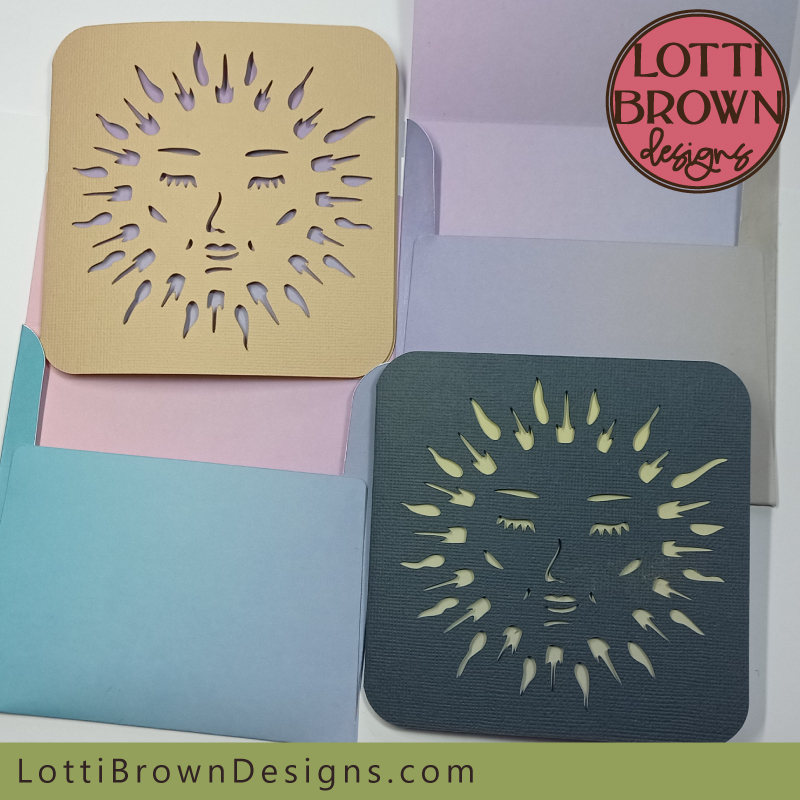
Why not also make my sun-face card template? Fantastic to accompany the shadow box if you're making it as a gift - take a look here...
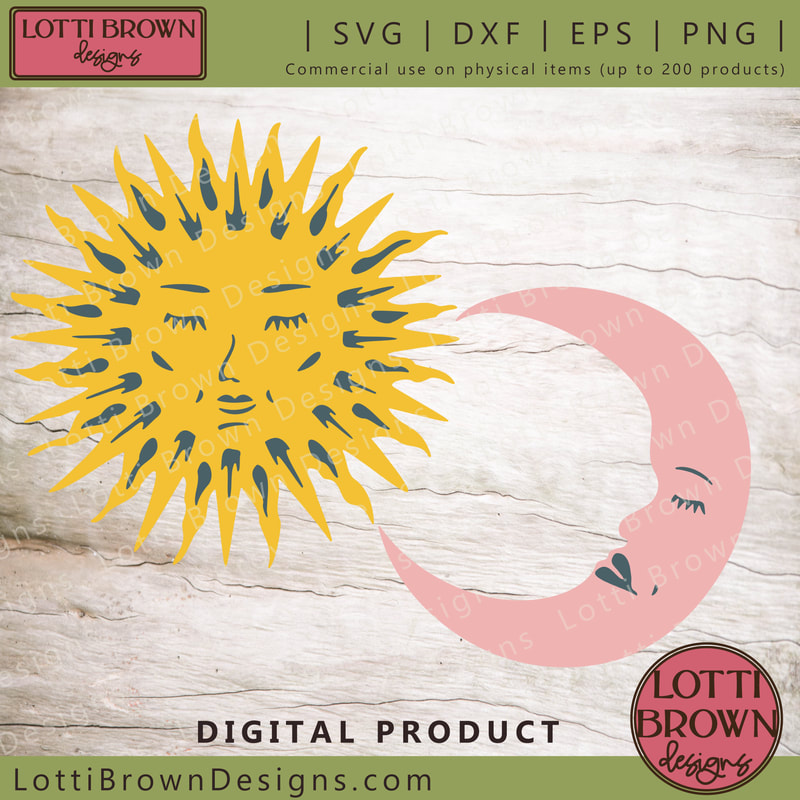
I also have the individual celestial sun and moon SVG files (as a bundle of 2) if you want to make more projects with these symbols. You can see them here...
Love Art..?
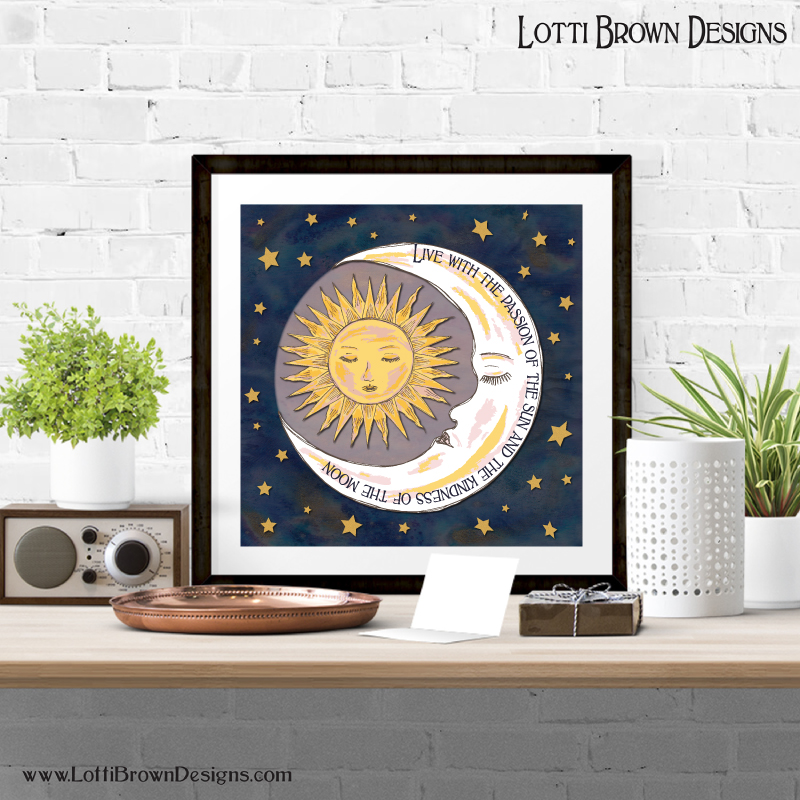
You might also like my Sun, Moon and Stars illustration (which was actually the basis of this sun and moon design on this page) with my own affirmation 'Live with the Passion of the Sun and the Kindness of the Moon'...
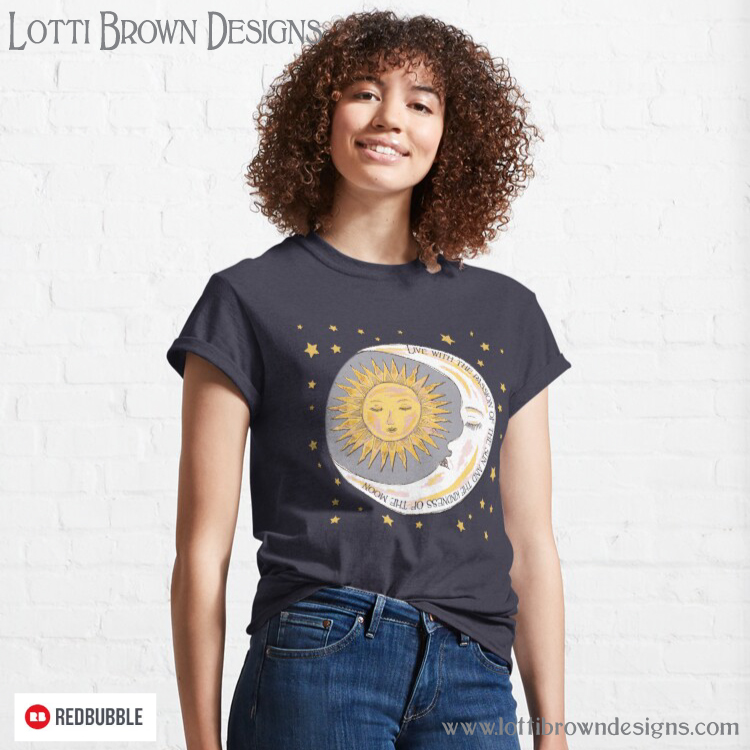
You can buy this as an art print and also as other printed products including T-shirts (and lots more) - see below...
You can see my Sun & Moon artwork plus more Medieval and Celtic inspired art and illustration on this page...
Shall we stay in touch..?
Each month, I share stories from my own nature journal, new art from my studio, and simple seasonal inspiration to help you feel more connected with the turning year...
Recent Articles
-
British Nature Folklore Library: Stories, Seasons & Celtic Tree Wisdom
Dec 01, 25 05:09 AM
Explore British nature folklore, Celtic tree meanings, and seasonal wildlife stories. A growing library of myth, meaning, and hand-drawn inspiration. -
Beautiful Art Inspired by Nature
Dec 01, 25 05:04 AM
Beautiful folksy art inspired by nature from the fields and hedgerows of Yorkshire - colourful birds and wildlife with a nostalgic floral touch... -
Birds and Folklore in Britain: A November Nature Journal
Nov 26, 25 04:32 AM
November birds and berries - fieldfares, redwings, lapwings and snow geese with folklore, meaning and nature journal inspiration.
Follow me:
Share this page:

