SPRING 2025 - I've just completed a WEBSITE REVAMP! Everything is still here but may be in a slightly different place where than you left it and there's also lots of new sections, so if you're having trouble finding something in particular or you spot something that's not working as it should, please do get in touch and I'll do my best to help!

Make Christmas Decorations with your Cricut
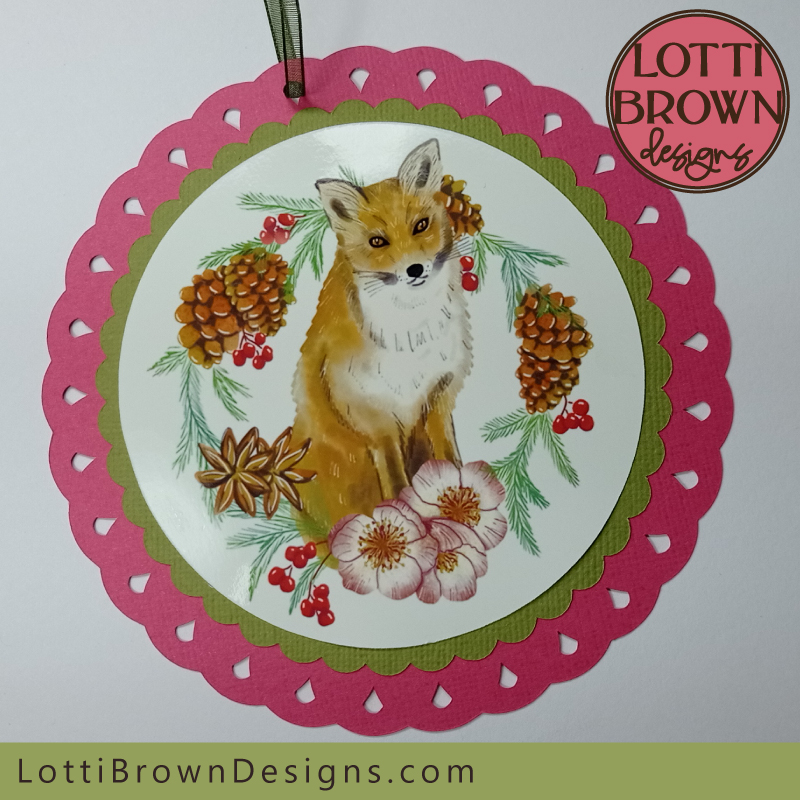
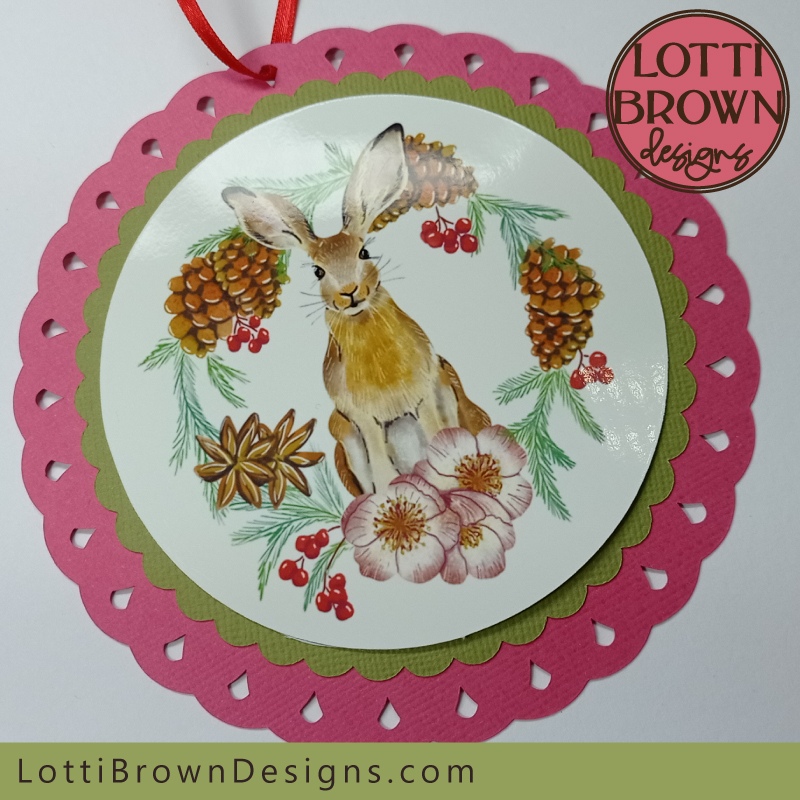
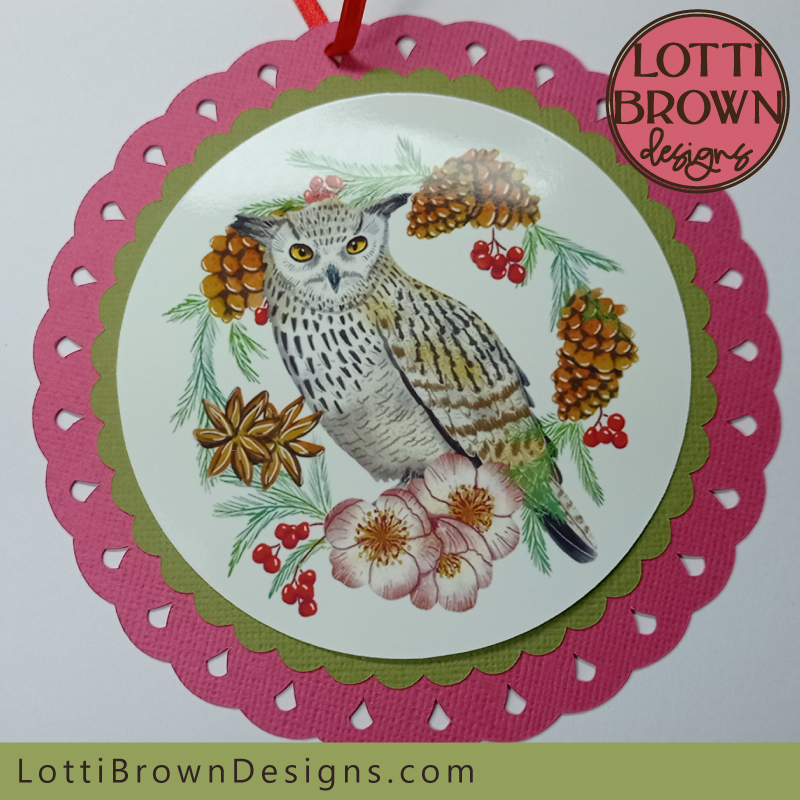
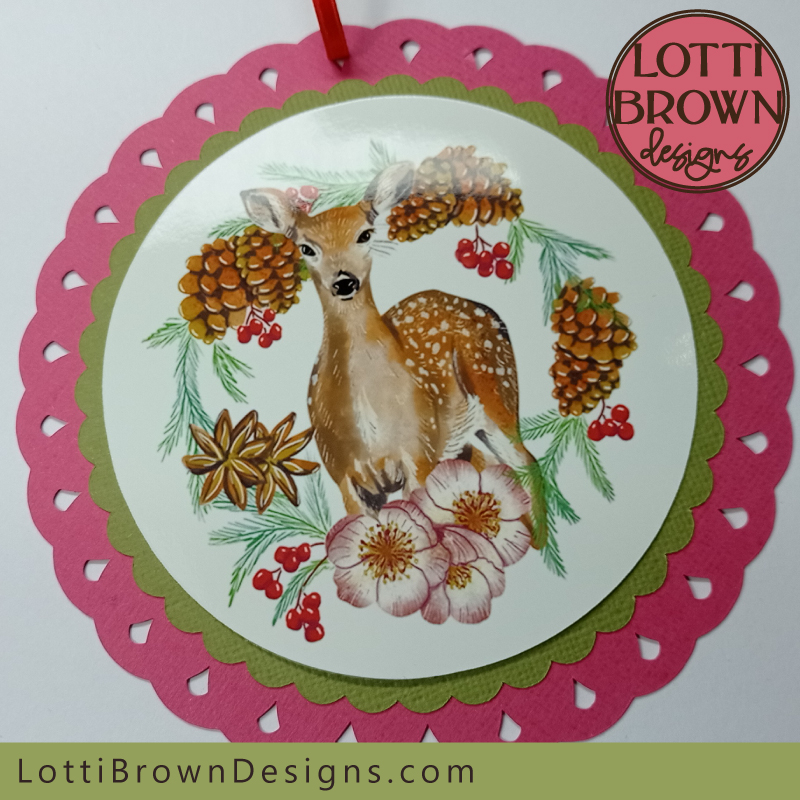
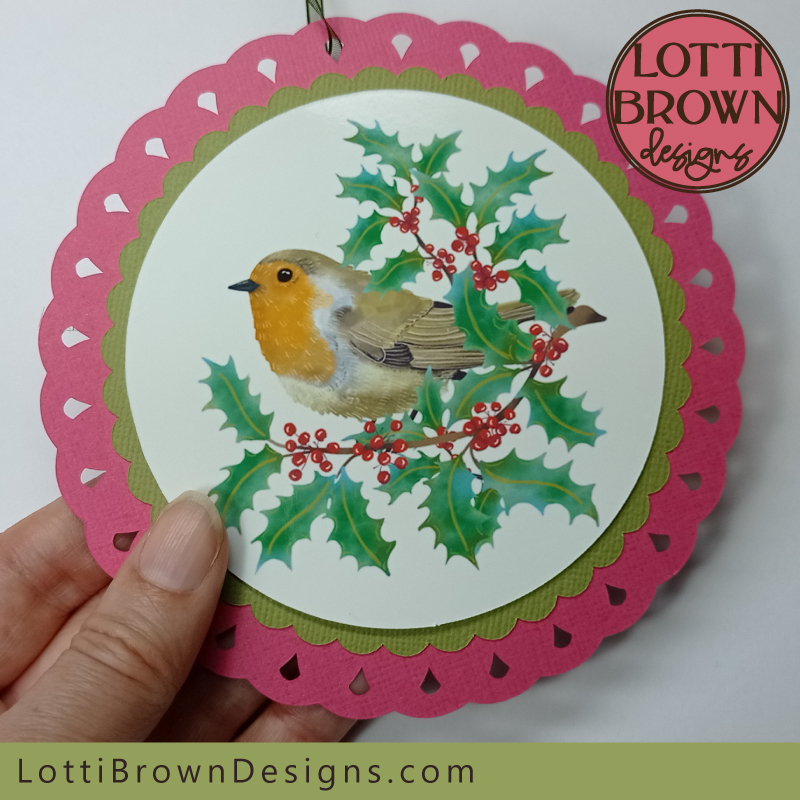
Make Christmas decorations with your Cricut - beautiful Christmas ornaments for your tree...
I show you how to make these lovely handmade papercraft Christmas decorations - but you can use other materials, if your cutting machine will cut light woods or felt.
I use the print then cut feature on Cricut (using my home printer) to make the central design - if your cutting machine has a print and cut feature you can use this, or just use your home printer and trim by hand, or print onto a material like a waterslide decal paper to apply to suitable materials.
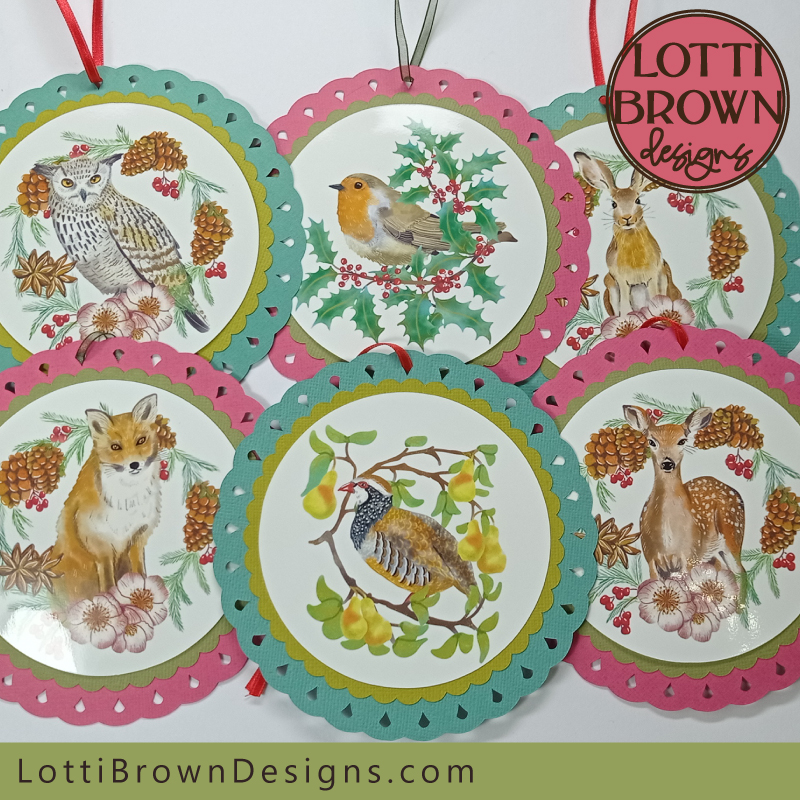 Make these pretty papercraft Christmas decorations with your Cricut and your home printer - or other cutting machines - you can also use other materials compatible with your cutting machine or use the template to cut by hand
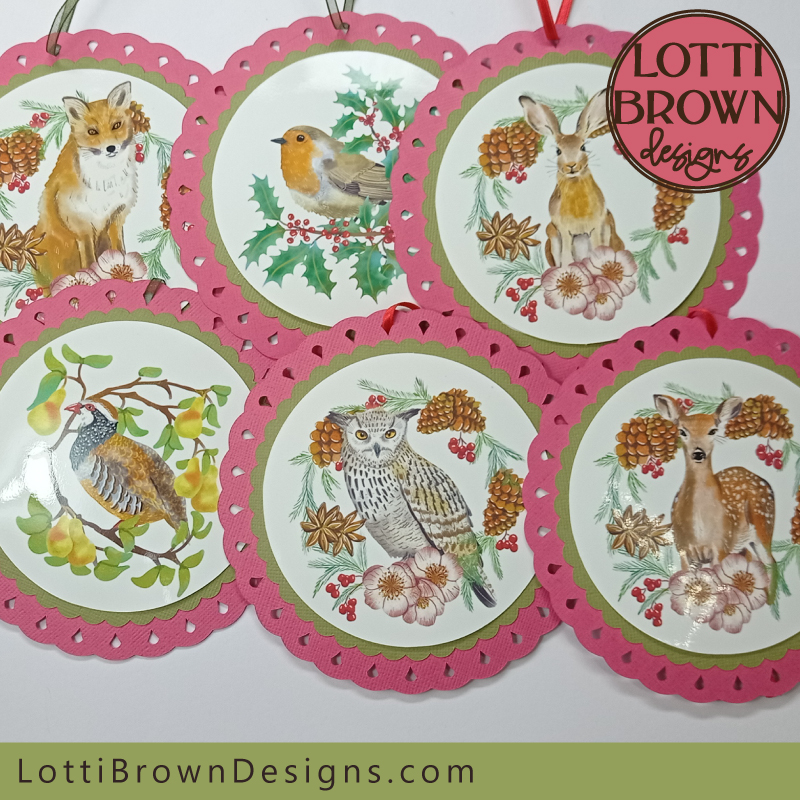
There are six different Christmas ornament designs to choose from - available individually or as a set of all six. On this page I'll show you how to make these Christmas decorations with your Cricut. I'll be making them in paper (cardstock) but if you have other materials and ideas that are suitable for your own cutting machine or other equipment, feel free to use those.
If you want to take a closer look at the individual designs, to choose which one(s) you like best, I have a page with more info and lots of photos of each ornament so you can take a better look - all here...
How to Make Christmas Decorations with your Cricut
If you want to print out these instructions for making Christmas decorations with your Cricut, you can use the 'print' button below, which allows you to print only the parts of the page you need and leave out anything you don't need. You can also find a print button on the top right of the page and at the very bottom of the content on the page.
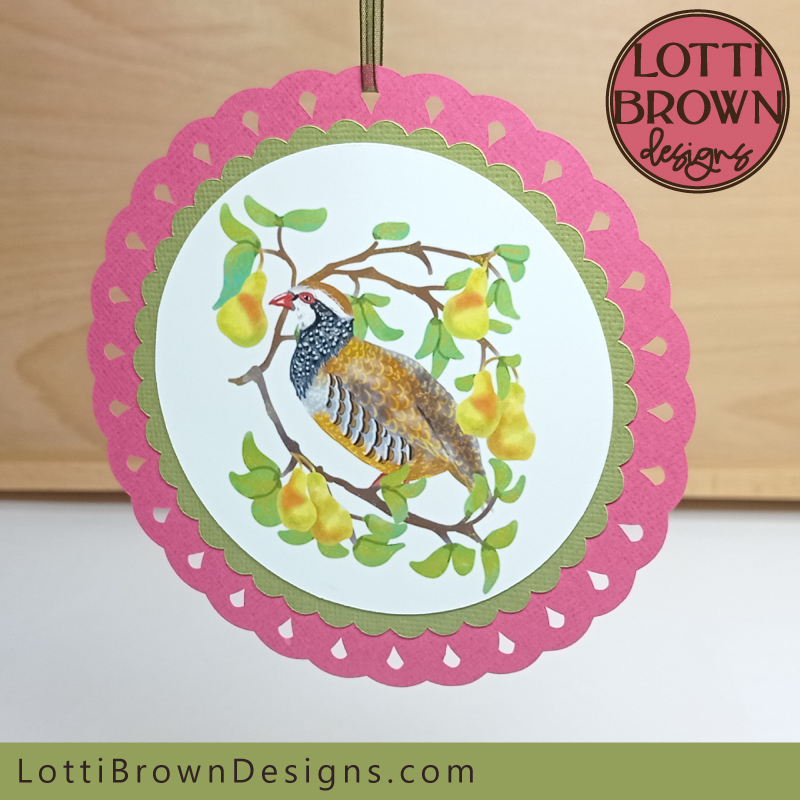 Papercraft Christmas ornament tutorial for Cricut
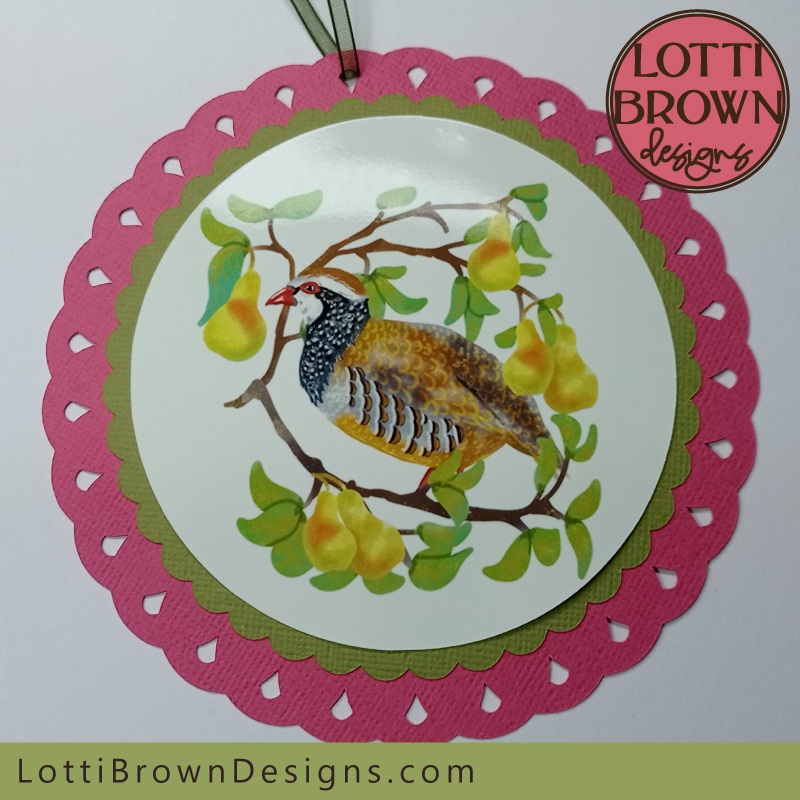
I'm going to be making the partridge Christmas decoration (here) for the tutorial but the decoration templates all use the same process and basic template, it's just the designs that are different.
The template makes a double-sided Christmas decoration, with the same design each side - click on the video below to play the video and see the ornament...

You will need:
For the project you will need:
- The Christmas decoration template - I'm using this partridge one - you can see my full range of designs on this page to pick your favourite
- Cardstock in two colours (one A4 or Letter-sized sheet of each) - I'm using Sizzix 'Surfacez' textured cardstock from the festive colours pack
- Cardstock or paper to print onto - I'm using glossy photo paper here. I've also used a watercolour cardstock for printers (Belle Vous) which gives a very nostalgic look. For more ideas about which cardstock to use for printing, I have a page where I did some tests here...
- A ribbon or string to hang your finished ornament - I'm using a 3mm fabric ribbon
- A way to cut the template - I'm using a Cricut Maker - you can also use another type of cutting machine or use the PNG file to cut the ornament by hand with a craft knife
- A way to print the template - you will need a home printer to print the design for the decoration - you can use your home printer for using the 'print then cut' feature in Cricut and then have your Cricut cut the design out, or you can just use your home printer to print the design and cut by hand. Many other cutting machines also have a similar print and cut feature
- Glue - to stick together the parts - I'm using a 'Pritt' glue stick - any paper glue should work well
What you need to know before you start
- The template comes in two parts - there's the cut file for the main decoration design (one large circle and two small ones) that comes in SVG, DXF, EPS and PNG formats ready to cut - and also a printable design (PNG format) to print out. We'll then glue it all together to make the finished ornament.
- If you haven't tried print and cut with your cutting machine before, it's not as difficult as you might fear. To get the best results, it's important, though, to calibrate your machine before you start cutting or if you think it's not cutting in proper alignment...
- Cricut made a major update to the print and cut function (I think in 2022), so if you haven't used print and cut since then, or have never used print and cut on your machine, when you first use the function it will prompt you to do a test cut and calibrate your machine. I highly recommend you do this - it just involves printing out a page and letting the Cricut cut it and then noting which of the numbered and/or lettered options cut correctly along the line. The Cricut will prompt you through every step to make sure everything is cutting in the right place. So please look out for this and if you get the prompt, do follow their instructions before cutting the design, to make sure you get a good quality cut.
- If at any time you think things aren't cutting as accurately as they could be, you can initiate the calibration process again. To do this, go to your profile (your name) in the top right corner of Cricut Design Space to find 'Settings'. Then go to the 'Machines' tab and select your machine under 'Machine Calibration', select 'Start' and choose 'Print then Cut' when prompted and just follow along with the instructions.
- If you continue to have problems with calibration even after you've calibrated your machine, try switching off any bright lights around your Cricut - apparently this can interfere with what the sensors can pick up. If that doesn't work, please contact Cricut for further help.
- We need to use our home printers to print out the design. These days, most home printers can make a very good job of printing out artwork, but please be aware that it will likely not be to a professional print standard and colours may vary to that seen on your monitor due to variations in monitor and printer settings.
- To get the best quality prints from your home printer, you can also make sure you use a quality paper or cardstock. I use a glossy photo paper to print all of these decorations (HP). I've also made some with a textured watercolour cardstock (Belle Vous) which look really pretty and nostalgic, too. More about my cardstock and printer tests to help you choose a cardstock or paper, here...
- If you're using a glossy photo paper, check that your white rollers aren't marking the paper as it goes through the machine. I didn't need to move mine, but if you find yours are making marks on your photo paper, just gently slide the white cogged rollers out of the way.
- If you need the measurements for any of the Christmas decoration elements, you can find all them here...
- Please note that the print then cut design element is intended to be sized to cut to fit this project (3.74 inches or 9.5 cm diameter/width) - if you resize it larger, you may find the print quality goes down
- I have included a choice of both circles together to print or a single circle on its own, which you will need to print twice. These are sized to print with each circle at 9.5cm diameter/width (3.74 inches) at 300ppi/dpi. If you're using Cricut Design Space these will need to be resized to the correct size before printing and cutting (the instructions to do this are below) due to an anomaly with the way Cricut displays elements on its screen...
- Double circle correct size: 9.5 x 19.52 cm or 3.74 x 7.69 inches
- Single circle correct size: 9.5 x 9.5 cm or 3.74 x 3.74 inches - I'll share all these measurements again as part of the instructions, too
- If you're using the double circle option, Cricut may come up with a quality warning even once resized. I believe this is a glitch in the way Cricut is counting pixels and it's perhaps not seeing pixels in the transparent areas of the file, as the circles are of exactly the same size and quality as the single circle. I have printed both the double circle and single circle off through Cricut Design Space and see no difference in print quality. I think you can safely use the double circle option for your project but if you have any concerns, please use the single circle and print it off twice (remember to resize).
Let's get started making Christmas decorations with Cricut...
If you need any help with downloading or opening the files, take a look at this FAQ page to help...
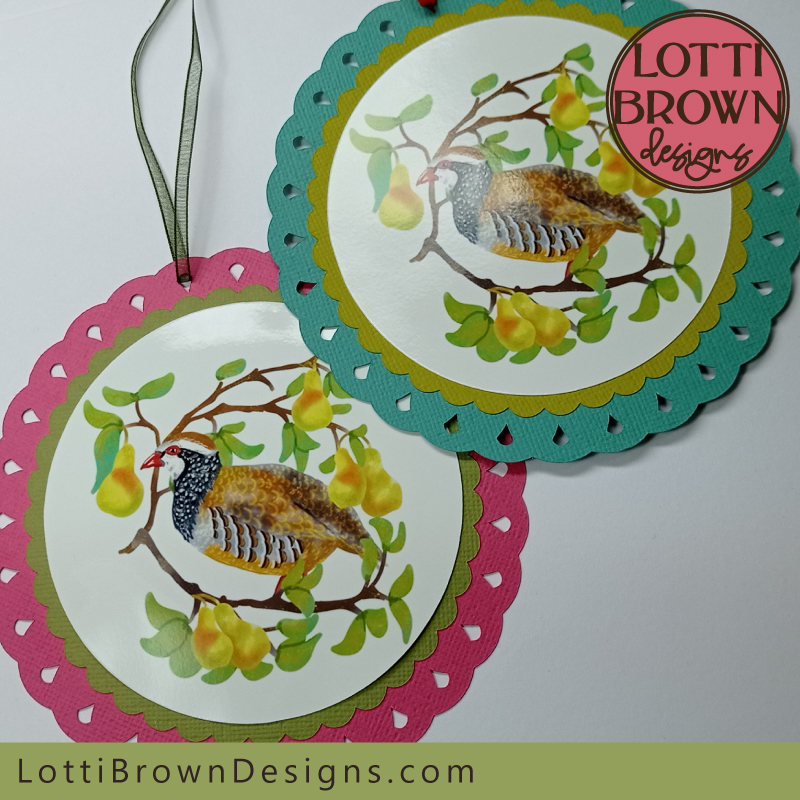 Papercraft Christmas ornaments for Cricut
Let's start with the print then cut part of the project - this involves setting up the Cricut to print out the design on the home printer. When it's printed out, you'll load it into the Cricut which will scan your print and cut it out for you.
If you don't have a cutting machine with a print and cut feature, you can simply print the image on your home printer and trim it by hand with a craft knife or scissors.
To get started with the print and cut in Cricut Design Space:
(If you would like this little part of the instructions (below) with additional explanatory images, take a look at my page showing how to use print and cut for my card templates - the artwork is different but the process is the same - don't forget to come back here to make the ornament and not continue with the card template, though!)
- Click Upload (lower left-hand side) and 'Upload Image' then click 'Browse' to find your print and cut file in your computer's folders - I recommend using the 'both circles' version to print and cut both together. If you want to print a single circle for any reason, I've also provided that as an option - if you want to use that for this project, you will need to print it out twice.
- Select 'Complex' as image type, then press 'Continue' (bottom right, green button)
- On the next page, ignore the part about Background Removal and just go straight to press 'Apply & Continue' (bottom right, green button)
- On the following page to 'Select Image Type' you can choose between Cut Image on the left and Print & Cut Image on the right, click on the image on the right (Print & Cut Image) so that the border around it turns green, then press 'Upload' (green button, bottom right)
- Then just click on your image in the list (it should be the first image on the left hand side) so that the border around it turns green - and then press 'Add to Canvas' (green button, bottom right)
- Your image should now appear on your Cricut Design Space screen - unfortunately, the image will appear in Cricut Design Space larger than it should be. This is because Cricut Design Space is (weirdly) set to a resolution of 144ppi/dpi so it resizes any PNG/JPG image to fit this resolution. However, if you use an image that automatically imports at the correct size in Cricut Design Space, it will give you a print quality warning. So we want a high quality print for our project - so we'll need to resize it manually to the correct size...
- To resize the image, first check that the little padlock in the sizing section (in the centre of the top tool bar, markes 'Size') is showing locked (padlock closed) - this keeps the ratio of the image locked as you resize. If it's open, click it once to lock it...
- Next, check if your Design Space is set up in metric or imperial measurements - an easy way to find this out is to check the size that it tells you at the bottom of the image. Remember to use the correct measurement as you resize.
- Now, we just need to manually type in the correct size into the first W box. The correct size is 9.5 x 19.52 cm (3.74 x 7.69 inches) for the double circle - if you're using the single circle it's 9.5 cm x 9.5 cm (or 3.74 inches x 3.74 inches). Please note that if you decide to resize to a larger size than this recommended size, the quality of the print may decrease.
- Then click once into the second, 'H', box and the image will set to the correct size with the correct measurements also showing in the W and H boxes. If it's a tiny portion of a cm or inch out on one of the measurements, don't worry - it does happen like this sometimes and it doesn't need to be a precise fit for this project.
- Also, please don't worry if the double circle comes up with a quality warning even after you've resized it correctly - as long as it's resized to the recommended size it will print fine (it seems to be some sort of a glitch in the Cricut programme) - and if you're at all concerned, please use the single circle and print it twice instead.
- Now all you need to do is press 'Make It' (green button, top right)...
- The screen will change to show you the mats along the left hand side. Your mat should show 'Print and Cut' next to it...
- Below this, use the drop-down menu to make sure your paper size ('Material Size') is correct
- Then press 'Continue' (green button, bottom right)
- On the next screen, double-check your paper size is correct before clicking on the green button 'Send to Printer'
- On the following pop-up screen, you can again check the paper size and select your printer from the drop down menu. For this project, it's best to turn off 'Add Bleed' (click the little button so it turns from green to white) - you should click to turn on 'Use System Dialog' (so the little button turns from white to green). You can then continue by clicking 'Print' (green button, bottom right)
- Your computer's printer dialog box will now pop-up. This might differ slightly depending on your own computer and home printer, but you will need to go to 'Preferences' (or Settings) - then, under the Paper/Quality tab make sure that you add the correct paper type that you're using (in this case, I'd select glossy photo paper), you should also opt for Best or High Quality printing, and make sure it's set for Colour. Press Okay to apply your changes
- When you're ready, just press 'Print' (in the main printer dialog box) and your printer will print out your image
- When you collect your print, you'll see it has big thick black lines around the corners - don't worry about this. The next stage is to stick the printed page down in the top left corner of a Cricut mat (I use the green ones) making sure it's facing the right way up, so it looks like the image you can see on screen
- Back to the screen, you'll see you can select your material type, like normal. I'm using 'Photo Paper' for this project
- Then load the mat and press go - your cutting machine will spend some time scanning the page - then will cut around each of the circles for you
- When it's done, you can unload the mat and carefully turn the mat upside down to gently peel the mat away from the paper and remove your two cut circle images
If you are struggling with any part of this and would like to see this little part of the instructions with explanatory images, take a look at my page showing how to use print and cut for my card templates - the artwork is different but the process is the same - don't forget to come back here to make the ornament and not continue with the card template, though!
Cutting the Files
Once you've done the print and cut part of the process, it's time to move onto the cut files - you can just cut these in the normal way. They should appear in Cricut Design Space at the correct size for cutting. If you need to see the measurements for any element, they're here. If you need any help with how to open or use the files, that's here...
When you've got your cut circles for the ornament, plus your printed designs, you're ready to go onto the next (and most fun) part of actually putting together your Christmas decoration...
Making the Christmas Decoration
Once you've had your Cricut print and cut the artwork circles with the images, and also cut the three decorative circles from cardstock, we're ready to put it all together to make a pretty Christmas ornament...
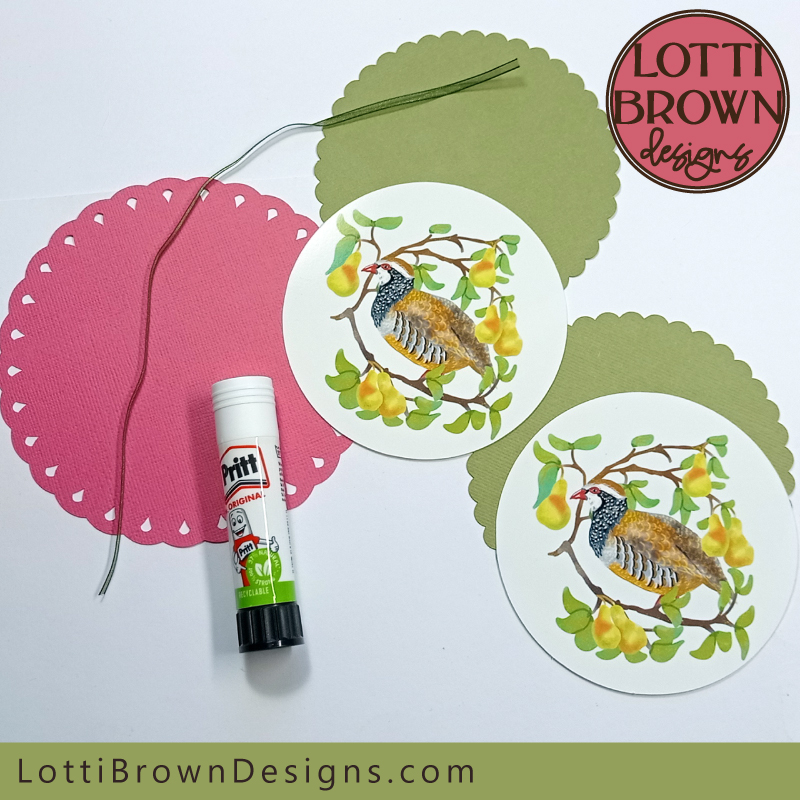 Everything ready to start making the Christmas ornament
- First, we'll glue the images onto the smaller circles - so that's using these parts that you can see in the image below...
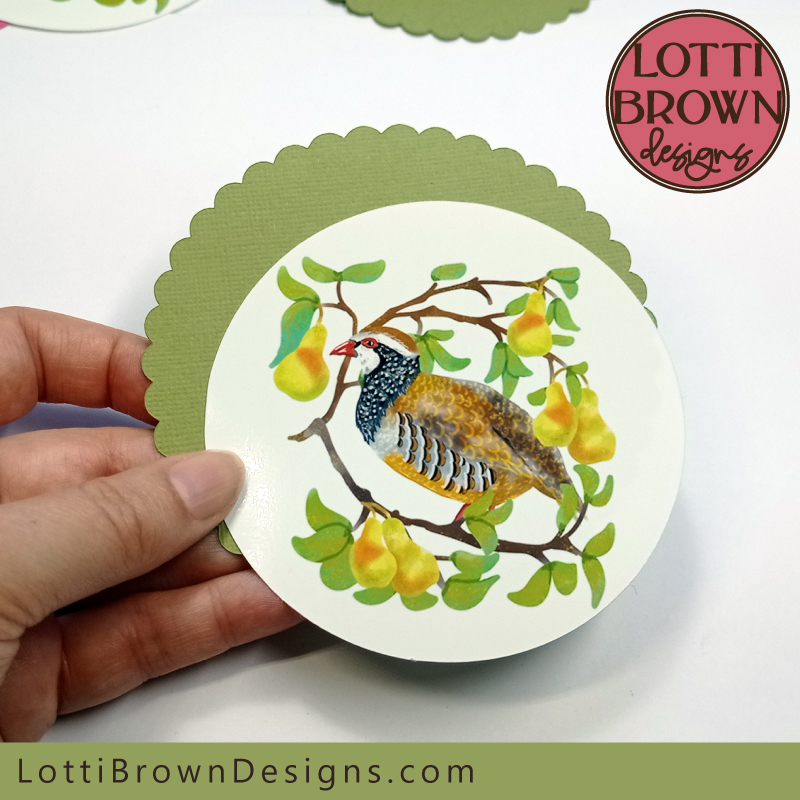 Let's get started using the print and cut images to make our Christmas ornament
- Carefully add paper glue to the back of the first print then cut image - go close to the edges so it sticks well, but be very careful not to get any on the glossy photo surface in case it marks the shiny surface - see the image below...
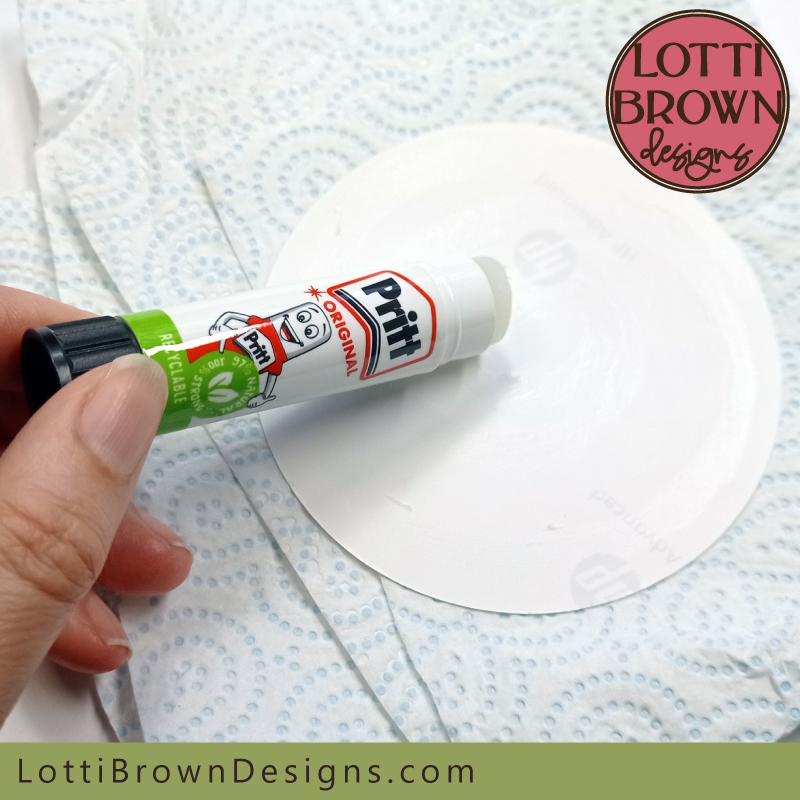 Carefully add glue to the back of the first printed image
- Then glue the image down in place in the centre of one of the smaller decorative circles - see the image below...
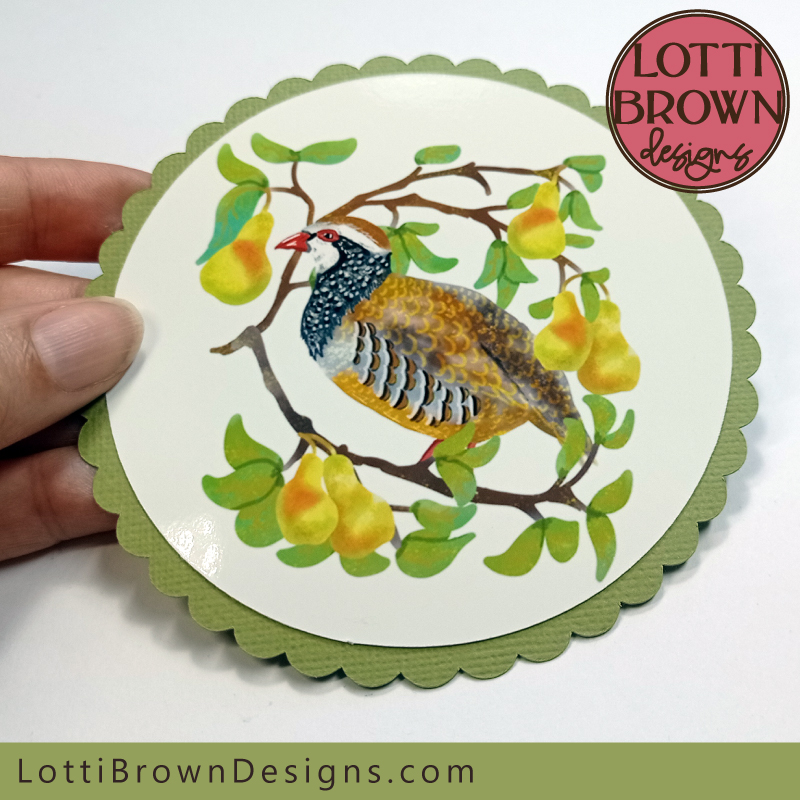 Glue the image in place like this
- Then repeat this a second time so that you have two circles the same, like in the image below...
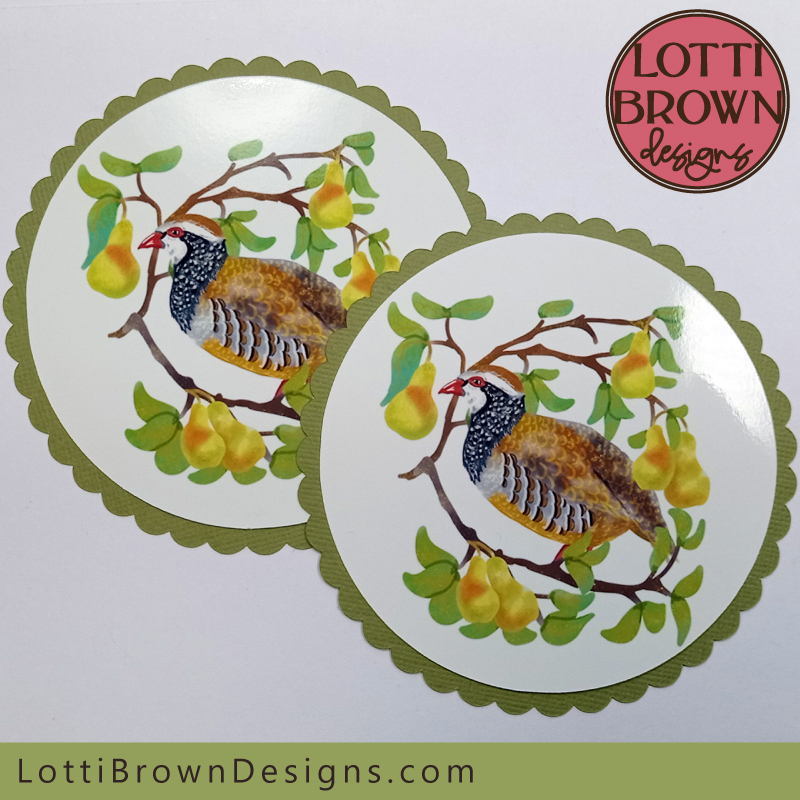 Glue the second image in place in the same way
- Next, we'll add in the larger decorative cut circle - like you can see in the image just below...
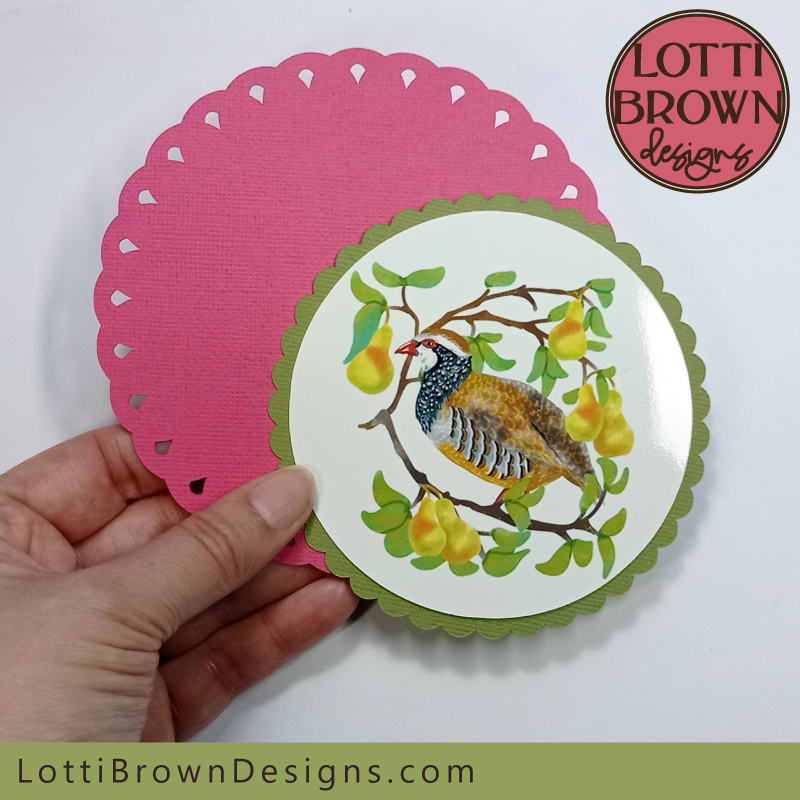 Let's add the larger circle, too!
- So let's add glue to the back of one of the smaller circles - be careful not to lay the decoration face down onto a gluey surface and again, be wary of getting glue on the front surface, although you should try and get quite close to the edges to make sure it sticks down well - see the image below...
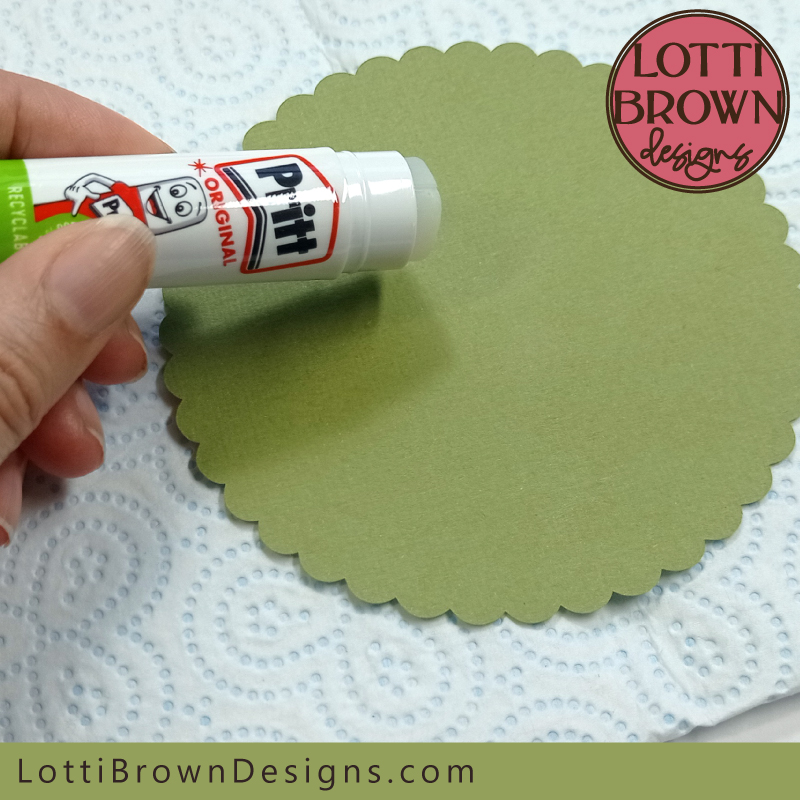 Add glue onto the back of one of the smaller circles, being careful to protect the front surface from excess glue while getting quite close to the edges with your glue on the back!
- For the next bit, we need to have in our minds which one of the little holes that we want to use for hanging. This will go at the top - so when we stick down the part with the image, we need to make sure that when it's hanging, the image looks straight - so take a moment just to choose the hanging hole (you can put a ribbon through it first if you want, which I'm going to show you in the next stage, anyway, but if you prefer, do it now if it makes it easier for you)...
- It doesn't need to be perfectly straight but just having in mind how it will hang vertically down from a specific hole will help you line the image up so that it looks sensible - see the image below where I'm pointing to the hanging image with my finger - with the glue stick I've used you have a little while to reposition so you can nudge it into place.
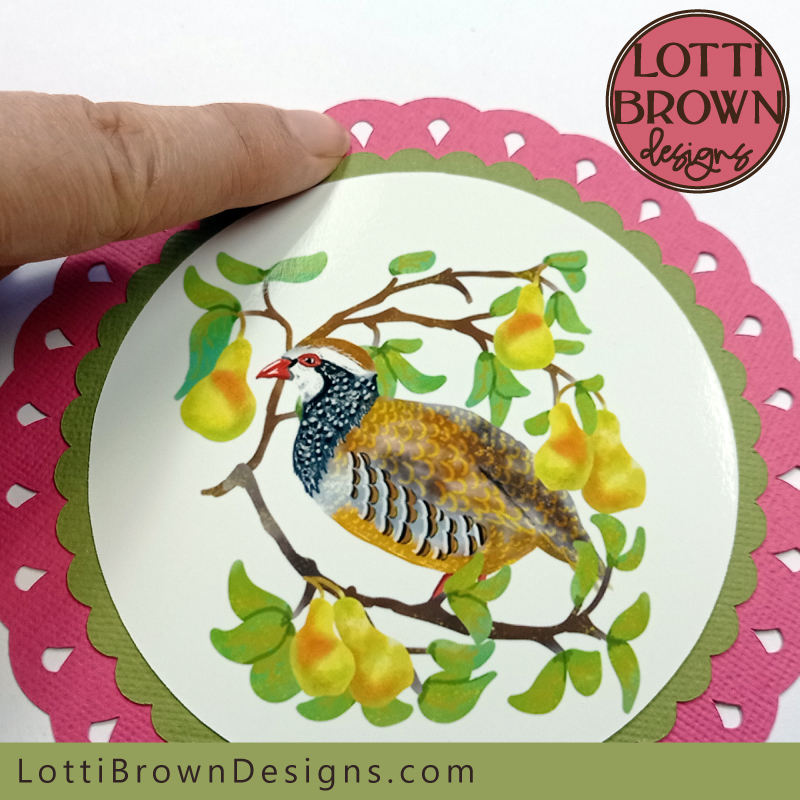 Think about which of the holes the decoration will hang from as you stick down your image - reposition as necessary
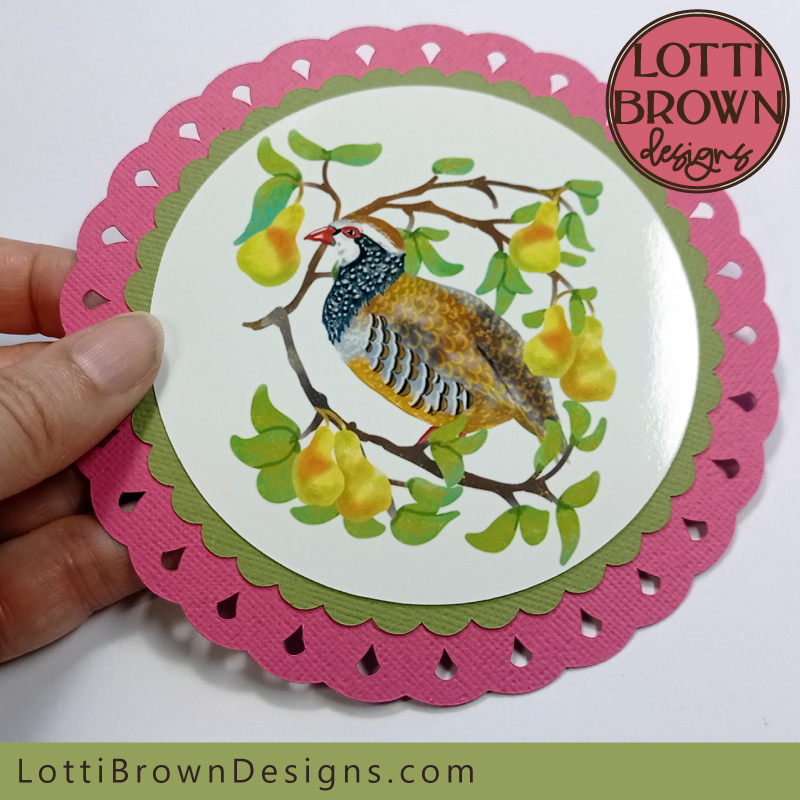 Looks nice! Glued down in position
- Next, add your ribbon into the hanging hole you selected (see the image below) - no need to tie it yet unless you want to - this is just so that we'll be able to identify which is the top for the next stage...
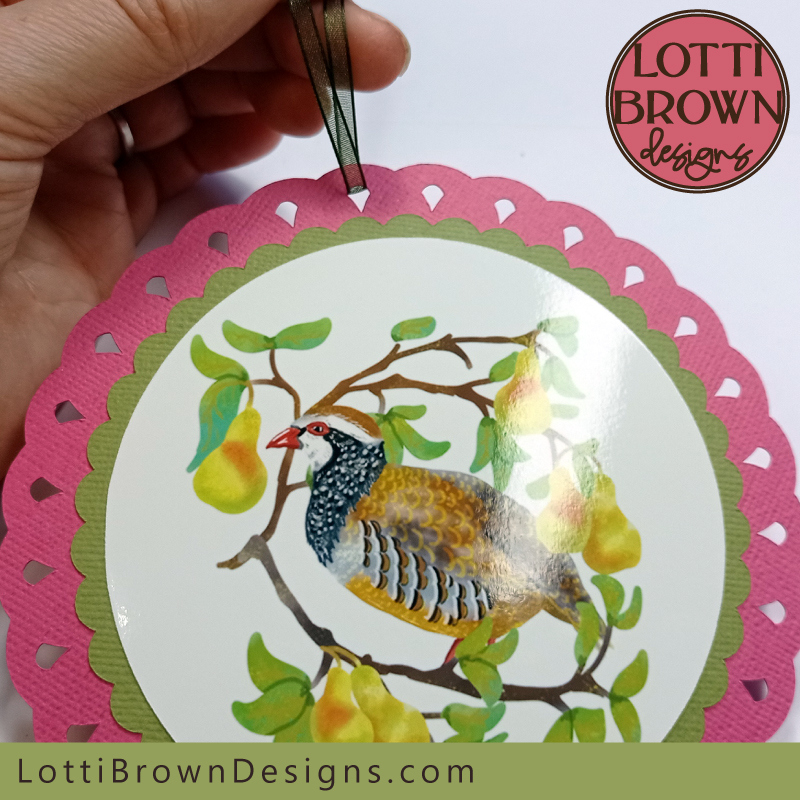 Add ribbon to identify the hanging hole
- Then, add glue to the back of the second small circle, again being careful not to get glue into the front of the decoration, while trying to get reasonably close to the edges of the circle - see the image below...
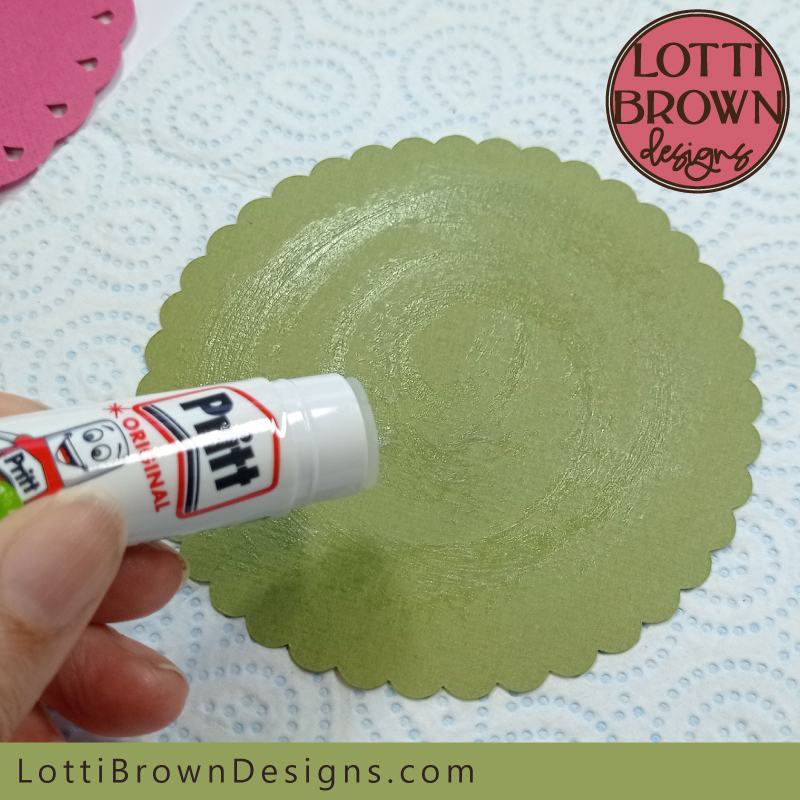 Add glue to the back of the second circle
- And now, lay your large decoration face down (being careful not to lay it in any wet glue) with the ribbon at the top so that you can identify the top...
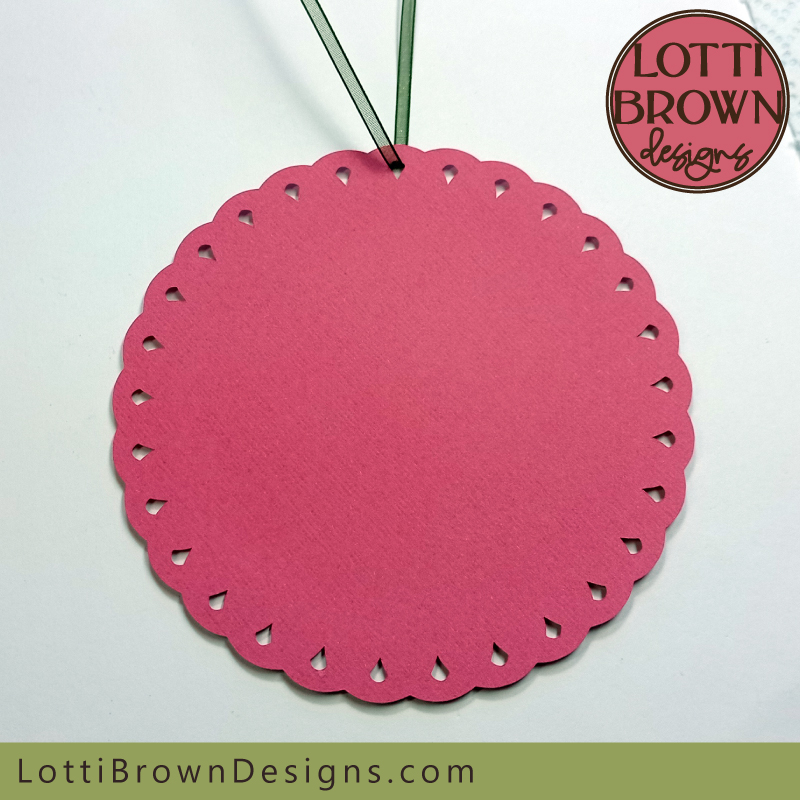 Use the ribbon to identify the top while the decoration is laying face down
- Glue the second circle down onto the back of the larger circle - so that now we have artwork on both sides of the decoration - see the image below...
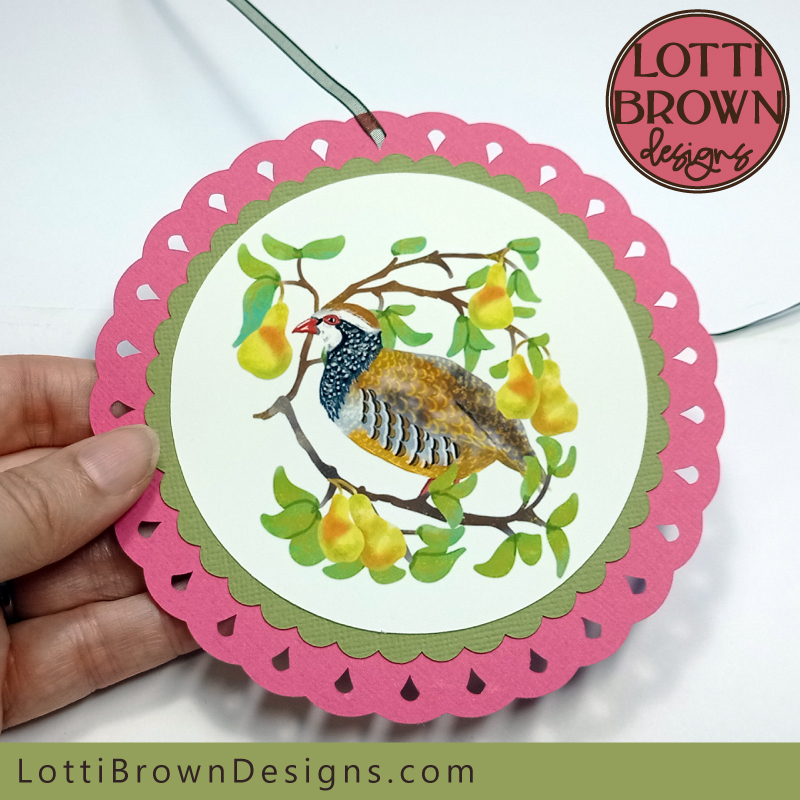 The ornament now has an image on both sides
- The final step is just to tie the two ends of the ribbon together (if you didn't do this earlier) to make the hanging loop - and your pretty partridge papercraft Christmas ornament is now finished - see the images below...
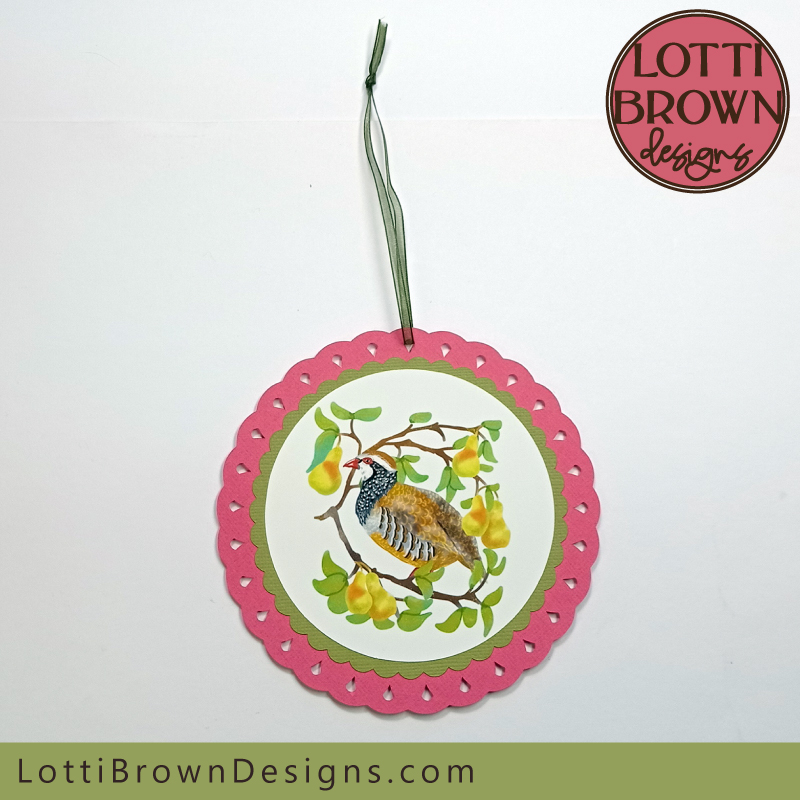 Tie up the ribbon in a hanging loop to finish off your partridge Christmas decoration
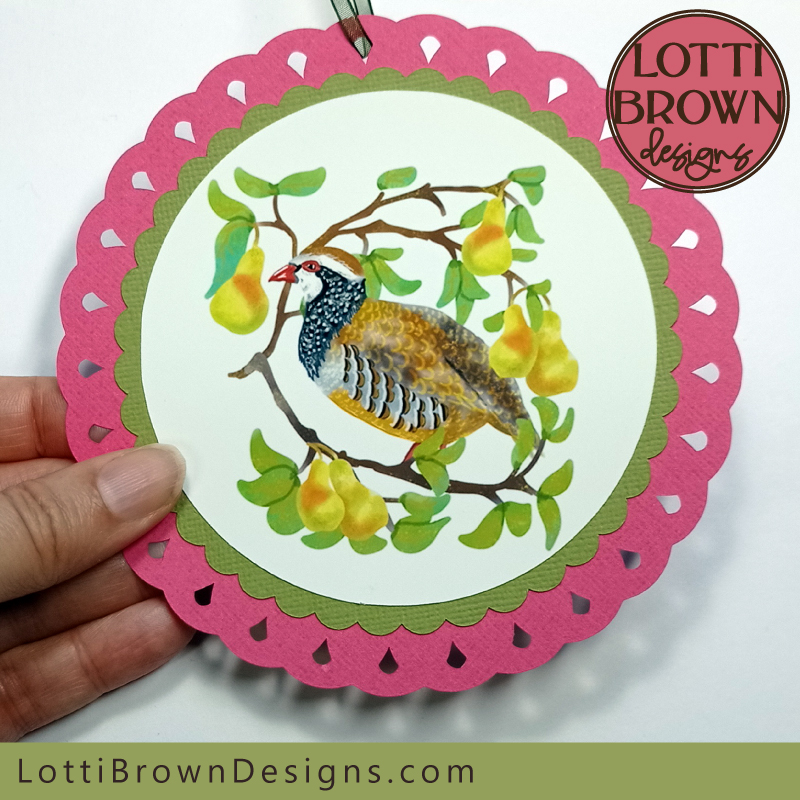 The completed Christmas decoration - partridge in a pear tree design
I also made the Christmas ornament in an alternative colour idea (teal and lime green) which I hope will inspire you to get creative with your Christmas decoration creations - you can change the colours to go with your own Christmas decor or pick out colours from the artwork to use...
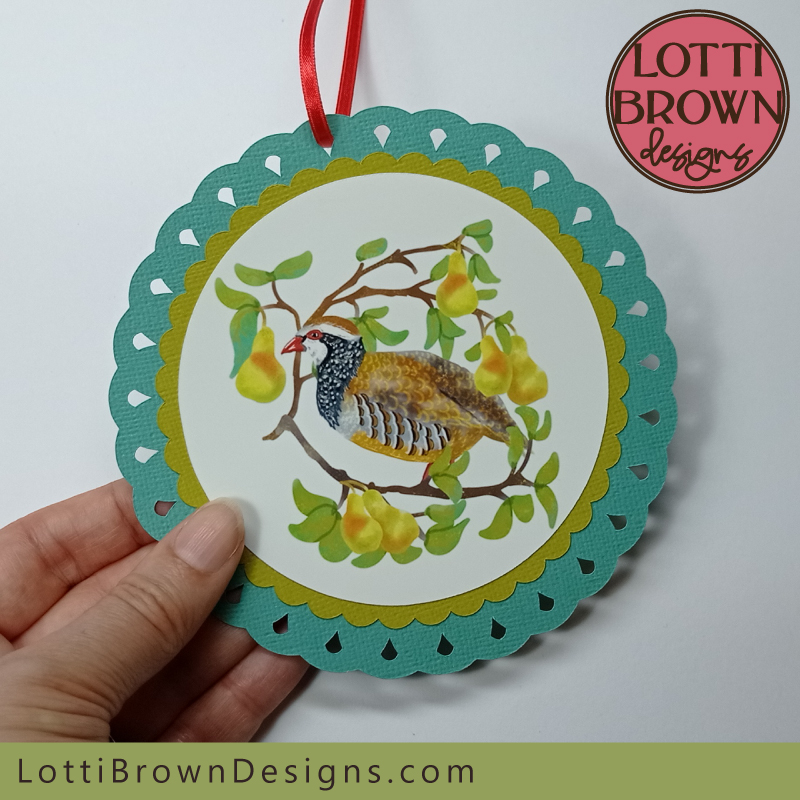 Get colourful and creative with your Christmas decoration making
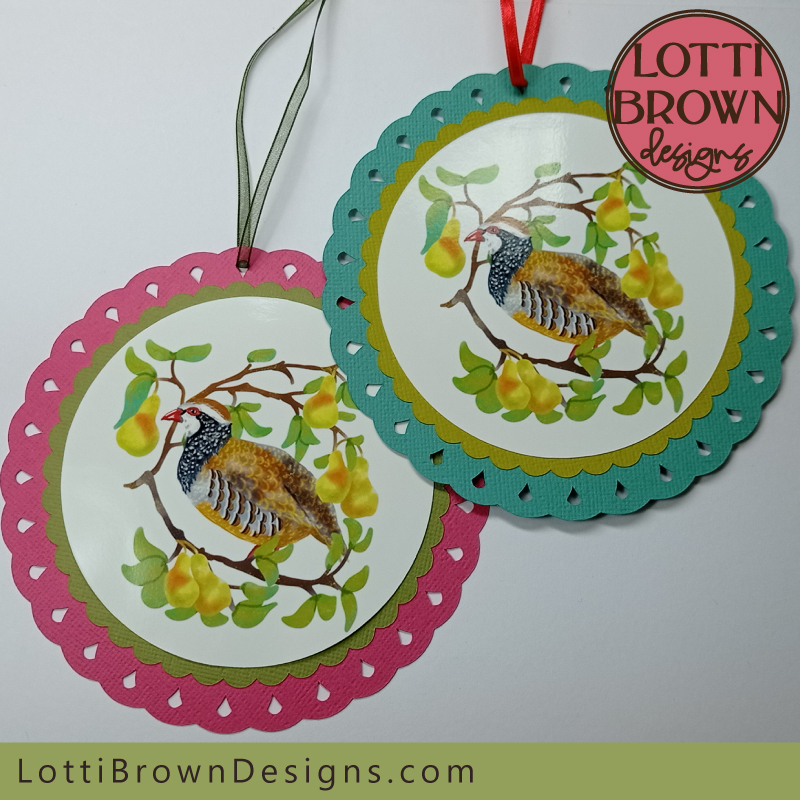 Alternative colour idea to inspire your creativity
Where to Get the Christmas Decoration Templates
If you've enjoyed reading this tutorial and would like to make the partridge Christmas ornament with your Cricut (or other cutting machine), you can get the partridge decoration template from my store at the link right below - I also have other Christmas decoration designs which you might like and I'll link to them below as well so that you can find them easily...
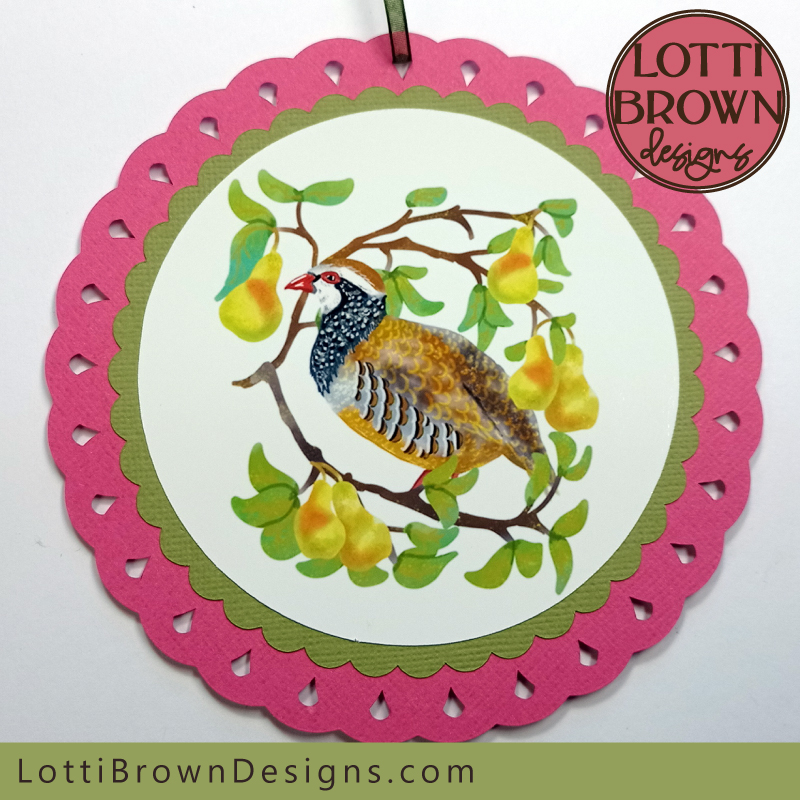 Partridge in a pear tree Christmas decoration template
You can get my partridge Christmas decoration template from my store here...
Digital download for a Christmas ornament template
SVG, DXF, EPS, and PNG cut file
PLUS PNG 'print then cut' file
For personal craft use and small-business commercial use (up to 200 products)
For physical (craft) products only - no digital products, use, or sharing
More Christmas Decoration Template Designs
If you'd like to make more Christmas decorations with your Cricut, you can find all my design templates just below - they're available individually and also as a set with all 6 templates together...
You can see more images and learn more about all the different Cricut Christmas decoration ideas and designs on this page...
You Might Also Like:
Lotti Brown's Designs & Templates
How-tos...
- How to use SVG cut files for Cricut (also other cut file formats & machines)
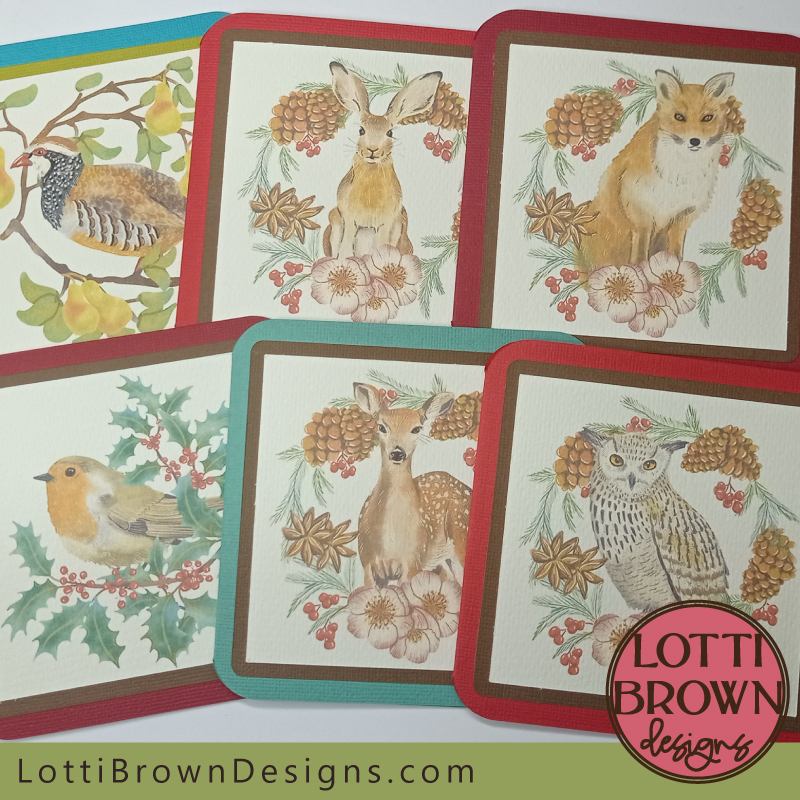 Print and cut Christmas card templates
If you like these designs, you might also like them made into Christmas card templates - see them all on this page...
I also have papercut Christmas card templates, too - see them all here....
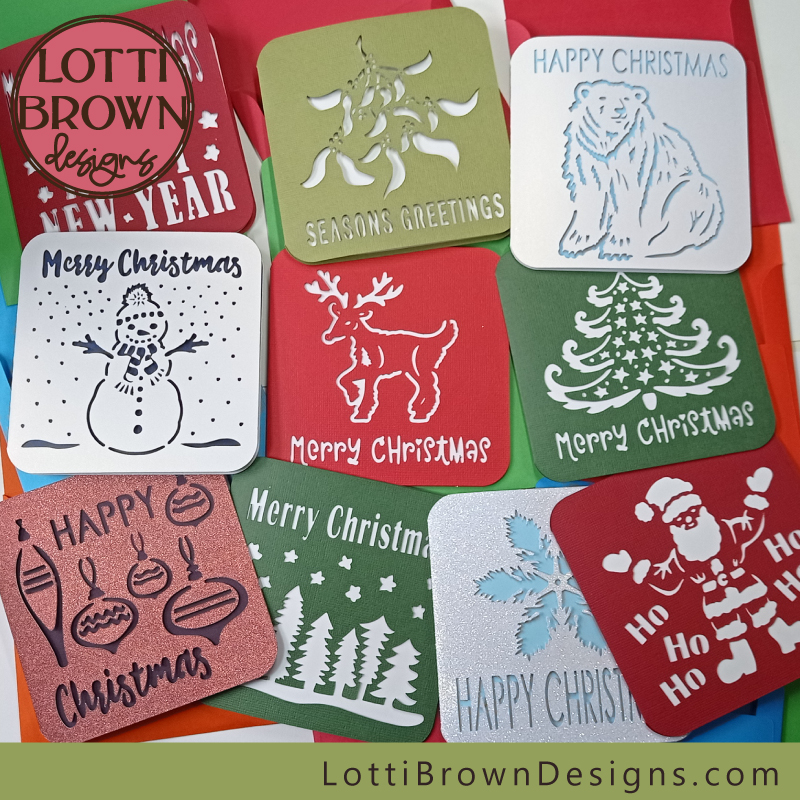 Papercut Christmas card templates
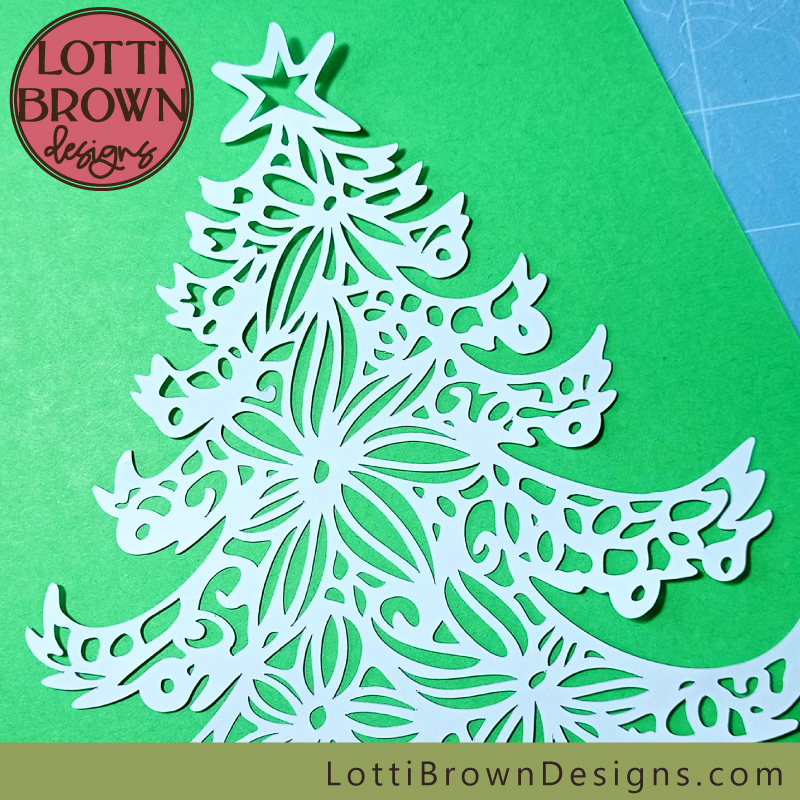 Christmas tree SVG file and other Christmas templates
I've got lots more Christmas SVG designs for you to craft with here...
Want to keep in touch?
Sign up below for my free email newsletter...
My newsletter is usually sent out once a month (at the end of one month or the start of the following month) and you can unsubscribe any time...
Sign up below...!
Recent Articles
-
Willow Tree Symbolism and Celtic Willow Art
Apr 11, 25 05:43 AM
Explore willow tree symbolism and meaning - Celtic willow art and printed products... -
Wild Dog Rose Pattern & Products
Apr 07, 25 06:12 AM
Pretty dog rose pattern and products in a nostalgic heritage style recalling pretty hedgerows of flowers... -
British Robin Book Recommendations
Apr 04, 25 06:26 AM
My British Robin book reviews and recommendations - learn about Britain's favourite bird...
Follow me:
Share this page:

