*** IMPORTANT - I'm retiring my digital files - SVG/PNG/DXF/EPS - and printables from 31st December 2025 ***
*** Please ensure that you have everything you need - files and/or instructions printed off from the website (find them currently in the ARCHIVES section) - by 31st December 2025 as they will not be available after this date ***

Make an Easy Birthday Card with your Cricut
- Home
- SVG files
- SVG Card Templates
- Make an Easy Birthday Card
Make an easy birthday card with your Cricut - greeting card tutorial to make a beautifully simple card and envelope.
This design makes a lovely birthday card that can be used for men, women, children... everyone! And I also have a collection of similar designs for other occasions that are all based on the exact same way of making a card with your Cricut - super easy.
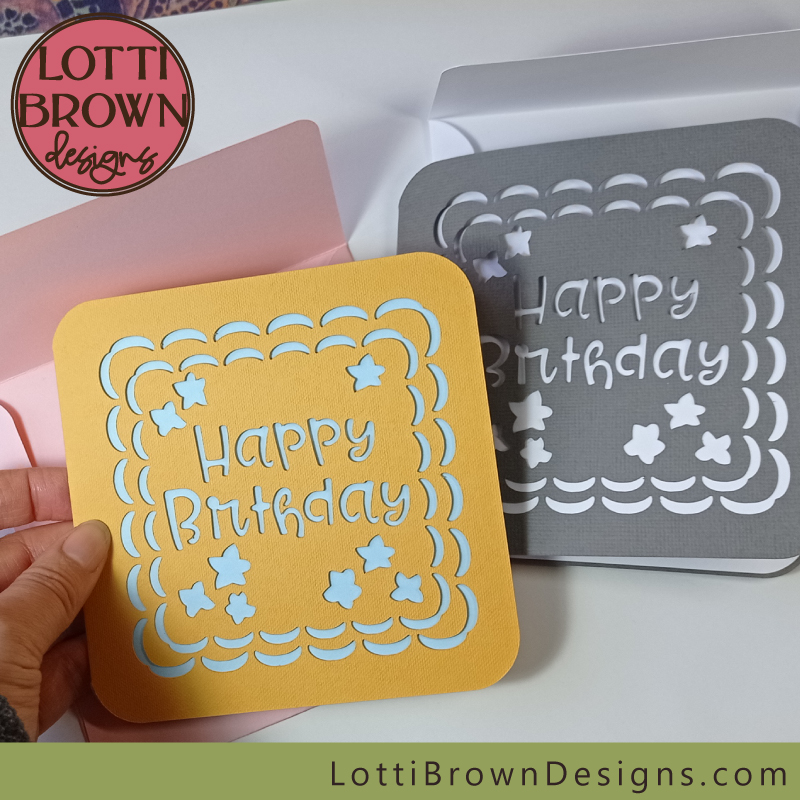 Make an easy birthday card with your Cricut
Get the Happy Birthday card template from my store here
Or browse for other card templates that use this method here
This easy birthday card uses my Happy Birthday card template (available to download from my store here...). It can also be used for any of my similar greetings cards templates - it uses exactly the same card-making method.
This Cricut greeting card tutorial requires the card to be cut and scored first, using your Cricut, another cutting machine (such as Silhouette or ScanNCut) or cut and scored by hand.
If you're using a Cricut machine, I have a tutorial here showing you exactly how to set the score lines in Cricut Design Space so that they score (rather than cut) - it shows how to do this both for the scoring stylus and scoring wheel in Cricut and also gives a method of scoring by hand if you don't have a scoring tool.
If you're cutting with another machine type, please check their help pages for information on how to set a score line, or just delete the score lines in your programme and create them manually as I describe in the score lines tutorial mentioned.
Once you've cut and scored your card, please come back here to find out how to fold and assemble the card...
Cricut Greeting Card Tutorial
If you use the SVG as-is in Cricut, you can make a card that's approximately 12 x 12 cm (4.72 x 4.72 inches) with an envelope that's a little larger, approximately 12.6 x 12.6 cm (4.9 x 4.9 inches) and cuts out onto A4 or Letter-sized cardstock (three sheets). You can, of course, resize the file to suit.
You will need:
- Outer card - already cut and scored
- Inner card - already cut and scored
- Envelope - already cut and scored
- Metal ruler
- Paper glue or double-sided sticky tape
- My Happy Birthday card SVG template (available from my store) - or another suitable card template from my collection
Please note that the files are set up to cut on a standard Cricut mat, NOT the new card mat!
Choose your own cardstock colours to create your own unique greetings cards with your Cricut - I've tried to make my greetings cards in lots of different colours - and I always make my layers different colours for you, so that you can easily tell which is which, but feel free to change the colours, experiment, and make the design personal to you and the intended recipient.
For my greetings cards, including this one, I've used a Cricut or Sizzix cardstock for the outer card and a generic craft card (160gsm) for the inner card and the envelope. For this Happy Birthday card idea, I've used the yellow from the Cricut cardstock 'Jewel' pack, plus a pale blue and pale pink 160gsm generic crafting card for the inner card and envelope - these cardstocks should be of a type you can write on.
If you're using another file type or cutting machine programme, or if you need to resize PNG files, you can get the dimensions for the files here...
My card templates are for personal crafting use or for small-business commercial use (up to 200 products) - in both cases, it's for physical products only - no digital products, printables or sharing, please. So if you make cards, you can sell them at craft shows or online.
How to Make the Easy Birthday Card with your Cricut
1) Make sure that you've downloaded the card template from my store (or another template you chose)
2) And also that you've cut it and scored it - more help with that here
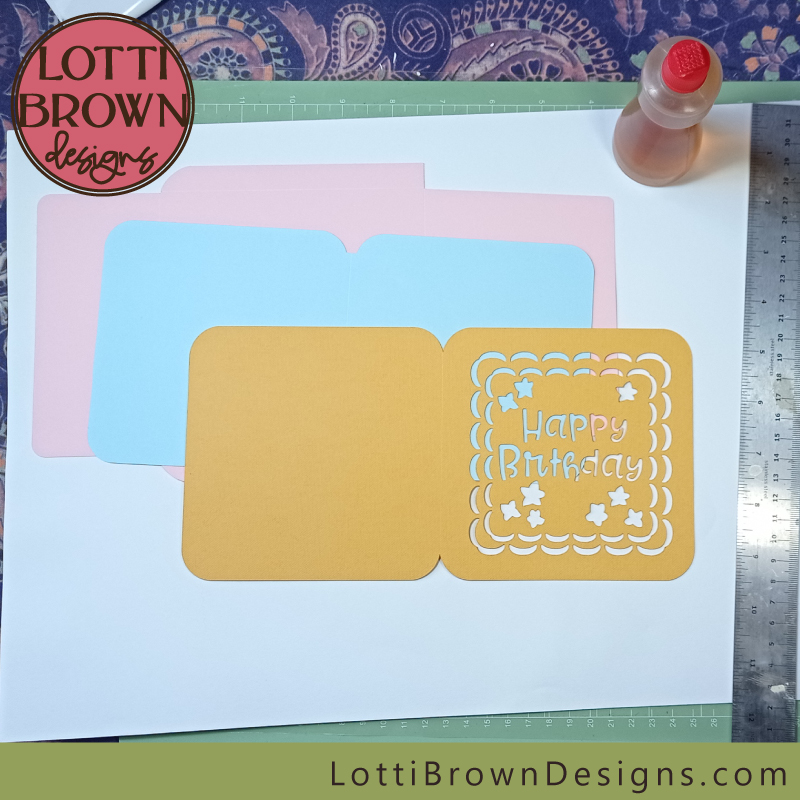 How to make this easy birthday card with a Cricut
3) Now, we're ready to start assembling the card. Let's start with the outer card - that's the bit with the cut-out design - in this example, the yellow Happy Birthday piece.
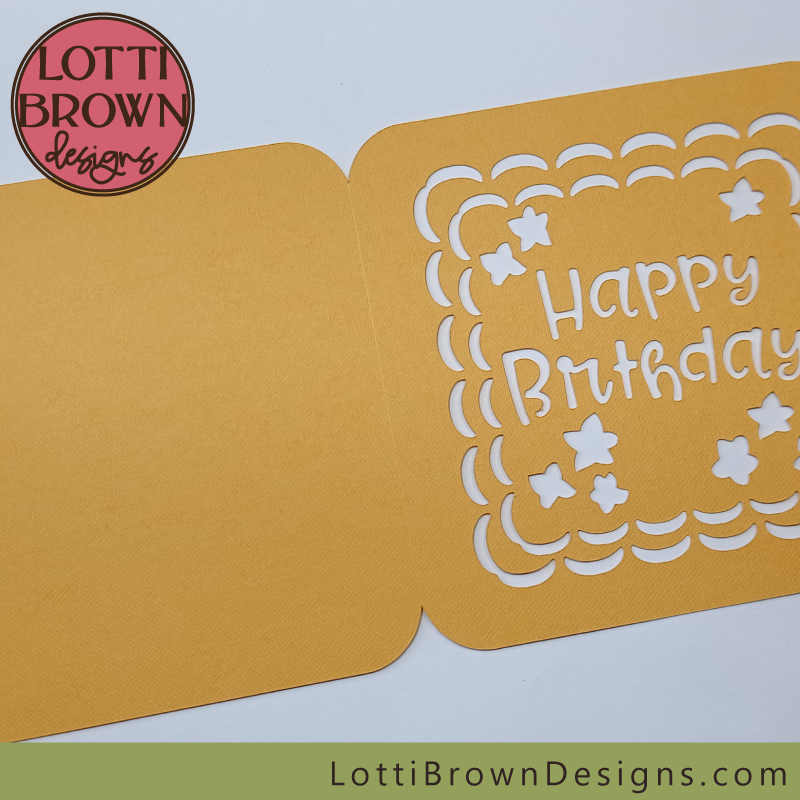 The outer card has the cut-out design
We need to use a metal ruler to help us fold the line cleanly - I use a metal ruler as it has a clean, firm edge that's unlikely to wear or damage, and it's a nice hard edge to fold against. So line your metal ruler up very carefully against the fold - not on the fold, but just ever-so, ever-so slightly to one side of the fold, so that you can still see the fold...
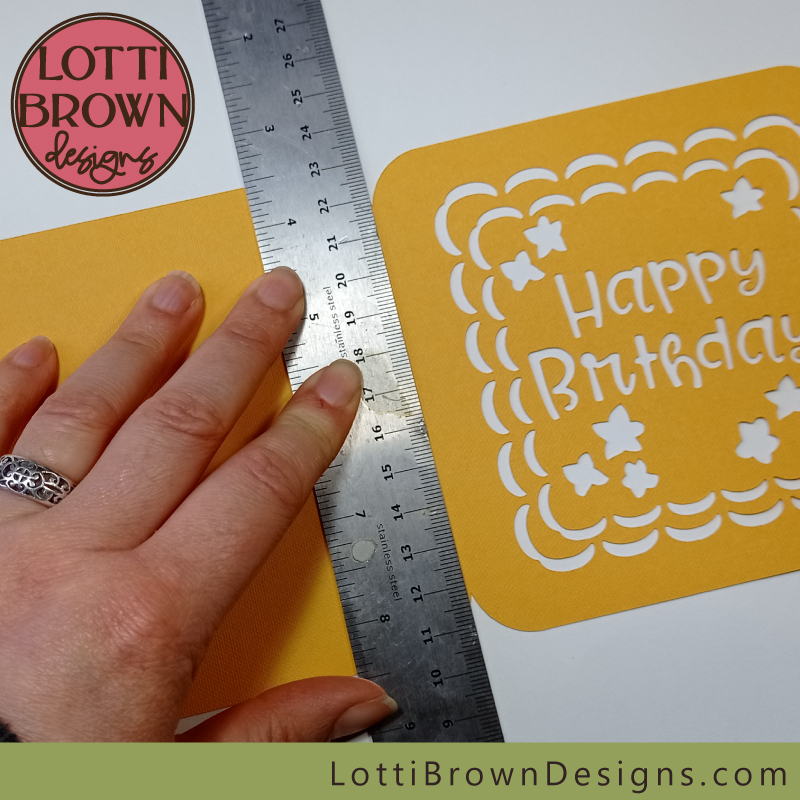 Position the metal ruler up against the score line, ready to fold the card
Press down hard on the ruler to hold the left-hand side of the card in place - but make sure you keep the ruler still and steady...
Then fold the right-hand side of the card up towards the ruler using your other hand...
Keeping the ruler in place, run your fingers along the folded edge making the fold firm and neat.
(You can let go of the ruler now).
If you're a beginner, you might prefer to place the ruler on the fancy/cut side and fold the plain side up...
The uncut side of the card will be a little sturdier and less prone to bending as you fold!
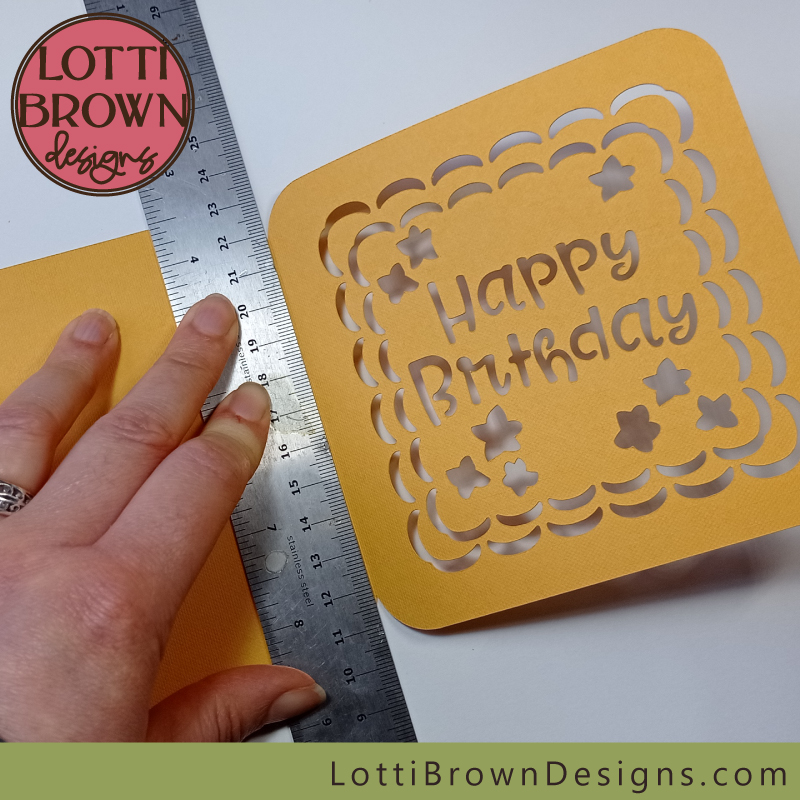 Folding the card
Then, we fold the fold the other way (so that it looks like a proper card) - again you can gradually run your fingers and thumb along the fold, making sure that it's folded neatly and firmly.
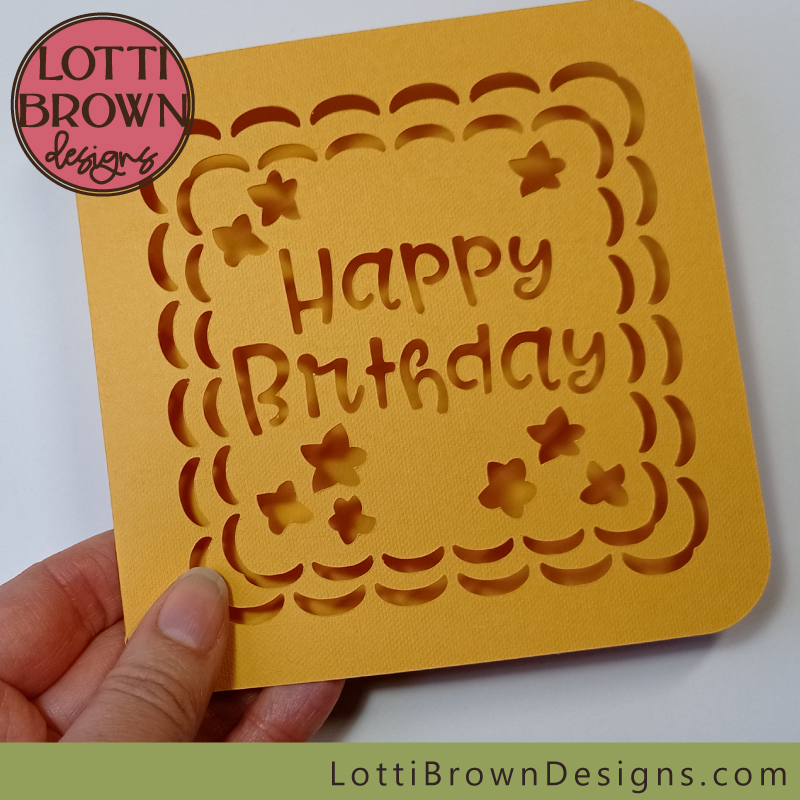 The outer portion of your card should now look like this
4) Let's go onto the inner card - this is the plain, slightly smaller card (pale blue in this example). Start by locating the score line in the middle of the card - it doesn't matter if it only looks faint...
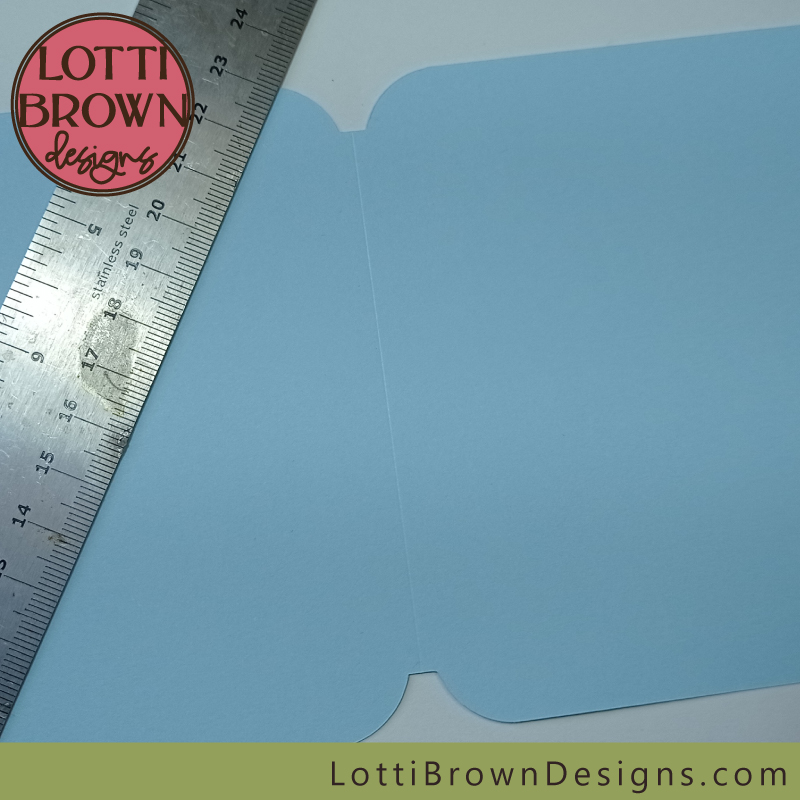 Score line on the inner card
Using the same method, we just position the metal ruler right up to the score line - and first fold up towards the ruler...
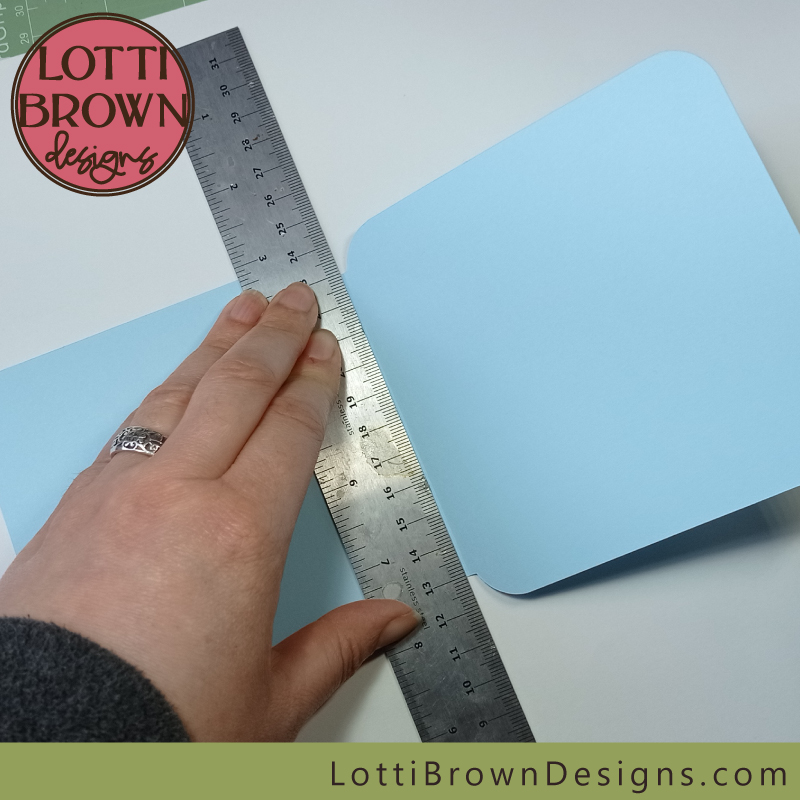 Use a metal ruler to create a clean fold
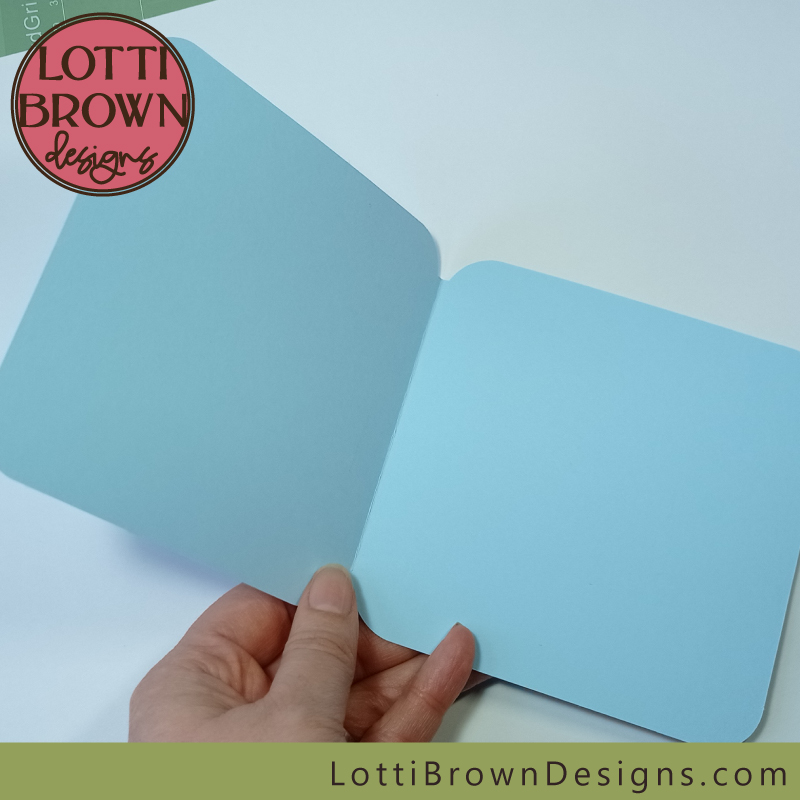 Making the first fold on the inner card
Then, just like for the outer card, we fold it back on itself, squeezing the edge gently between fingers and thumb to create a nice firm fold.
Just like for the outer card, the score line will be on the outer edge of the fold - this is what we want for every fold that we make when we're making cards or other papercrafts. It makes the fold much neater.
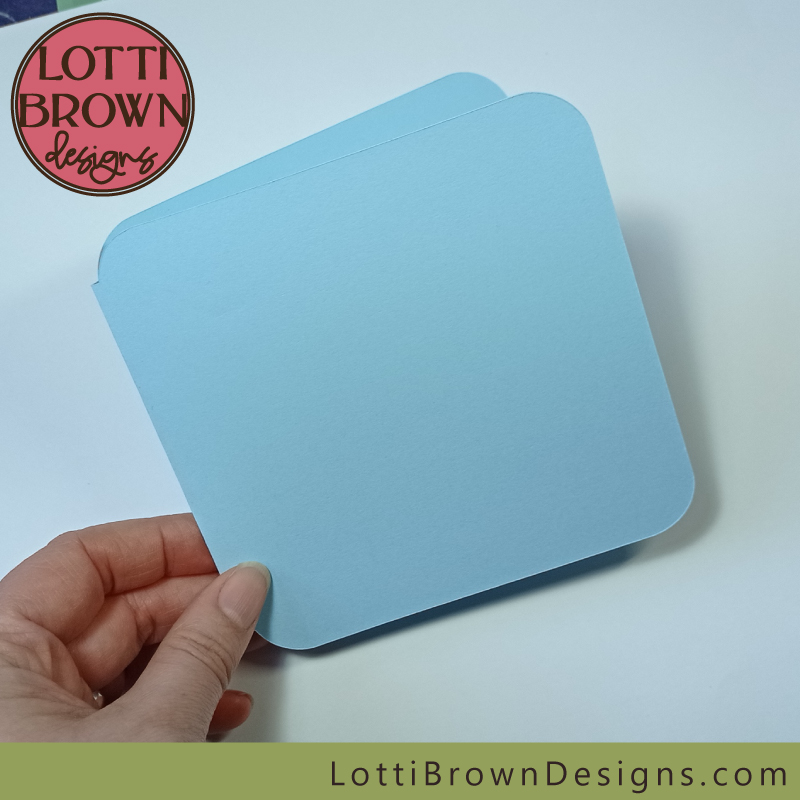 Fold back to create the finished fold
5) Now, let's get on with the envelope. This has four score lines in a square.
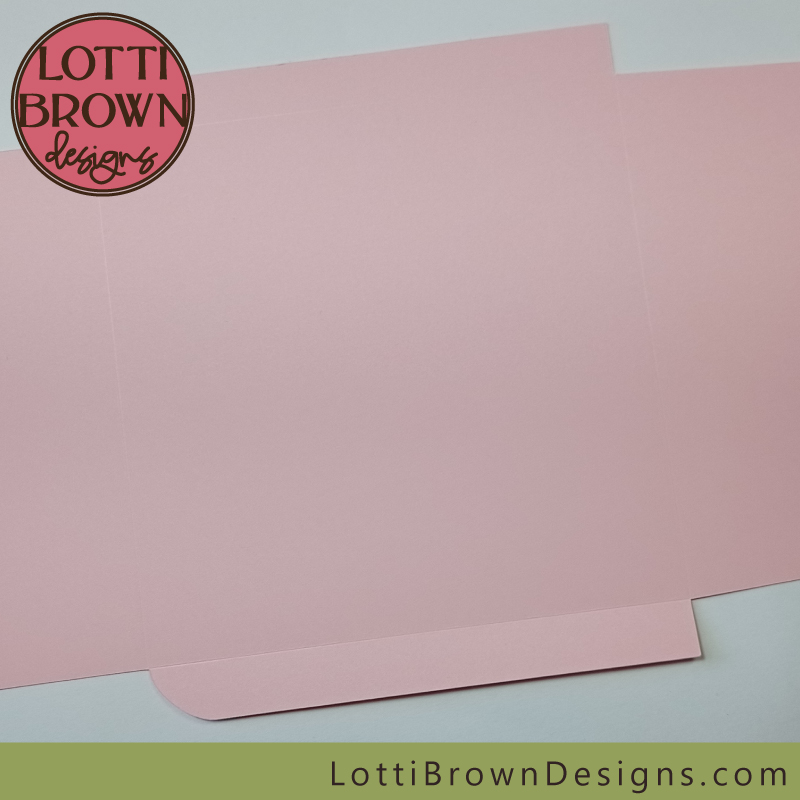 The envelope - scored but not yet folded
We just need to use exactly the same method, folding up the flaps along the score lines, using the metal ruler as the folding edge...
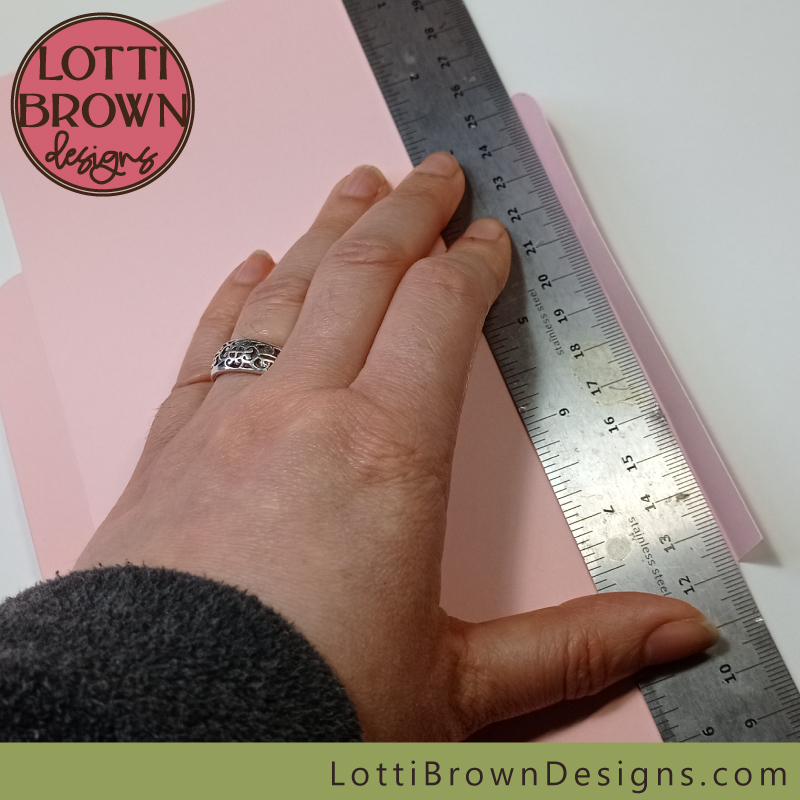 Folding the flaps up against the metal ruler to create the envelope
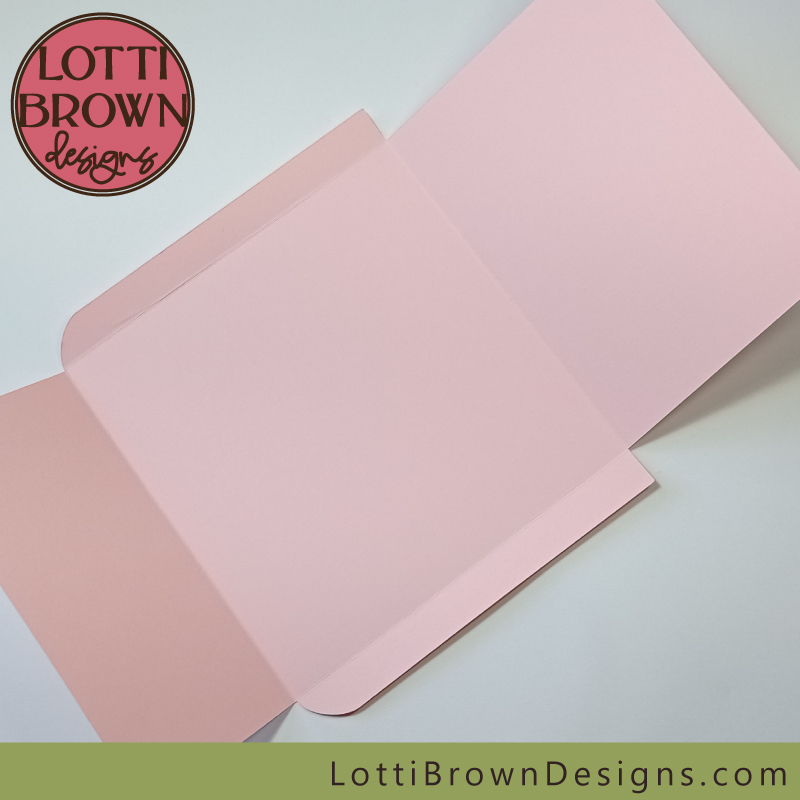 Folds ready for the second folding
And then folding each fold back on itself, so that the score line is on the outer edge of the fold - remember to squeeze with fingers and thumb as you go, to create a firm fold.
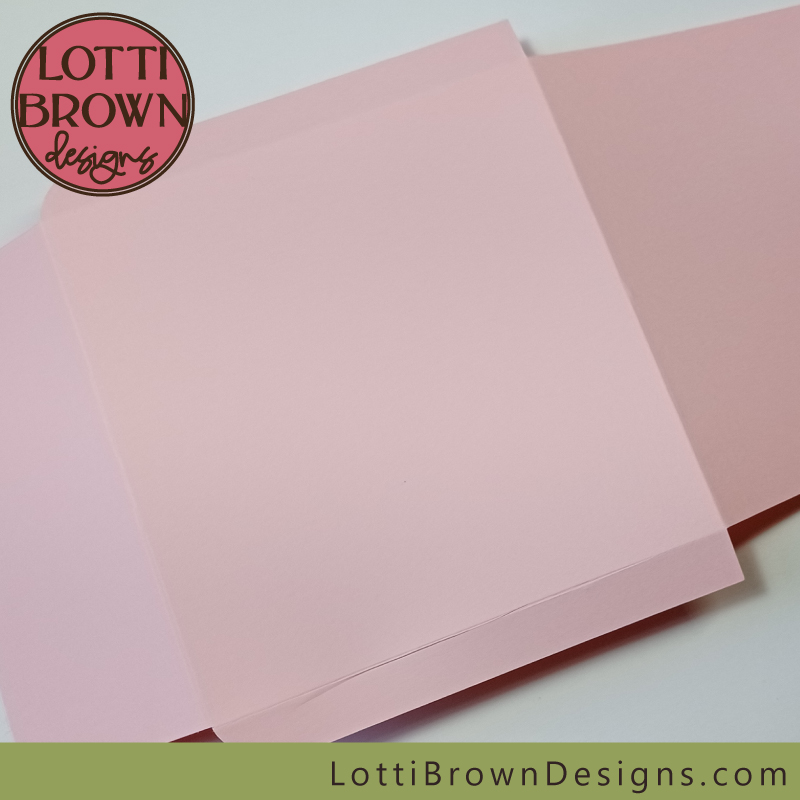 Folded back again - you can see the score line is now on the outside edge of the fold
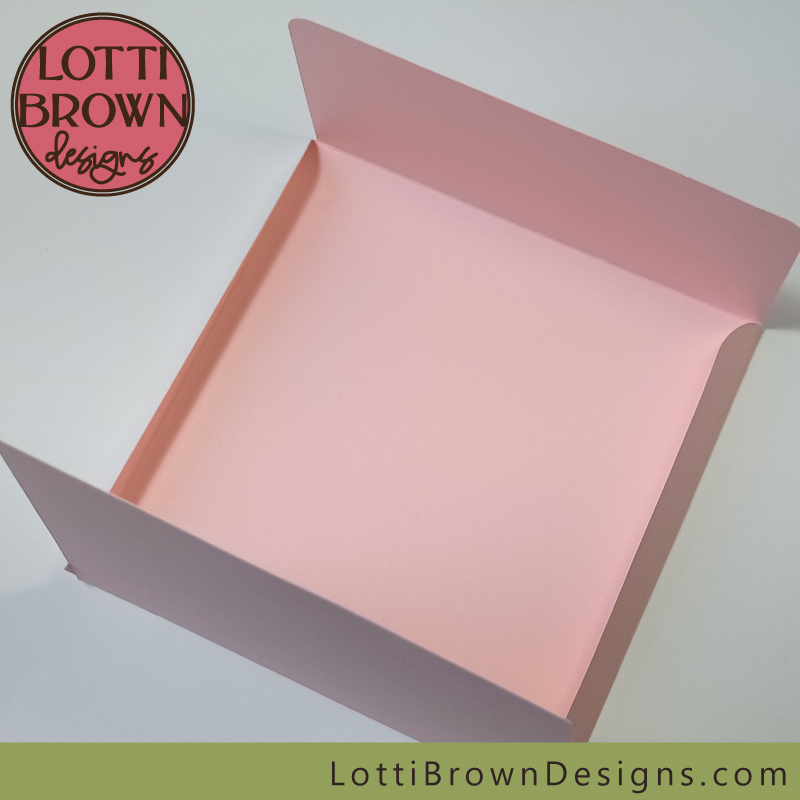 The envelope is starting to take shape
The template is now ready to become an envelope - we're going to stick down the large flap to the edges to become main part of the envelope and let the smaller flap loose to become the envelope 'closure flap'. If you're not sure which is which, the envelope 'closure flap' has larger curved corners and is also the one next to the small flaps with curved corners.
Apply glue to each side edge of the longer flap - don't go too far in from the edge - but try not to get too close to the edge, either! Do not apply glue to the top or bottom edges of the flap!
I've used paper glue here, but I found that a glue stick was a little easier and less messy. The paper glue seemed to adhere more firmly, though.
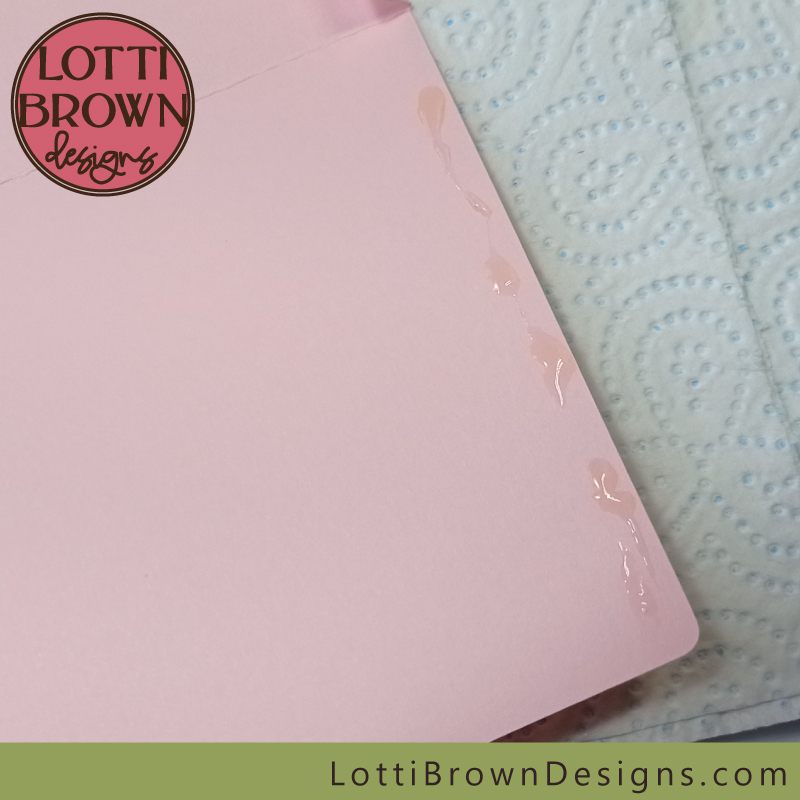 Carefully apply glue, just along the side edges of the larger flap
Now, simply fold in the edges and flap and apply pressure for a minute or two to allow the edges to stick down well.
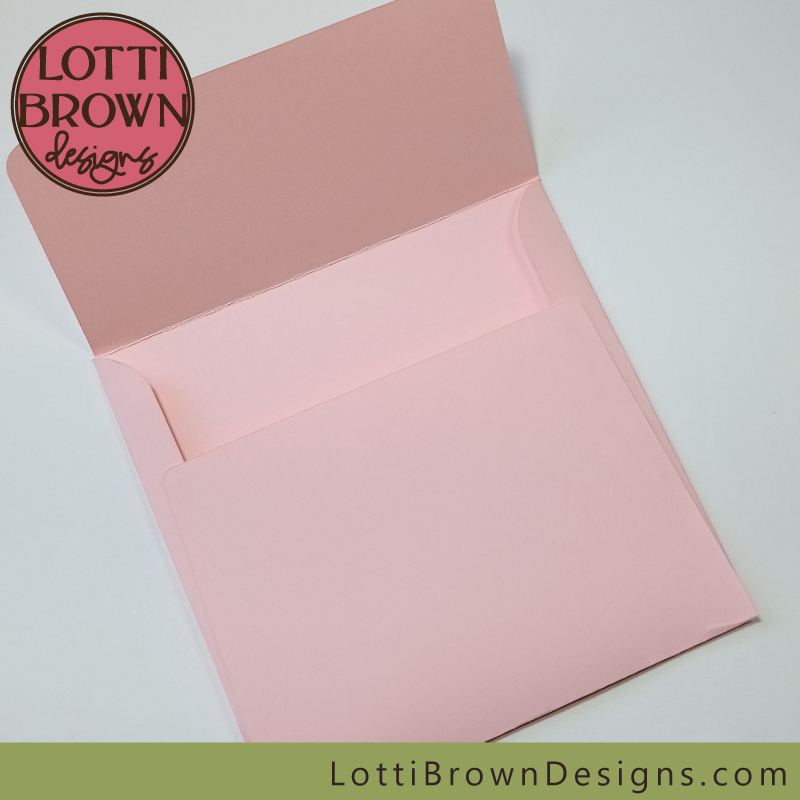 Your envelope is ready!
Your envelope is now ready - you can add a bit of glue to close the envelope when you're ready to send it, or add a bit of double-sided sticky tape to the closure flap now, leaving the protective sheet over the tape until ready to send (this is a great idea if you're selling your homemade cards, so that the purchasers have the envelope ready to seal easily).
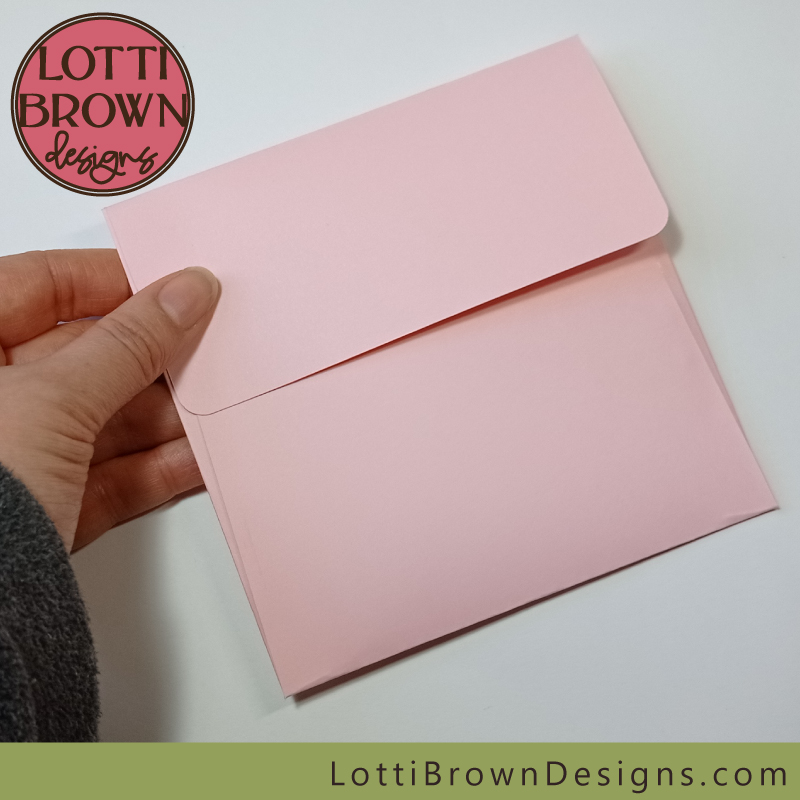 You can add double-sided sticky tape (with the protective bit still on) to your envelope closure flap, if you choose, so it's easy to seal and send
6) Now, we just need to glue the inner card to the outer card - this is quite simple but there are a couple of things just to be aware of and bear in mind...
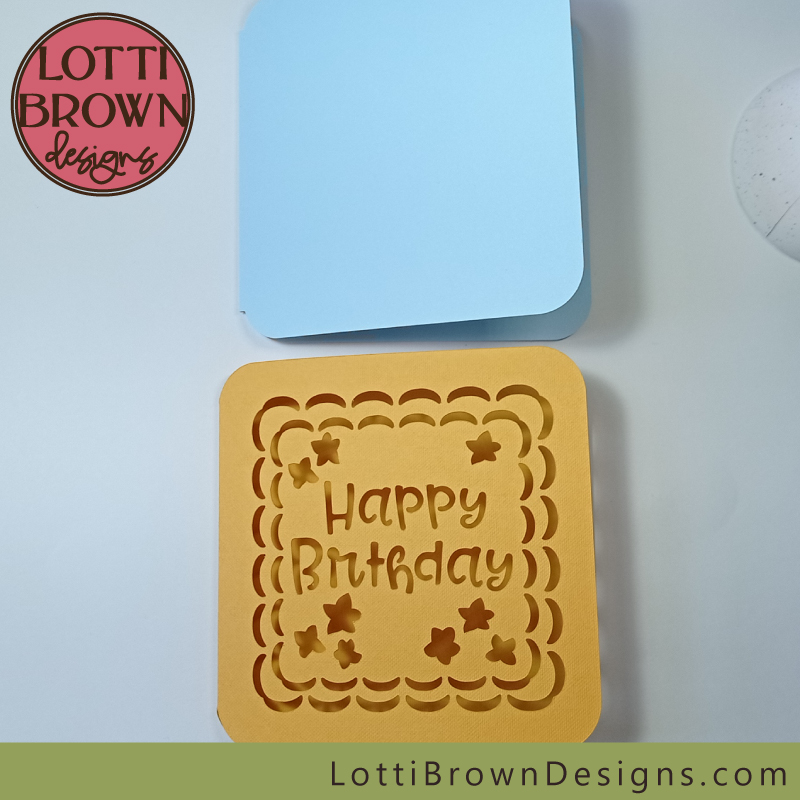 Get ready to glue the inner and outer cards together
Think about the type of glue you use and the quantity - especially if you're using thinner papers and cards, glue can buckle them. This paper glue was just okay and didn't affect the inner card quality, but in later cards I made I did prefer to use a glue stick or (top choice) two pieces of double-sided sticky tape.
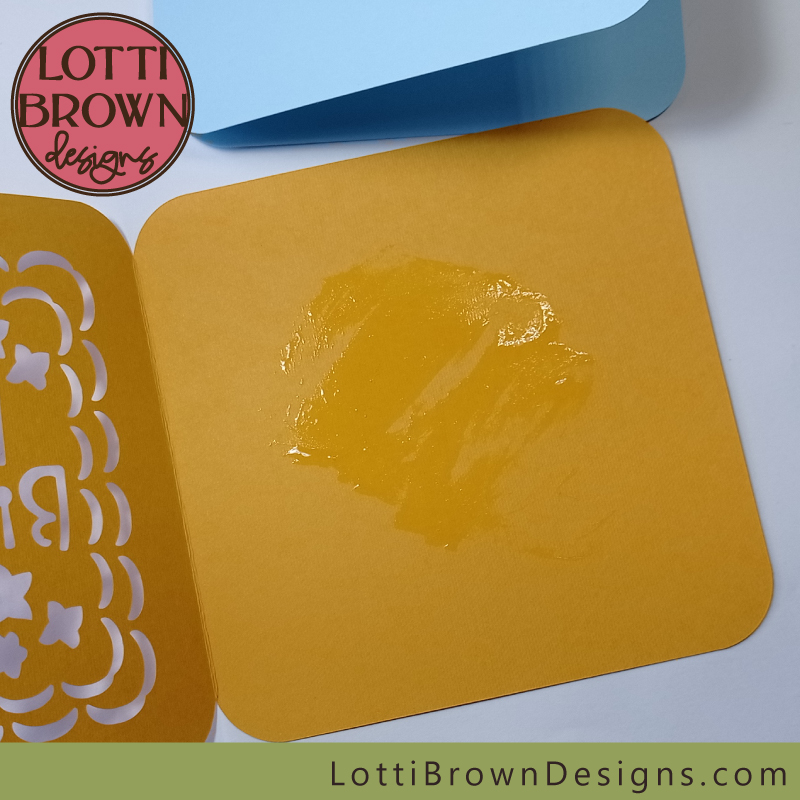 Add some paper glue (not too much) or double-sided sticky tape to the inner surface of the outer card
When you're positioning the inner card, don't thrust it up as tight as you can into the fold - leave the fold a little space to move (it doesn't need much, but does need a just a little) - but also make sure the edges won't poke out beyond the edges of the outer card...
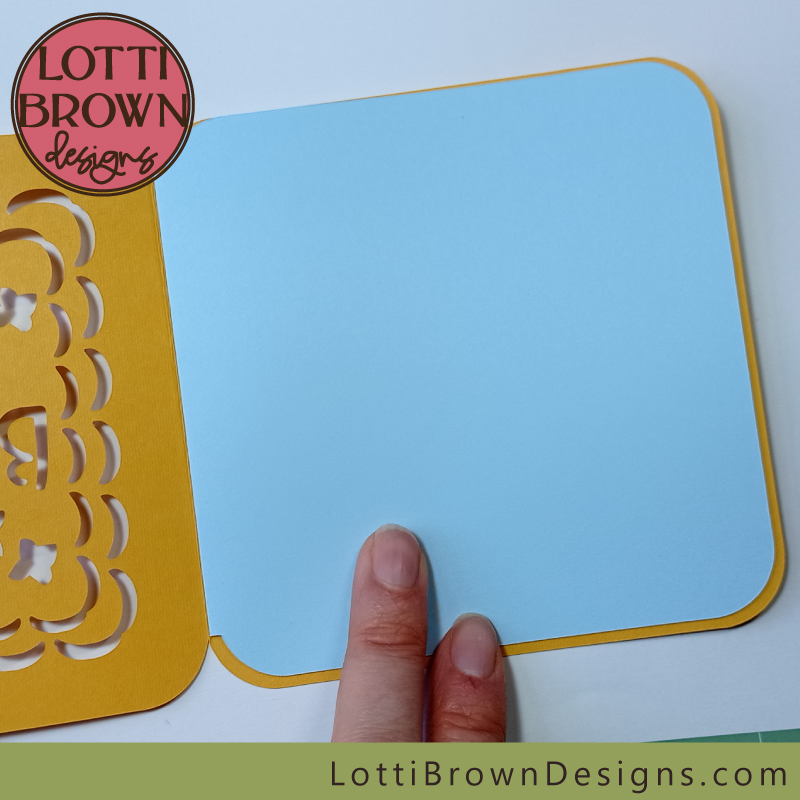 Positioning the inner card - not too close to the fold!
We only want to glue that one surface down - the front flap of the inner card will be left loose so that people can admire the cut pattern in the card.
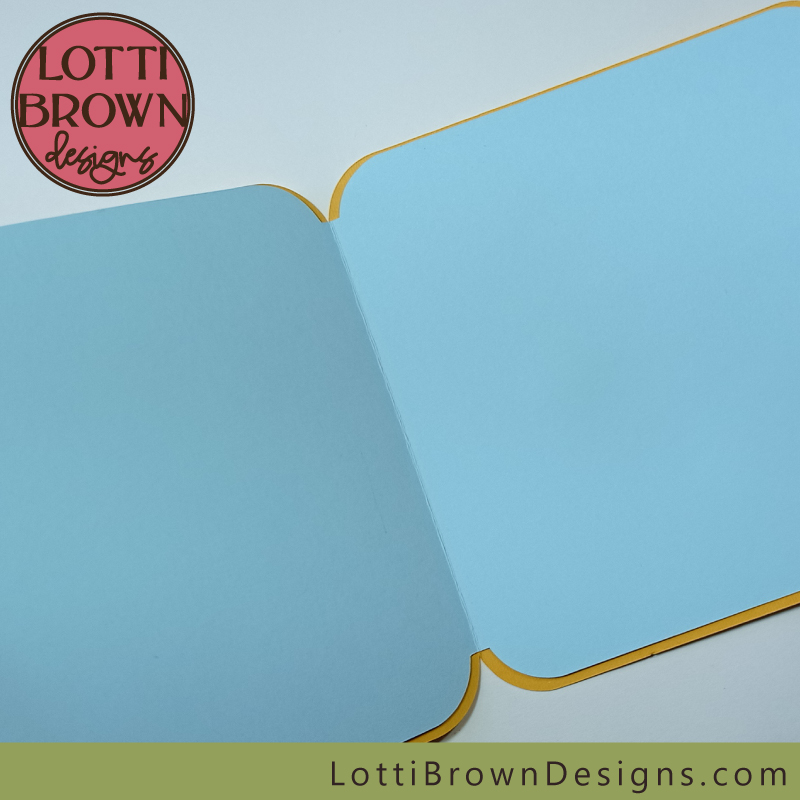 How the inner card will look when the card is opened
So your birthday card is now finished! Well done!
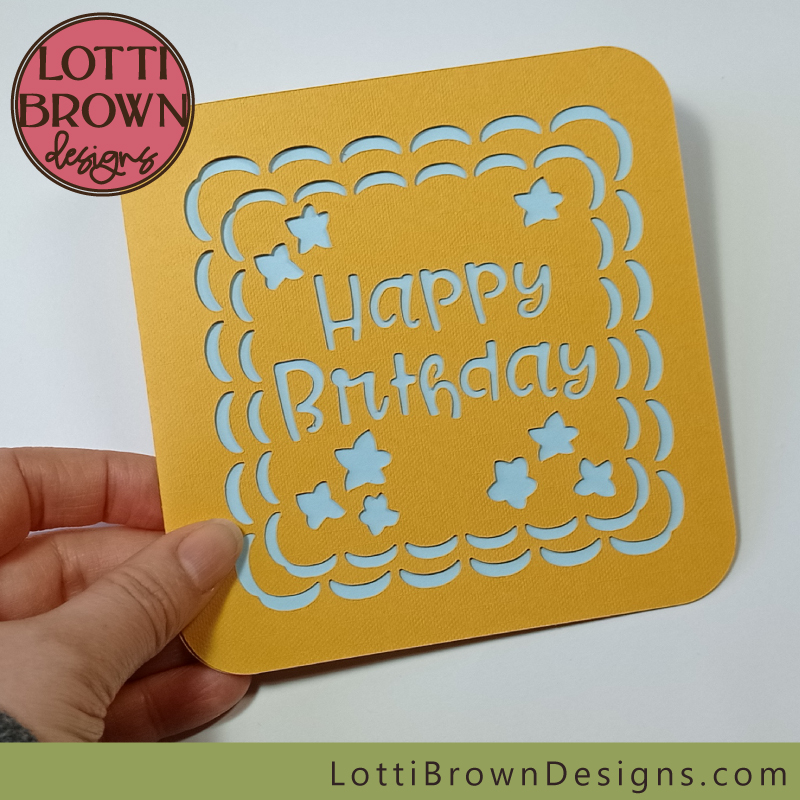 Easy birthday card made with Cricut
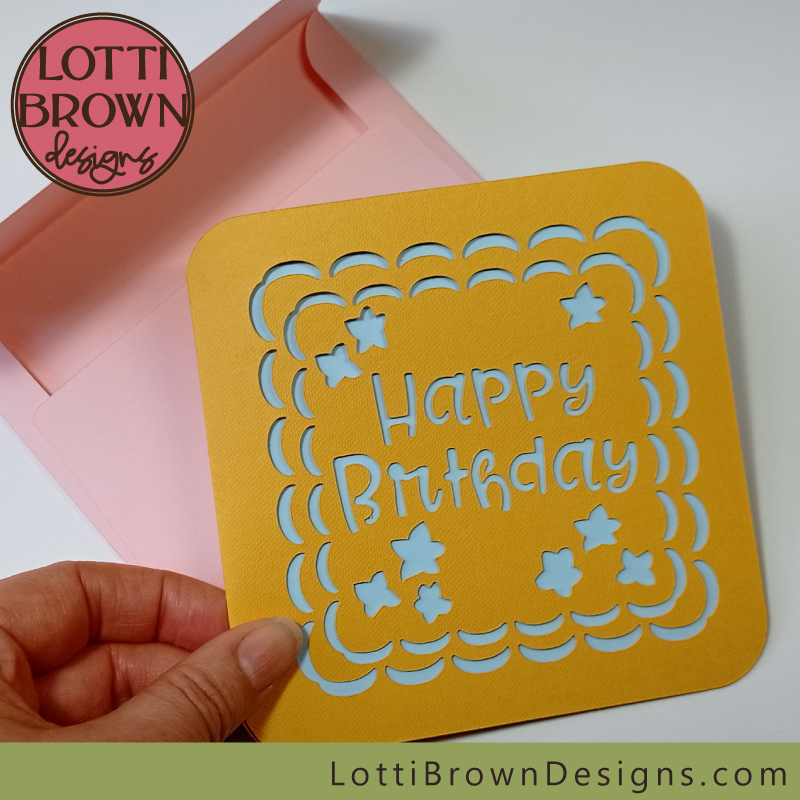 Cricut greeting card tutorial with envelope - Happy Birthday!
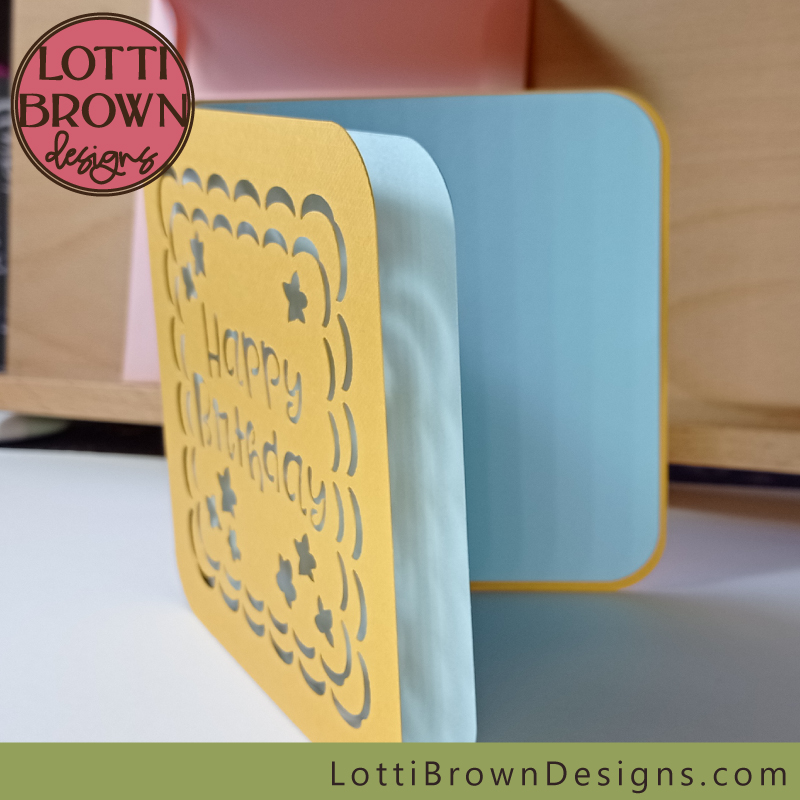 Showing how the card will open
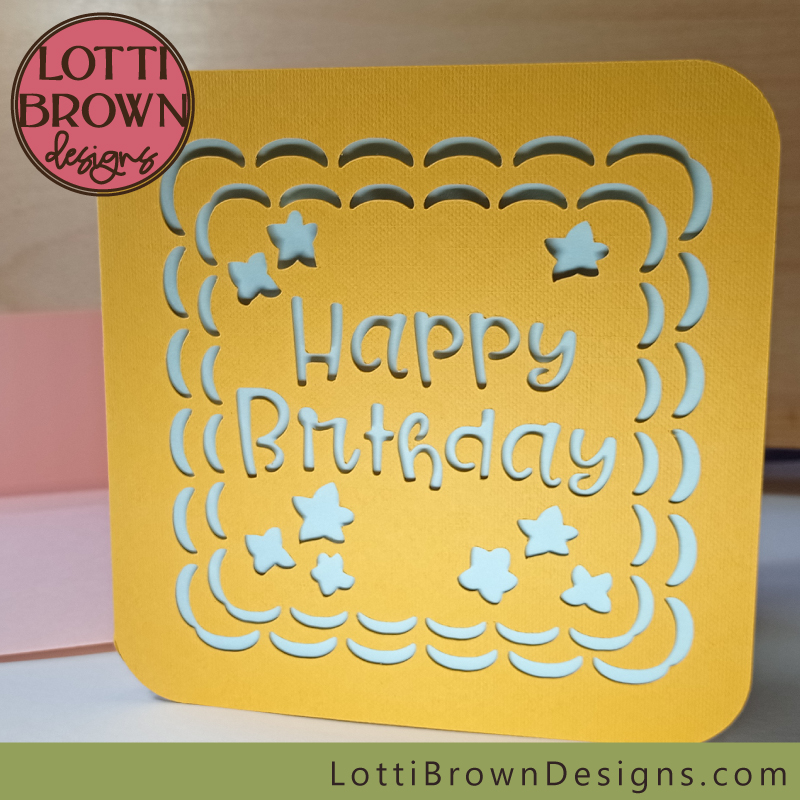 Easy and effective birthday card
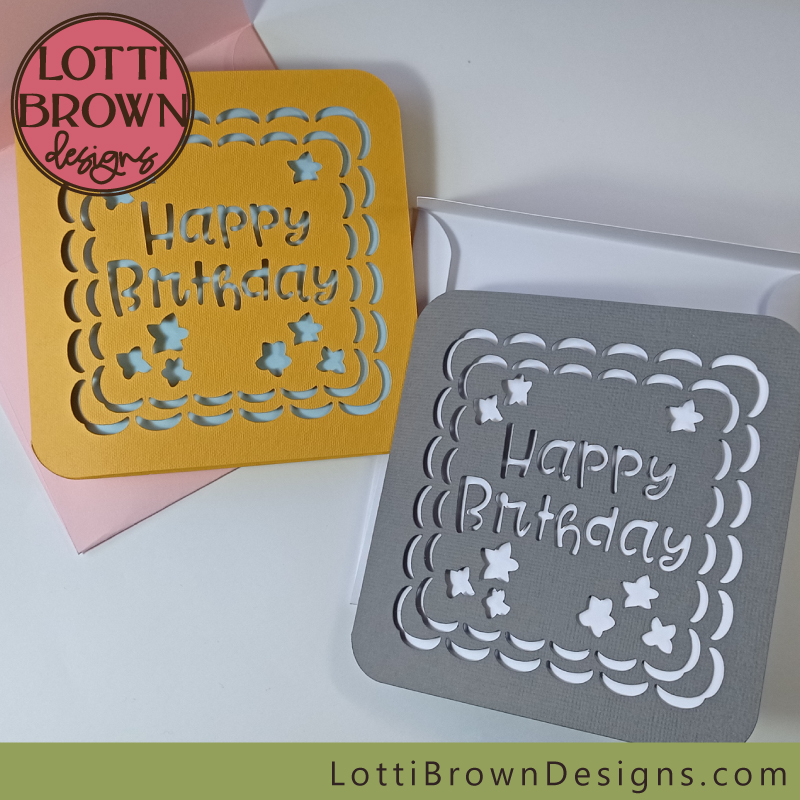 Change the colours up on your Cricut birthday card to make it suitable for men, women, kids, grannies - everyone!
One of the lovely things about these greetings cards, is that the design is so simple, it's easy to just change up the colours and make it suitable for everyone in your life - whether you want a pretty pink for your mum, a trendy teal for your teen, a fun orange for your kid, or a sophisticated neutral to suit those with more muted colour tastes, you can do all that with the same card template!
Here's a nice simple grey and white that I tried to give a beautifully simple look - perfect for your elegant friend or anyone with more minimal tastes when it comes to colour...
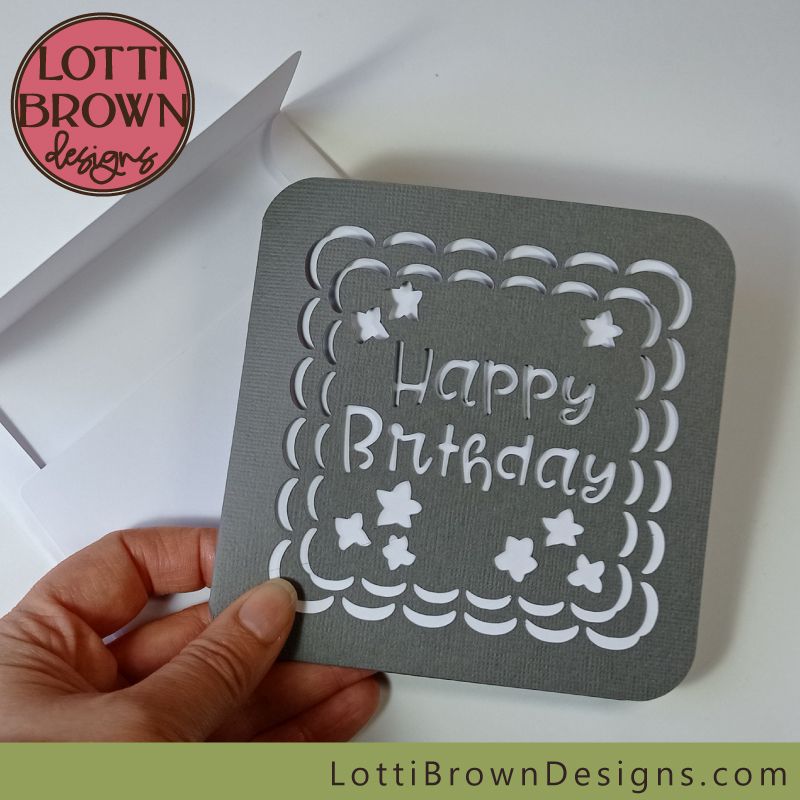 Using neutral-coloured cardstock can be incredibly effective for your home-made greetings cards - perfect to make a few and keep in stock for those unexpected birthdays that sometimes seem to just spring on us!
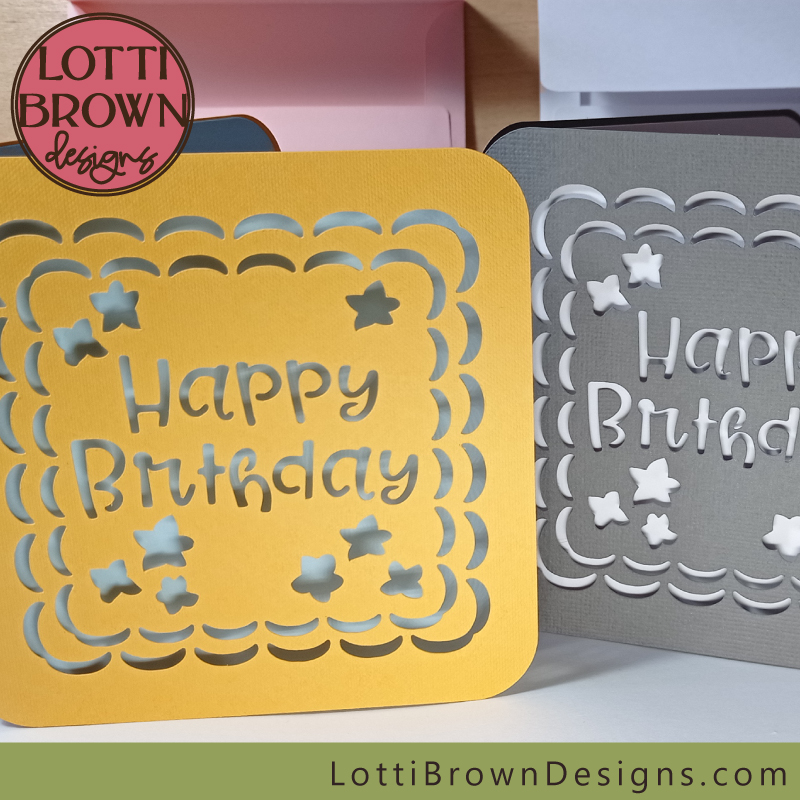 Easy birthday card tutorial - make with a Cricut
I hope you've enjoyed this easy birthday card to make with your Cricut - the greeting card tutorial will work exactly the same for all my other greetings card in this style - square with the inner card - as they're all the same basic card template with different messages and designs...
You will need this digital card template if you want to make this Happy Birthday card - you can download it from my store here...
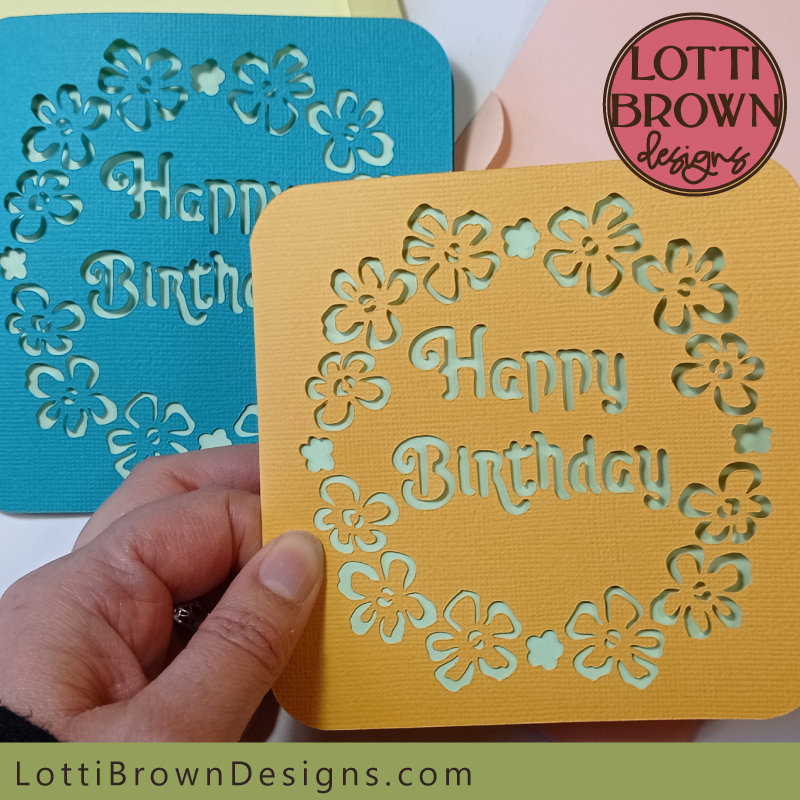
For an alternative birthday card SVG design for you to make, check out the floral Happy Birthday card on this page...
You can see the other greetings card designs in the range at this page...
To get the best out of this tutorial, remember to start with this tutorial which helps you to set the score lines correctly on your Cricut, if you need help with that...
There's also more help for using your cut files here...
More Cricut project ideas here...
And help with how to use your Cricut here...
You Might Also Like:
Lotti Brown's Designs & Templates
How-tos...
- How to use SVG cut files for Cricut (also other cut file formats & machines)
Shall we stay in touch..?
Each month, I share stories from my own nature journal, new art from my studio, and simple seasonal inspiration to help you feel more connected with the turning year...
Recent Articles
-
December Berries Folklore in Britain - Rosehips, Holly and Haws
Dec 24, 25 04:35 AM
Explore December berries folklore in Britain - rosehips, haws, holly, ivy and sloes - with seasonal nature notes, birdlife, and quiet winter magic. -
Birch Tree Symbolism, Myth, and Folklore
Dec 23, 25 04:19 AM
Explore birch tree symbolism, myth, meaning and folklore as part of my Celtic Tree Calendar art project... -
British Nature Folklore Library: Stories, Seasons & Celtic Tree Wisdom
Dec 01, 25 05:09 AM
Explore British nature folklore, Celtic tree meanings, and seasonal wildlife stories. A growing library of myth, meaning, and hand-drawn inspiration.
Follow me:
Share this page:

