SPRING 2025 - I've just completed a WEBSITE REVAMP! Everything is still here but may be in a slightly different place where than you left it and there's also lots of new sections, so if you're having trouble finding something in particular or you spot something that's not working as it should, please do get in touch and I'll do my best to help!

Layered Elf SVG Cardstock Project
Layered elf SVG cardstock craft project - let's have some festive fun!
Here, I'll share how to layer up the Christmas elf to create a cute elf from paper or card in different colours.
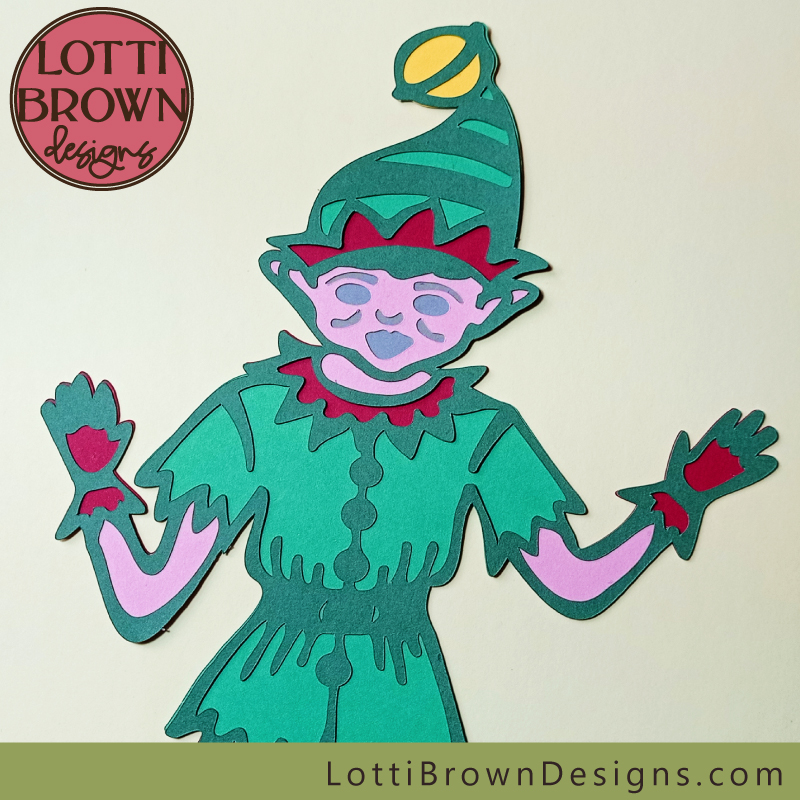 Layered elf SVG papercut project
The layered elf cut file comes in SVG, DXF, EPS and PNG formats and is suitable for papercutting, hand-cutting papercraft projects, vinyl crafts, stencilling, printing, and more. You can use it with a cutting machine such as Cricut, Silhouette, ScanNCut, and other similar machines, or complete your craft entirely by hand, whichever you choose...
The elf cut file is available for personal and small business commercial use - in both cases, for physical products only, with no digital sharing or products permitted. See all the details here...
I also have a simple Christmas elf design with no/minimal layering here...
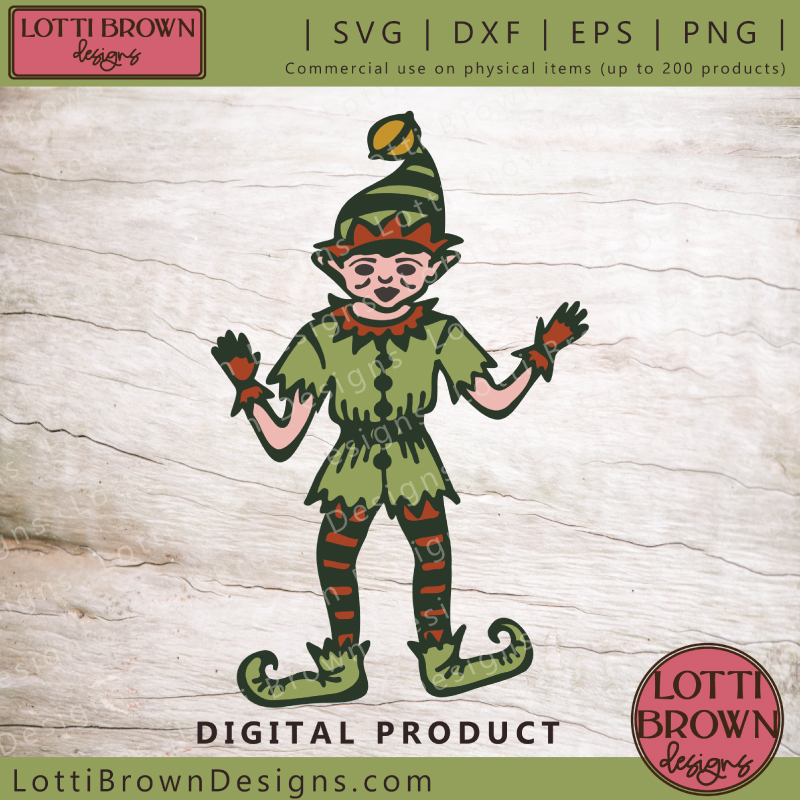 Christmas elf layered SVG file
The elf SVG papercut template comes in a layered file format - this means that you can get the multi-colour effect by building up different layers of different colours. It's actually pretty easy to do and I'll show you exactly the right steps to get all the layers in the right place and the right order!
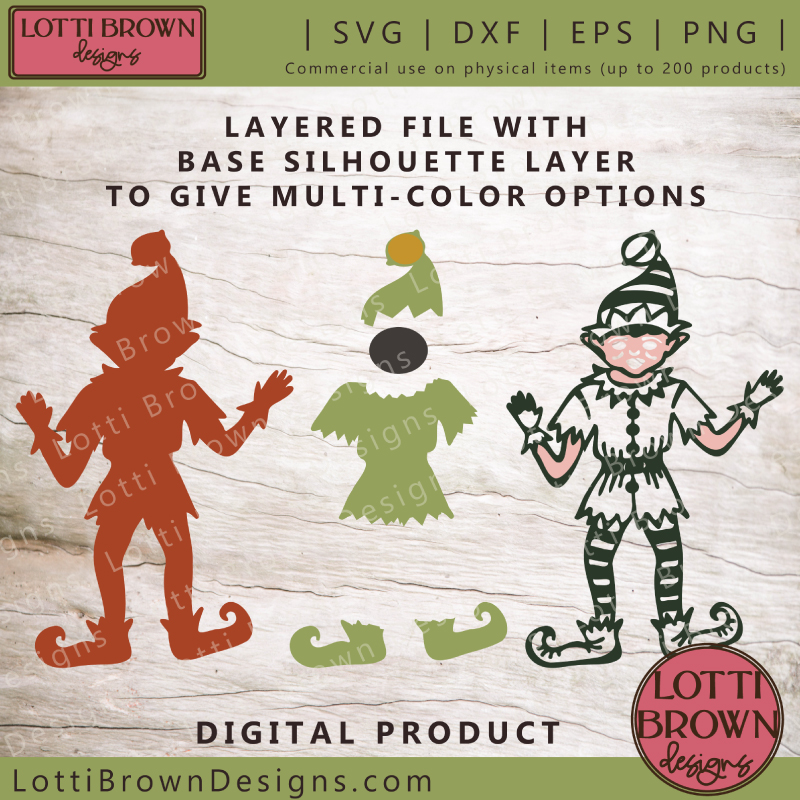 Showing how all the layers separate out to build up the elf
We will be layering up the elf, roughly as above, so you can use this image to refer back to as a swift reminder, if you need to. The files are also presented with the layers in the correct order, too.
How to make the cardstock elf SVG project
What you will need:
- the multi-layered elf cut file from my store - available for instant download worldwide - SVG/DXF/EPS/PNG formats
- card, paper, vinyl or other suitable materials in five or six different colours - I'm using cardstock - I've used red and green to keep a festive feel, pink for the skin, a dark green for the outline (top layer) and a grey for the features (fits behind the face). Yellow is also nice for the bell. Feel free to use whichever colours you have in your stash or any that you feel are more suitable. You could also try switching the red and green about for an alternative look, too.
- cutting machine & software/tools OR printer & craft knife
- suitable adhesive for your chosen material - for paper or card, try adhesive foam pieces, glue dots, or micro-dots. I'm using micro-dots for this project as they're particularly good for the intricate cut areas.
Let's get started!
So let's get started - you will need to have cut the layers out, with a cutting machine or by hand, in the materials of your choice...
If you need any help with your file, look here...
I cut the parts for my Christmas elf with my Cricut Maker cutting machine...
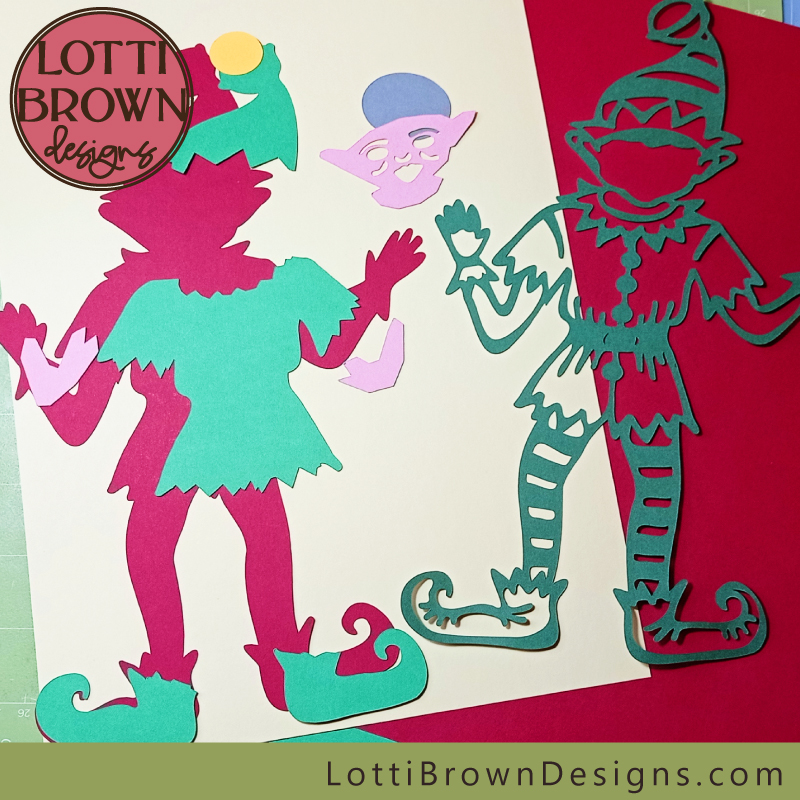 Get all your cut card together ready to make your elf
- First things first, gather everything together, making sure you've got all the layers. Have a little look at everything and try and make sure the card is all facing the right way round so things fit together easily when you're ready to get sticking!
- Our first job is to attach the little bell to the top of the elf's hat - I find it easiest to work from behind. Attach some micro-dots or other adhesive to the reverse of the bell on the top/outline layer - and stick the yellow bell to the back of the hat (see below, seen from the front of the papercut)...
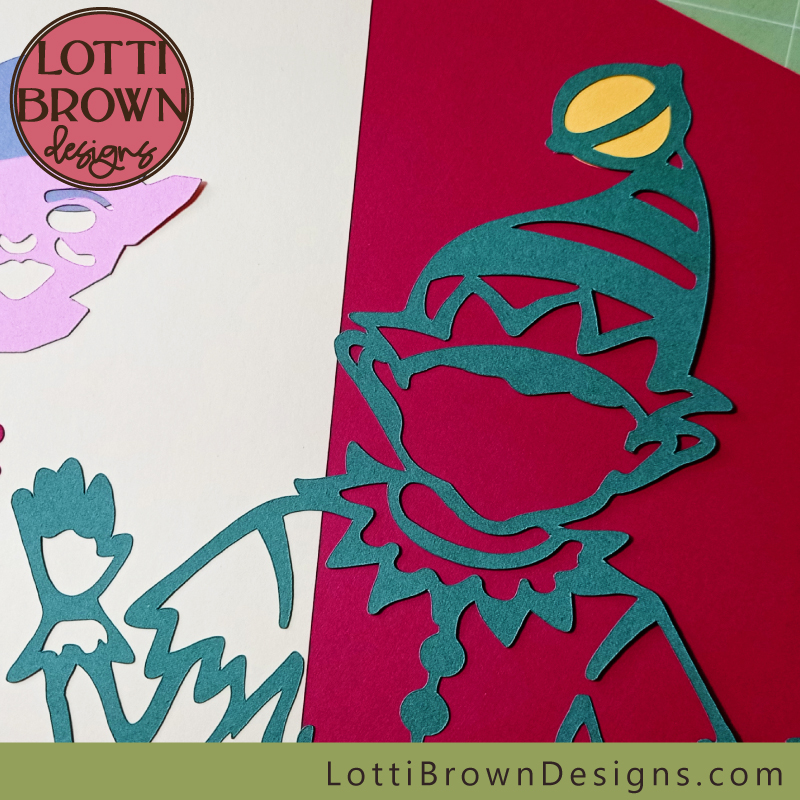 Attach the yellow bell to the elf's hat
- Stick from behind, but also then turn your elf to the front (as above) to check everything looks good from the front side, with no gaps or anything poking out where it shouldn't be. Sometimes it can take a little time to get the layers in exactly the right place, so just stay patient and adjust as needed while your glue is still flexible.
- Next, it's time for the face and arms to be fixed in place. Again, these are fixed to the reverse of the main top layer (the outline layer). Your little elf should be looking something like the image below...
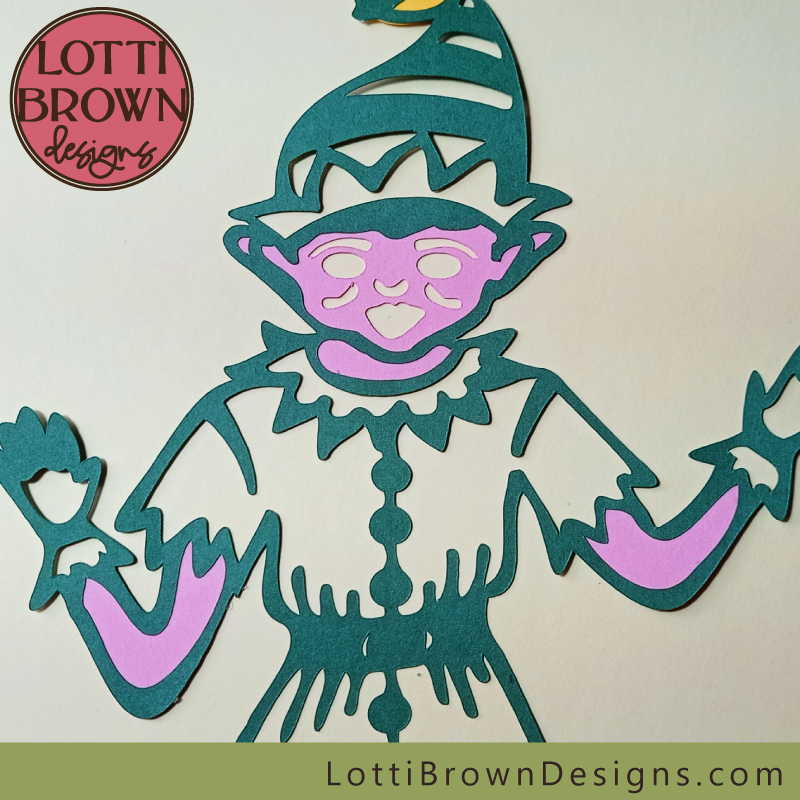 Put the face and arms of the elf in position - again, work from the back, but check it from the front (this is the front)
- Next, we'll put a circle of card behind the face. This will provide the colour for the eyes, nose and mouth. This is easily done from behind (see below)...
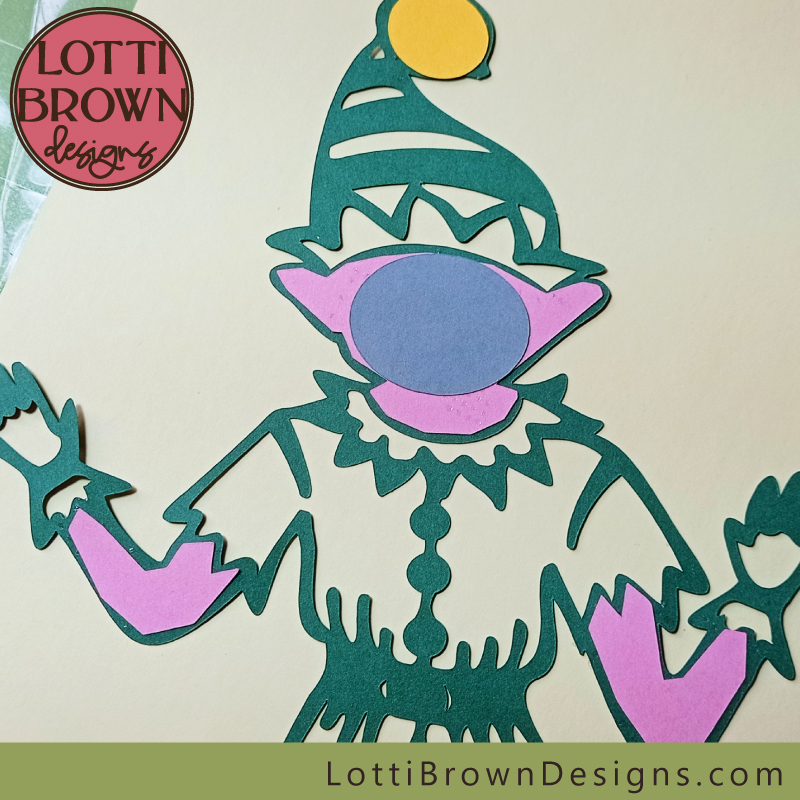 Add a circle of card behind the face
- When you turn over your elf, he should look something like the image below...
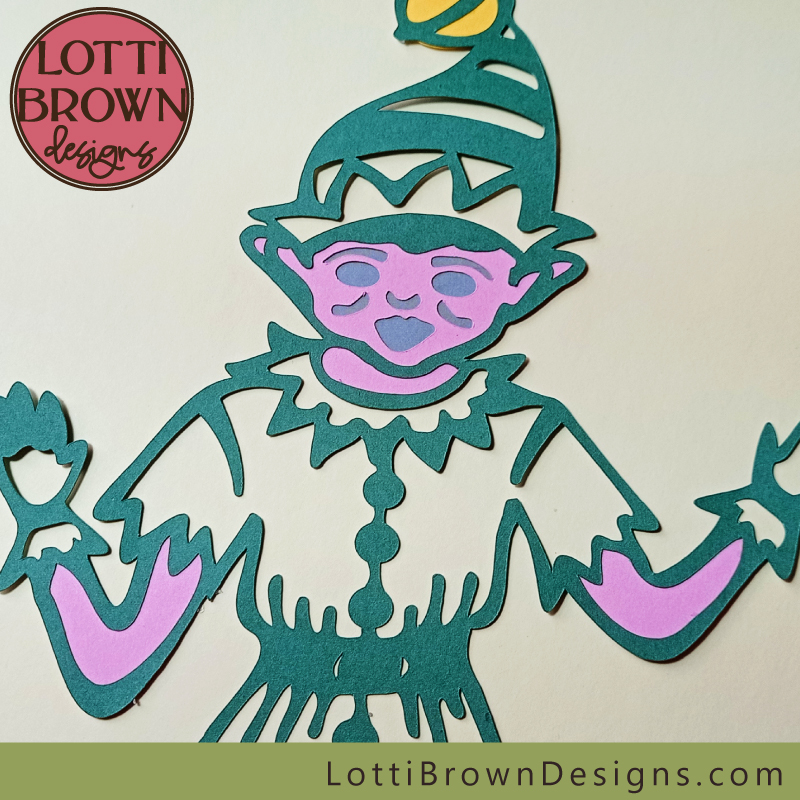 I'm smiling now because I'm happy I have a face!
- Now, we can put this part we've been working on aside for a minute, and take the red base layer and the green clothing layer...
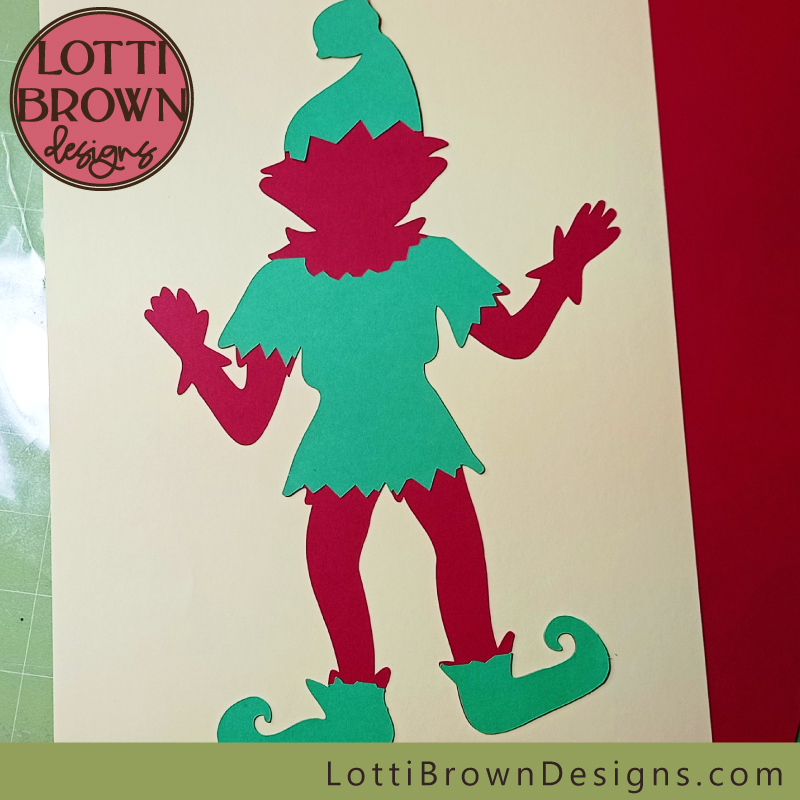 Add the green clothing to the red base layer
- Each clothing item should fit exactly aligned with the base layer around the outer edges, so just line them up carefully in position and stick them down.
- Now, the only thing left to do is to stick together the two parts of the project - the red & green base layer we've just been working on, and the top part which we worked with first. Make sure they're nicely stuck down around all the edges to stop his hands, toes or hat flopping around! (Micro-dots are great for this!) And we should have a papercut elf who looks something like the image below...
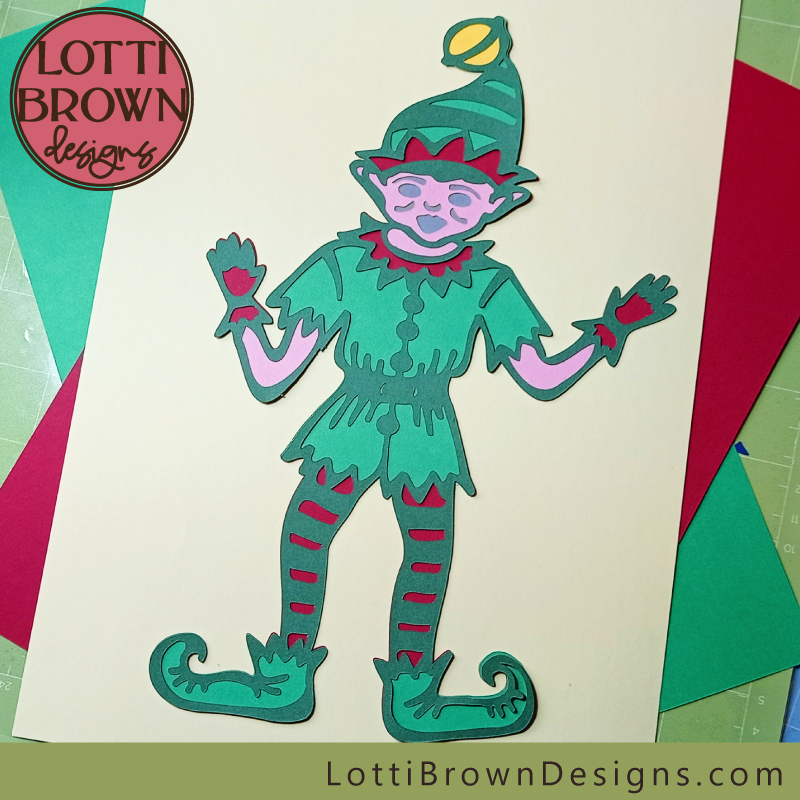 The completed elf layered cardstock project
I think my cute elf SVG project is great fun and very Christmassy! I decided to call my papercut elf Edwin - I'm going to pop him in the window near the front door at Christmas, so he can peep out at visitors and passers-by!
Do let me know how your elf crafting goes too, and what plans you have for your elf. I'd love to know where the elf family all end up!
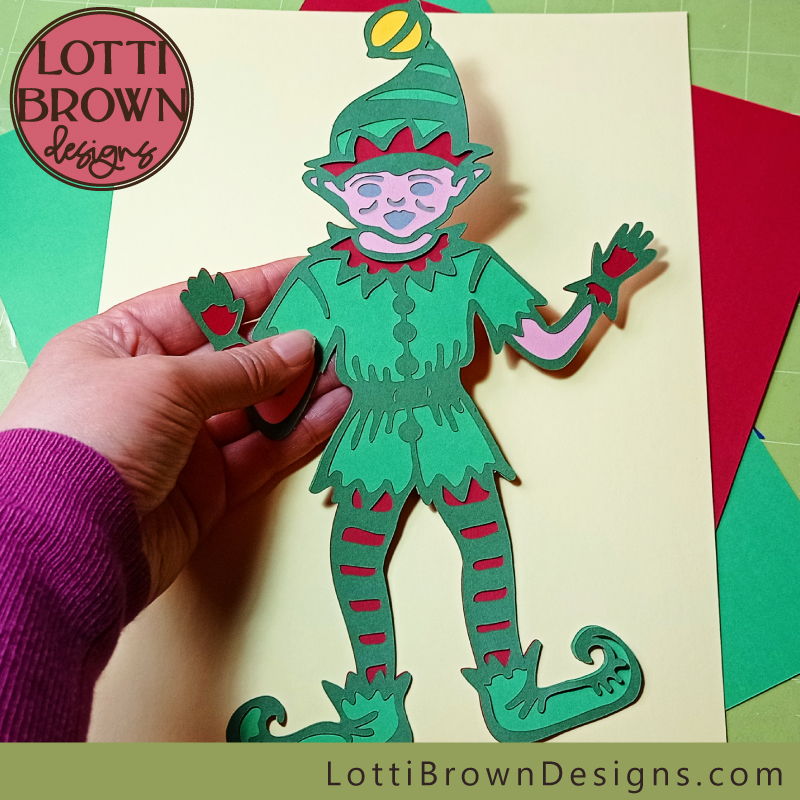 Cardstock elf project for Christmas
If this papercut elf tutorial inspired you to create your own Christmas elf from paper (or perhaps another material), you can buy the elf SVG cut file here, from my store - it's available in SVG, EPS, PNG, and DXF formats - suitable for Cricut, Silhouette, ScanNCut, and other cutting machines, or for cutting by hand.
You can use the elf SVG file for personal crafting use or for small business commercial use - in both cases for physical products only, no digital products or shares allowed (please see the terms of use on my website here).
Please note that if you're using vinyl for this project, you might prefer to 'slice' some of the layers in your design space, as an alternative to layering up.
I also have a very similar elf cut file with no/minimal layering, which may suit your project better - you can find him here...
You can also see more Christmas SVG designs here...
You Might Also Like:
Lotti Brown's Designs & Templates
How-tos...
- How to use SVG cut files for Cricut (also other cut file formats & machines)
Want to keep in touch?
Sign up below for my free email newsletter...
My newsletter is usually sent out once a month (at the end of one month or the start of the following month) and you can unsubscribe any time...
Sign up below...!
Recent Articles
-
Willow Tree Symbolism and Celtic Willow Art
Apr 11, 25 05:43 AM
Explore willow tree symbolism and meaning - Celtic willow art and printed products... -
Wild Dog Rose Pattern & Products
Apr 07, 25 06:12 AM
Pretty dog rose pattern and products in a nostalgic heritage style recalling pretty hedgerows of flowers... -
British Robin Book Recommendations
Apr 04, 25 06:26 AM
My British Robin book reviews and recommendations - learn about Britain's favourite bird...
Follow me:
Share this page:


