SPRING 2025 - I've just completed a WEBSITE REVAMP! Everything is still here but may be in a slightly different place where than you left it and there's also lots of new sections, so if you're having trouble finding something in particular or you spot something that's not working as it should, please do get in touch and I'll do my best to help!

How to Use your Cricut with Vinyl
- Home
- SVG files
- How to Use a Cricut
- How to Use Vinyl
How to use your Cricut with vinyl - instructions for beginners.
I love using my Cricut Maker and cut lots of card and paper with it. Even though my Cricut arrived with a starter pack of vinyl with it, it took a little time to work up the courage to use it...
I thought it was going to be complex or awkward - how wrong was I!
Using vinyl with your Cricut is easy and fun - once I got started I LOVED it and I'm thinking of where I can stick vinyl next!
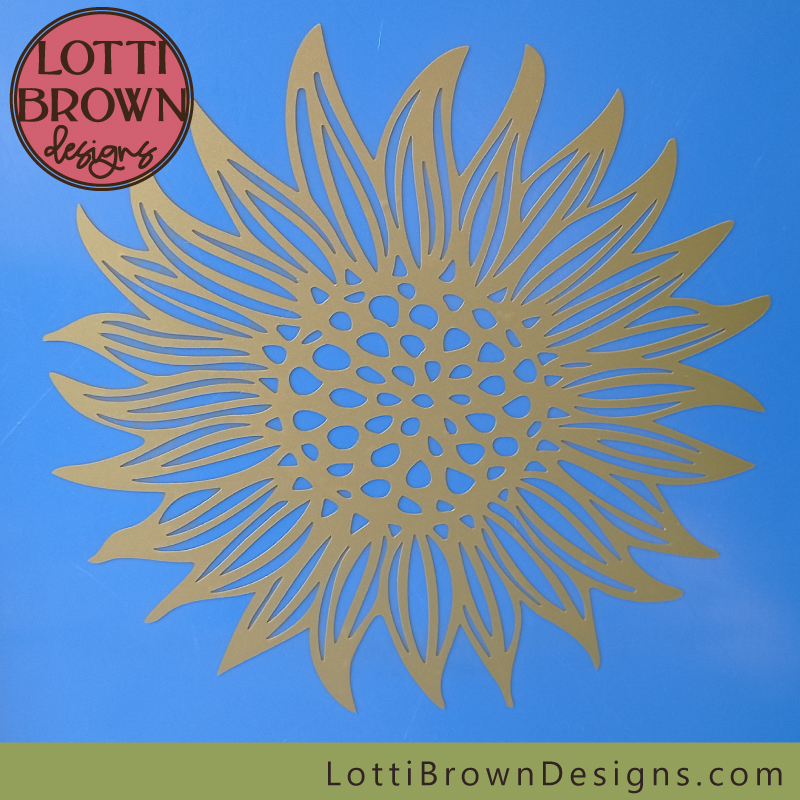
These Cricut vinyl cutting instructions follows a project I did to decorate my bins with my sunflower design - and I'm very happy to tell you it turned out well!
 Learn how to use your Cricut with vinyl
How to use your Cricut with vinyl
There are all different kinds of Cricut vinyl available - as this is a beginner vinyl cutting project, let's stick to the ordinary standard vinyl... (read more about vinyl types and tips for using it here).
What you'll need:
- Cricut cutting machine
- Sheet of vinyl - I'm using Cricut premium removable vinyl but any standard removable or permanent vinyl will work for the project
- Sheet of transfer paper or transfer tape
- Sticky mat (blue)
- Weeding tool
- Scraper tool
- Everything I used was made by Cricut - other materials or tools may work slightly differently - please check before using.
I'm making a vinyl from my own sunflower design, available here...
Vinyl cutting instructions
- Let's start by sticking down the vinyl to the sticky mat. The blue mat (the least sticky) is recommended for cutting vinyl. If you've been using your standard (green) mat a while and it's lost some of its stickiness, you could use that instead. You might be wondering which side of vinyl goes down on the Cricut sticky mat - the answer is the backing sheet should stick to the mat, leaving the vinyl side (the coloured side) facing up.
- With your design prepared in Cricut Design Space, send your design to cut. You should make sure that you select the correct material type and cutting pressure for your machine. In Cricut Design Space I selected 'Vinyl' as my material type with standard pressure. This cuts the vinyl but leaves the backing paper uncut - this is called a 'kiss cut'.
- With your vinyl cut, you need to 'weed' out the bits you don't want. You can either leave the vinyl on your mat to do this, or take it off. I usually take it off - just peel the entire sheet away from one of the corners and take it somewhere to weed using the weeding tool. Pick at a corner or edge with the tool and the vinyl seems to peel away nicely and it's very satisfying to weed.
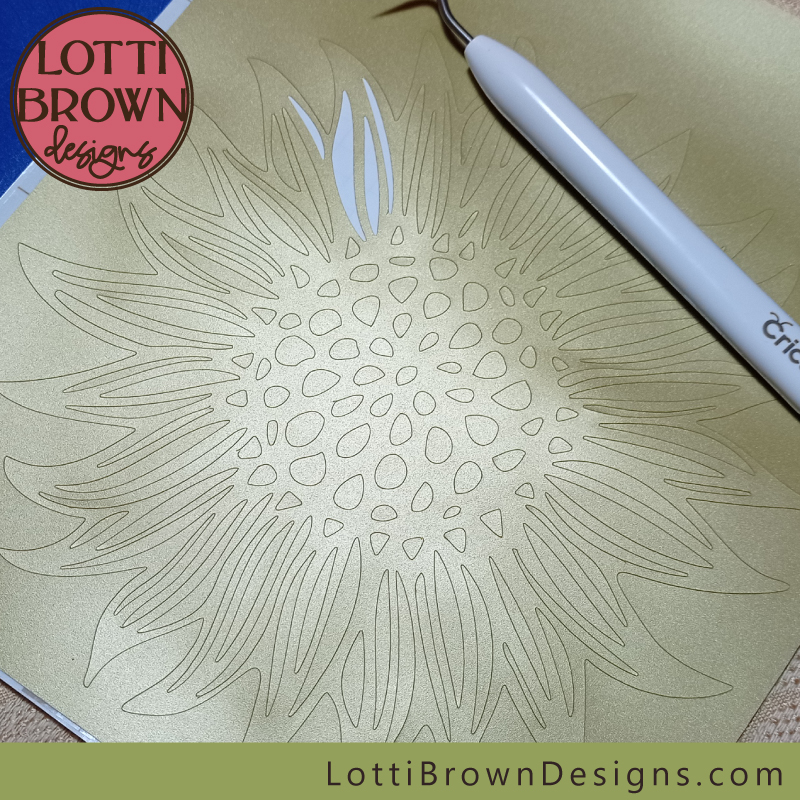 Look at your design carefully and take care to start removing the parts you DON'T want as part of the design - just pick at them with the weeding tool and they'll come away from the backing sheet
- Continue weeding until you've removed all the bits that don't belong with the design. When you're done, it should look something like the vinyl design below - everything around the edge gone, and all the detail weeded out.
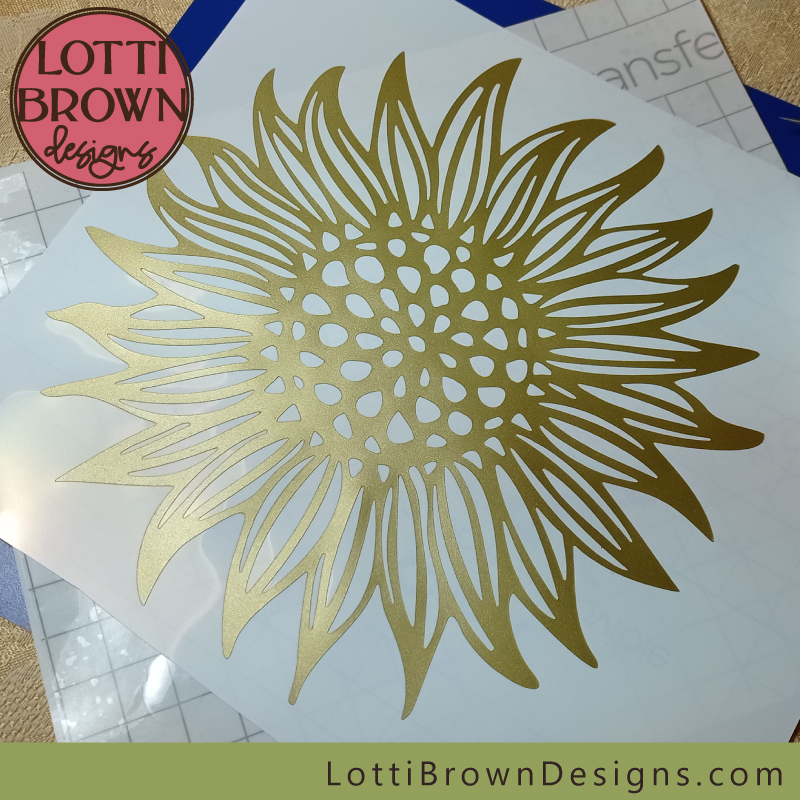 The design is now weeded with all unwanted vinyl remove - please note that the design is still stuck to the backing sheet at this stage
- Next, we're going to apply the transfer paper (also called transfer tape). What we're going to do is 'transfer' the design to a sticky piece of paper while we move it across to the place we want to stick it - then we can 'transfer' it onto that... and this is how we do it...
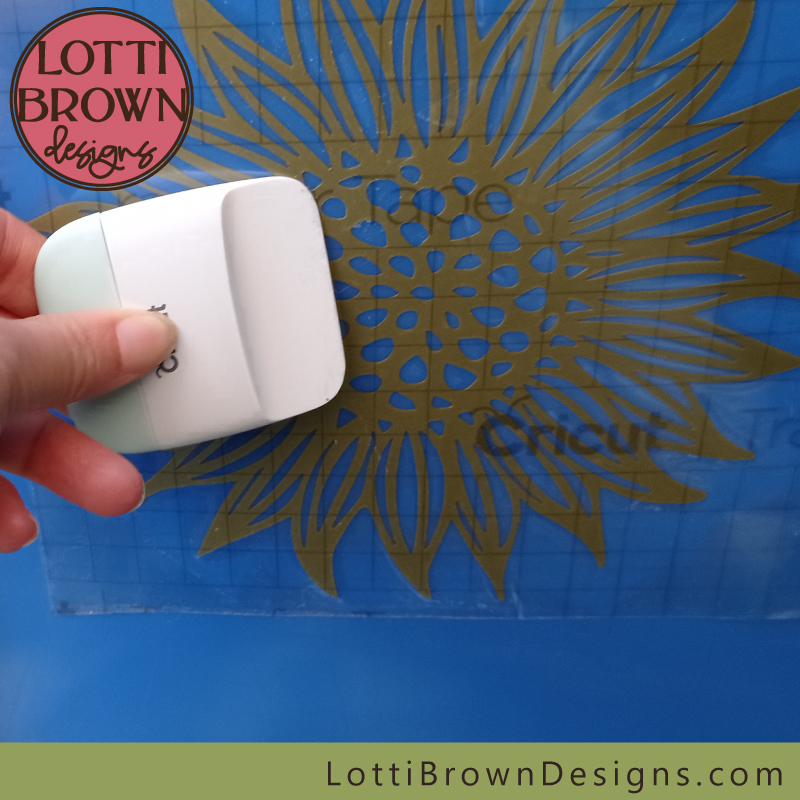
- Unpeel the transfer paper from its backing sheet and lay the transfer paper sticky side down onto the top of your vinyl design - to make sure the transfer paper picks up the vinyl, we need to 'burnish' it. We do this just by rubbing our scraper tool over the top of the transfer paper where your vinyl design is.
- IMPORTANT - don't throw away the transfer paper backing sheet - we'll need it later!
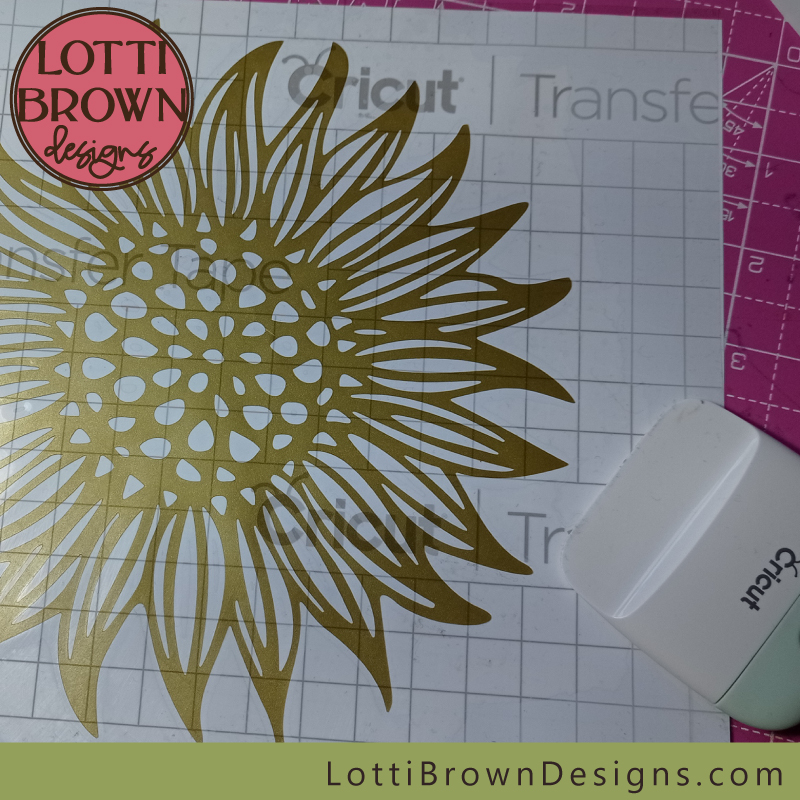 Lay the transfer paper sticky side down over the design then rub it with the scraper tool to burnish it - this makes the vinyl stick to the transfer paper not the backing sheet
- The transfer paper needs to 'pick up' the vinyl (stick to it). We can test this by starting to roll back the edges of the transfer paper to lift it from the vinyl backing and see if the design comes with it. If not, pop it back down and rub some more.
- When you're ready, lift the transfer paper (complete with vinyl design) away from the backing sheet... It's easiest to do this in a rolling motion, pulling the top layer right back away from the backing (as below). Go gently to make sure everything is stuck where it should be!
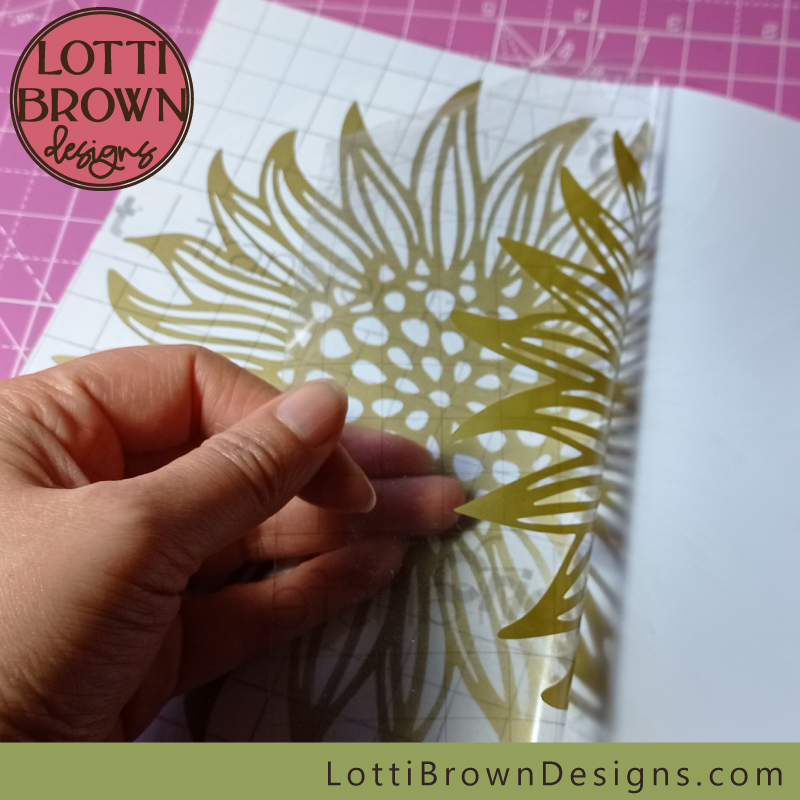 Roll back the transfer paper and the vinyl design should come with it
- Pop everything somewhere safe, sticky-side up, while you prepare the surface you'll be sticking the design to.
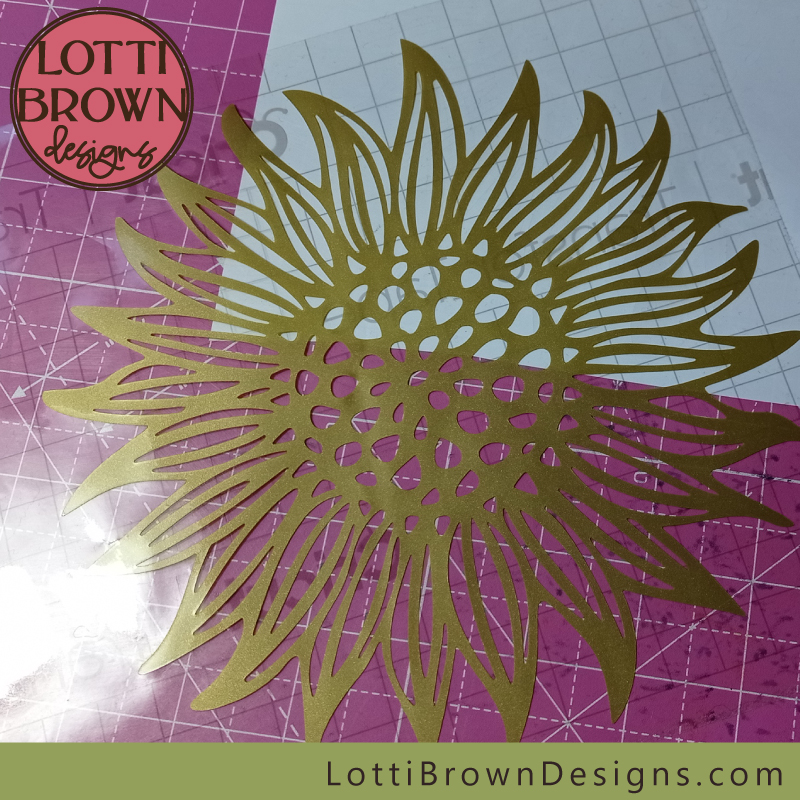 Leave me sticky side up until you're ready to apply me in the intended position!
- Next, get ready to apply the vinyl to the desired location, which should be clean, dry and smooth. Just stick it down where you want it to go - sticky side down...
- We're then going to burnish the vinyl again so that it sticks to the final surface rather than the transfer paper. Just rub with the scraper tool as you did before, still over the top of the transfer paper, making sure to get to all the edges of the design.
 Rub the vinyl again with the scraper tool (transfer paper still in place)
- The final step is just to remove the transfer paper - it should come away easily now, but just roll it back gently as before making sure that your vinyl design has stuck down onto your surface. Pop your transfer paper back down and rub a bit more if it hasn't quite stuck.
 The completed vinyl design project
Well done! Your vinyl cutting project is complete!
One last tip is to keep your transfer paper - stick it back onto its backing sheet (you did save it earlier in the project, didn't you?). You can use it again while it's still sticky and it should last several uses at least.
I hope that's helped and you feel a bit more confident with how to use your Cricut with vinyl now - have fun and keep creating!
If you like the sunflower design I used, you can find it here...
Understand different vinyl types, terms and techniques here...
More help with using your cutting machine here...
You Might Also Like:
Lotti Brown's Designs & Templates
How-tos...
- How to use SVG cut files for Cricut (also other cut file formats & machines)
Want to keep in touch?
Sign up below for my free email newsletter...
My newsletter is usually sent out once a month (at the end of one month or the start of the following month) and you can unsubscribe any time...
Sign up below...!
Recent Articles
-
Willow Tree Symbolism and Celtic Willow Art
Apr 11, 25 05:43 AM
Explore willow tree symbolism and meaning - Celtic willow art and printed products... -
Wild Dog Rose Pattern & Products
Apr 07, 25 06:12 AM
Pretty dog rose pattern and products in a nostalgic heritage style recalling pretty hedgerows of flowers... -
British Robin Book Recommendations
Apr 04, 25 06:26 AM
My British Robin book reviews and recommendations - learn about Britain's favourite bird...
Follow me:
Share this page:


