*** IMPORTANT - I'm retiring my digital files - SVG/PNG/DXF/EPS - and printables from 31st December 2025 ***
*** Please ensure that you have everything you need - files and/or instructions printed off from the website (find them currently in the ARCHIVES section) - by 31st December 2025 as they will not be available after this date ***

Mermaid Cut File Shadow Box Template
- Home
- SVG files
- Shadow Box SVGs
- Mermaid Shadow Box
Pretty mermaid cut file template to make a colourful under-the-sea themed mermaid shadow box with your cutting machine...
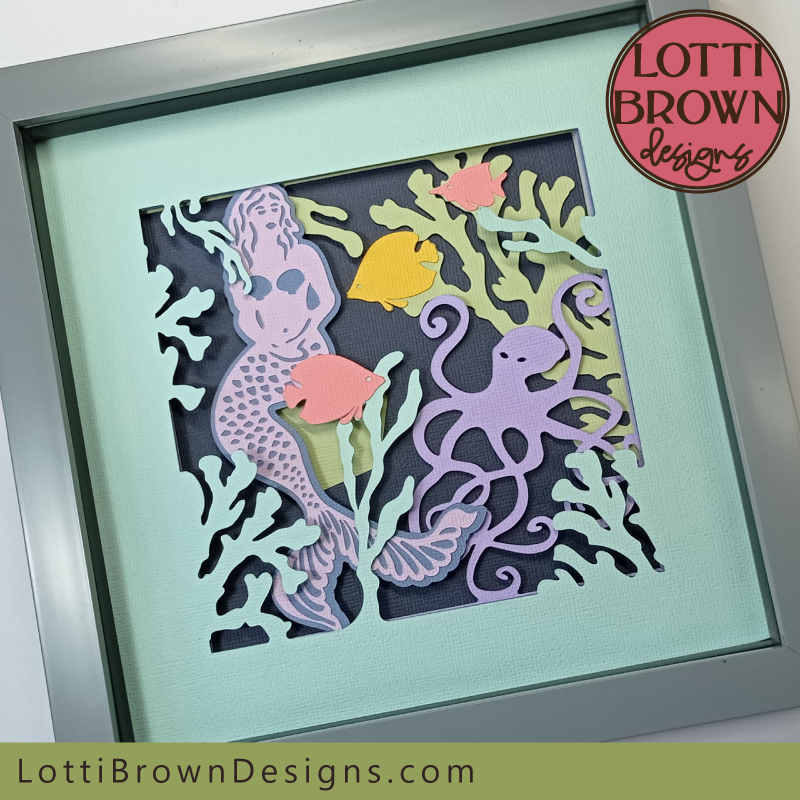 Mermaid shadow box template
Get your mermaid shadow box cut file from my store here...
Digital cut file for a shadow box with under the sea mermaid design
Ideal for Cricut and similar cutting machines or hand-cut papercutting projects
SVG, DXF, EPS and PNG file formats
For personal use & small-business commercial use
For physical/craft products only - no digital products, use, or sharing
Mermaid Cut File Shadow Box Template
 Mermaid shadow box SVG template for crafting with your Cricut
When I was designing this mermaid cut file template for you, I wanted to create something colourful, magical, and with a real flowing, watery, under-the-sea feel. I hope that I've achieved it with this beautiful shadow box template! I certainly had lots of fun designing it and I hope that you'll have just as much fun making it, too!
There are quite a lot of layers for this mermaid shadow box, but quite a few of them are just small items to glue on to add some colourful fish! And one of them is a simple plain square to make the background. So it's still a nice easy project to make and I'll take you through step by step in any case!
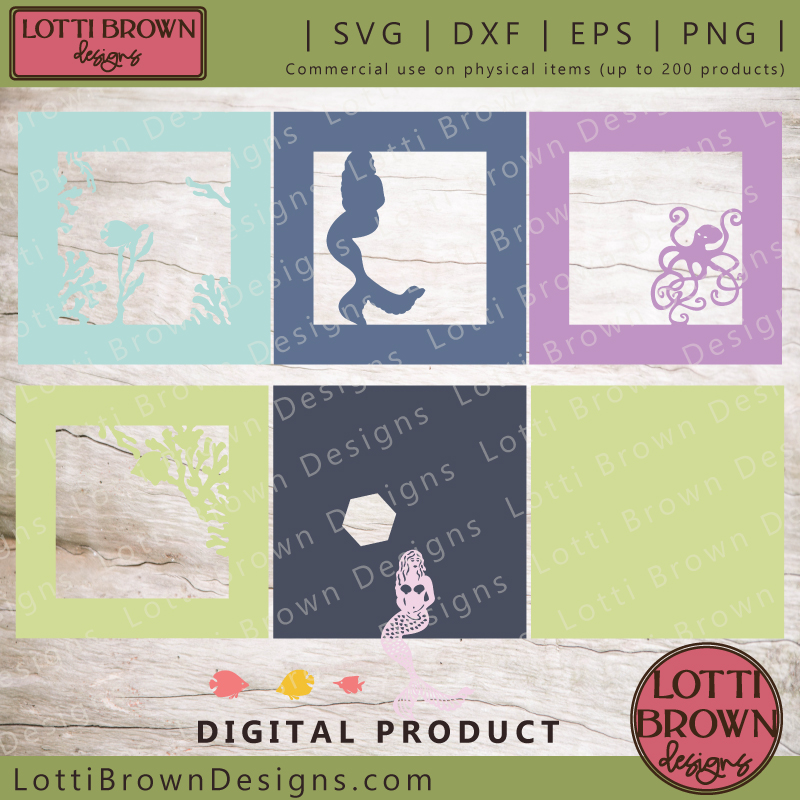 Layered mermaid cut file template - SVG, DXF, EPS, PNG
What you'll need:
- Cardstock - in around eight different colours (more colour ideas just below). I used Sizzix Surfacez textured cardstock for everything and used the Cardstock for Intricate Cuts setting in Cricut Design Space. If you need tips for choosing and using cardstock with a Cricut, you can find those here...
- Double-sided sticky pads - to separate the layers and give a bit of depth to give the 3D or 'shadow' effect
- Paper glue, such as a stick glue - to glue down the smaller and more intricate elements
- Frame - a box frame that's a little deeper will give you the best results for your shadow box. My frame is around 8 x 8 inches (20 x 20cm)
- A way to cut your card layers - I'm using my Cricut Maker cutting machine. You will be also able to use the template with other cutting machines or if you want to cut by hand
- The mermaid cut file shadow box template - available from my store here
Craft Tutorial for Your Mermaid Shadow Box Template
If you want to print the instructions, you can do so by using the print button below. This will allow you to choose the parts of the page you do and don't want to print. The button can also be found on the top right of the page, and right at the bottom, beneath where the instructions end.
First, measure your own shadow box frame and resize the template in your cutting machine program to suit your own frame. I'm using a 20 x 20cm (8 x 8 inch) frame and the SVG file is sized to suit my individual frame.
If you need the measurements for my SVG, take a look below:
- Square layers: 20.04 x 20.04 cm (7.87 x 7.87 inches)
- Larger pink fish (layer 1- top): 3.17 x 2.29 cm (1.25 x 0.9 inches)
- Mermaid (layer 3): 7.44 x 14.03 cm (2.93 x 5.52 inches)
- Yellow fish (layer 6): 3.03 x 2.41 cm (1.19 x 0.95 inches)
- Smaller pink fish (layer 7): 2.53 x 1.42 cm (1 x 0.56 inches)
If you need help with resizing PNG files, there's some info and ideas on this page.
If you need help with downloading, opening, or using your SVG or other file types, that's here...
And I have some basic help with using a Cricut here, too.
Choosing Colours for your Mermaid Scene
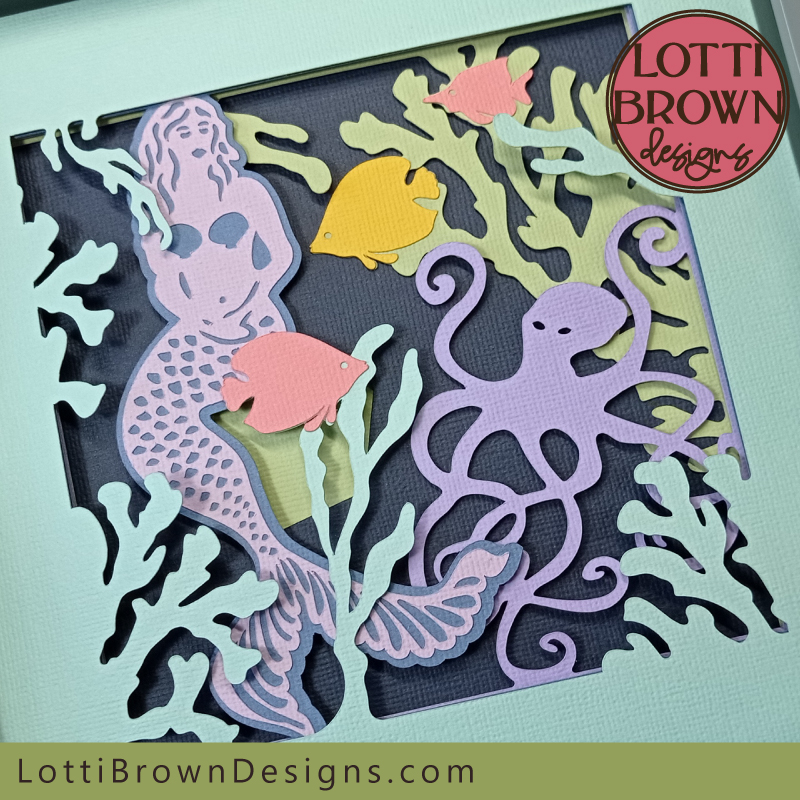 Colourful mermaid shadow box idea in lilacs and greens
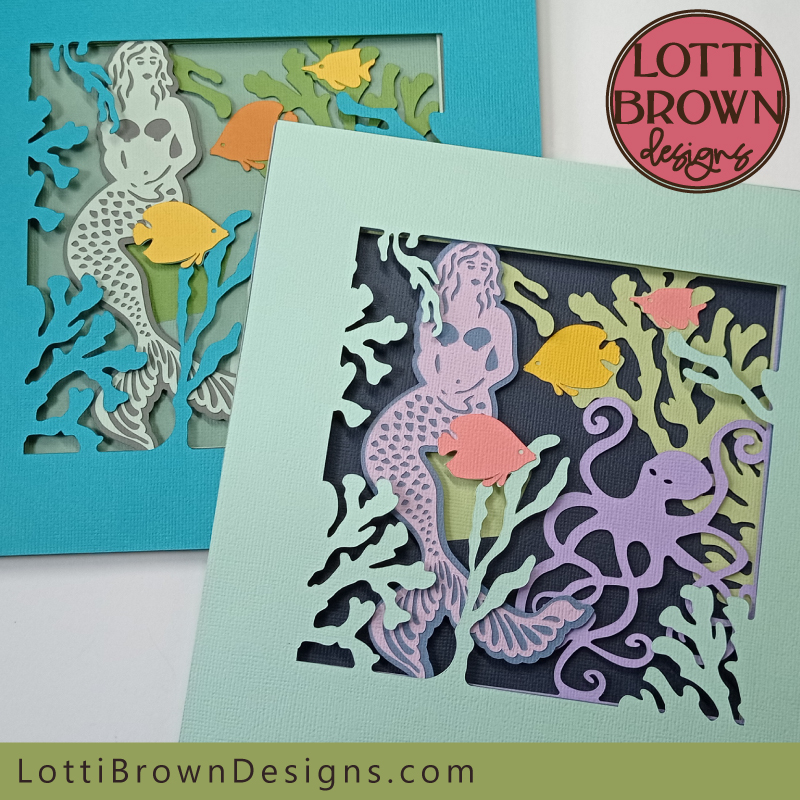
My mermaid cut file template is in the colours you see above - with lilac (2 shades) for the mermaid and octopus, pale greens (2 shades) for the seaweeds, and yellow and pink fishes with a dark blue background.
I also made an alternative version, which you can see in the image below. This has the mermaid and octopus in an off-white (actually a very pale green) with teal and lime green seaweed and yellow and orange fishes and a paler soft-green background.
For both versions, I tried to think of watery colours - so blues and greens - to form most of the scene. The lilacs, pinks, and pale colours in my main version give a more mystical or magical feel to the project, or even a tropical look, which you might like.
The little fish are a good opportunity to pick bright spots of colours to really stand out against the water and seaweed, so you can have some fun with that.
Definitely experiment with colours and make it your own. It's a fun and colourful design so have fun and get creative with it!
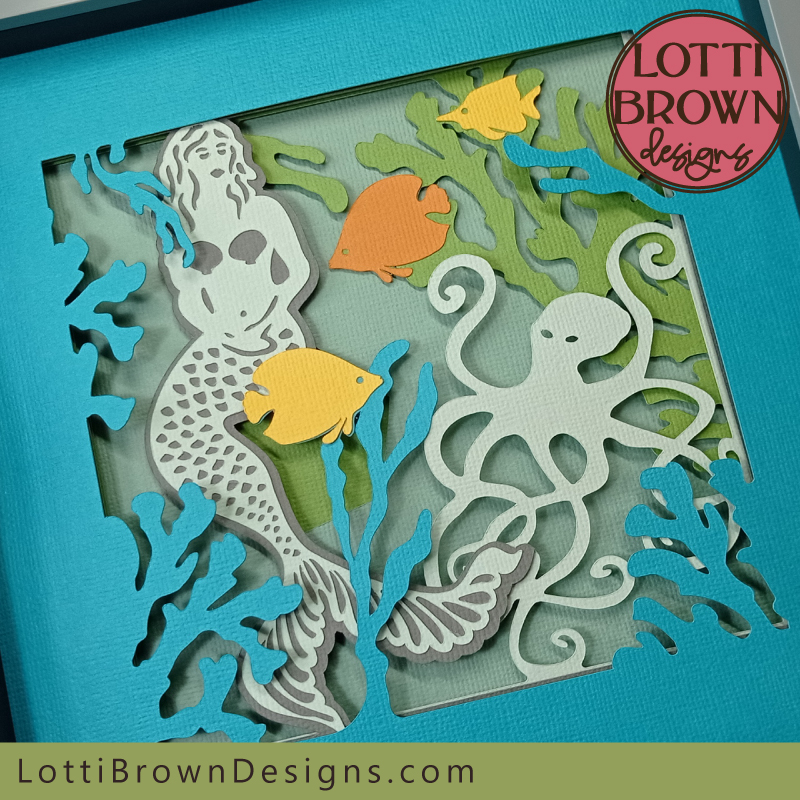 Mermaid scene in teal, green, yellow and orange
Once you've chosen your colours and cut your layers, according to your usual cutting machine process, we can get on and start assembling your mermaid shadow box project.
If you need any help with getting to this point, check here and here...
How to Put Together your Mermaid Shadow Box
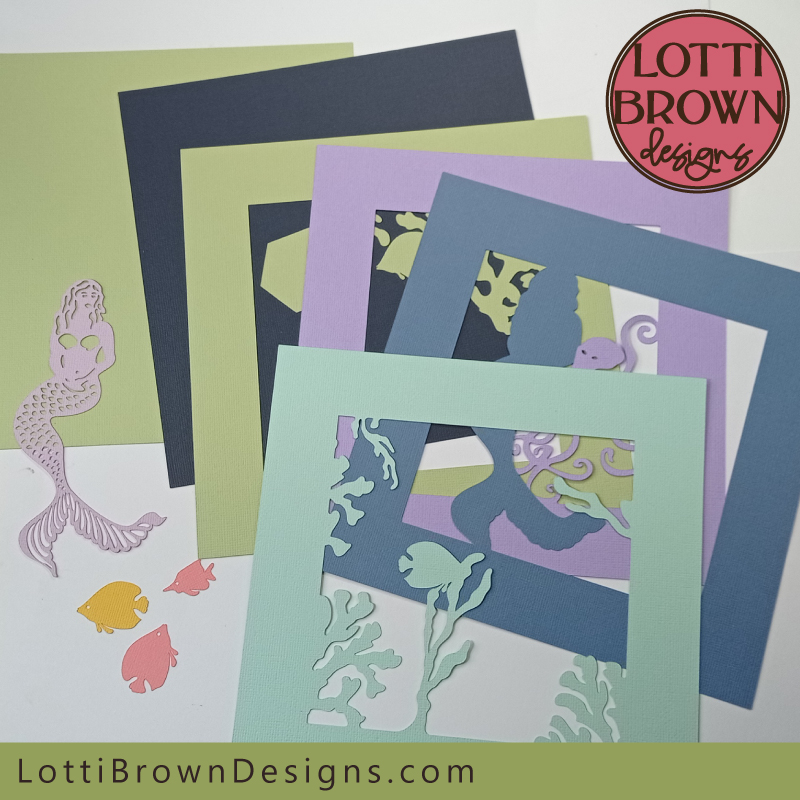 All the layers cut and ready
- I nearly always find it easiest to start from the back (or bottom) when assembling my shadow box layers - so let's start with the first two layers - the plain green square and the dark blue square with the hexagonal shape cut out, like you can see in my image below...
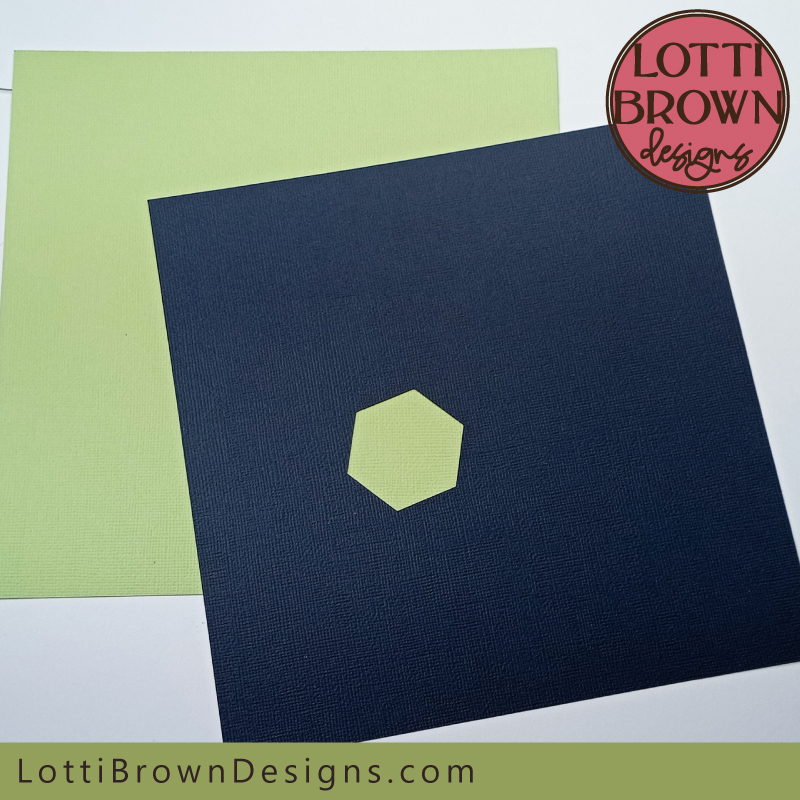 Start with the bottom two layers
- We're going to use double-sided sticky tabs to separate each of the layers as well as stick them together. The separation allows the more 3-D effect to happen to create the shadow effects for your shadow box...
- You can see in the image below that I've used three sticky tabs per side, on the back of the layer. You can use more or less, as you wish. I'm keeping them around the edge as it's best if we can keep them in a similar position each time (so they stack up one on top of the other, if possible, to avoid sagging) and for some of the later layers, there isn't the expanse of card in the centre.
- So try and get them around the edge, fairly evenly spaced - I think I could've done a better job, looking at this below! But you'll see if you go a bit wonky it's not the end of the world and it'll still work out, so don't worry too much about it!
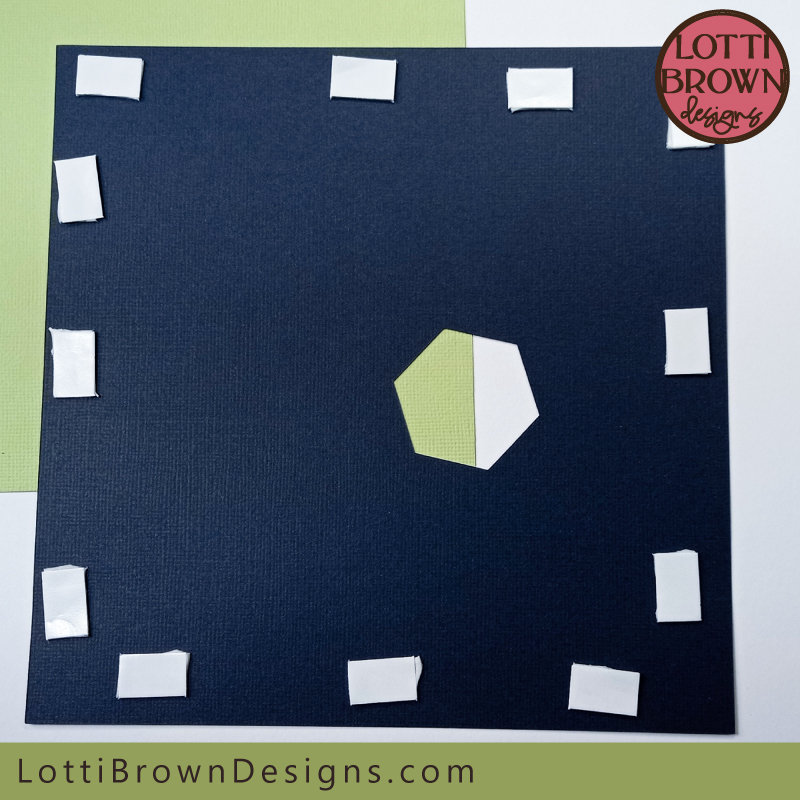 Add double-sided sticky tabs around the edge, on the BACK of the layer, trying to keep them fairly evenly spaced
- Next, line up the two top edges of both squares and carefully lower the top one down to stick them together, like in my photo below...
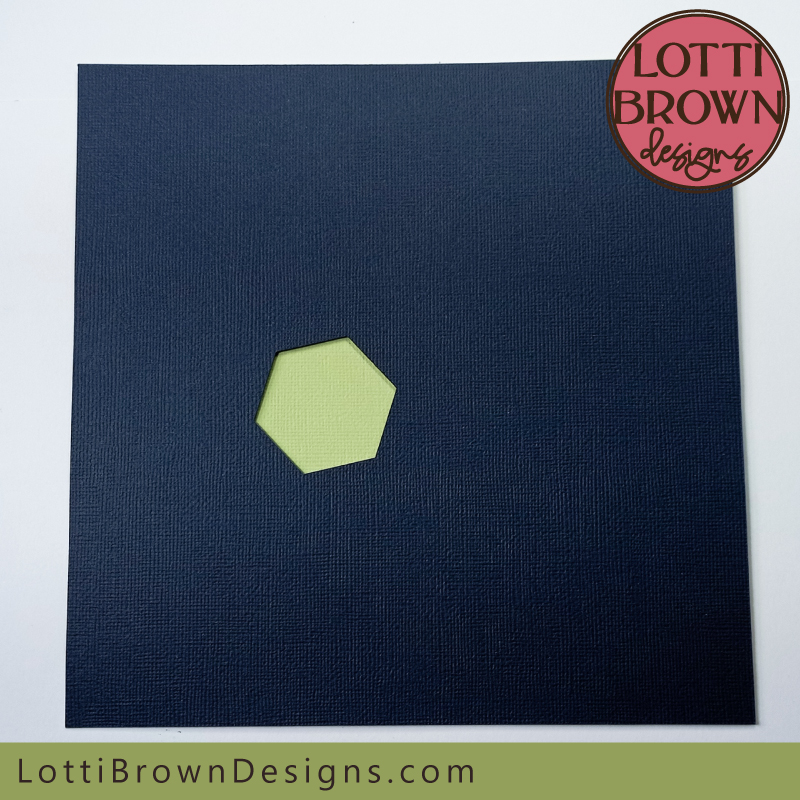 Align the top edges of the two layers, and lower the top square down to stick them together
- Then, we'll work with the pale green layer, which has seaweed on the right-hand side and two fishes to stick on - you can see these in the image below...
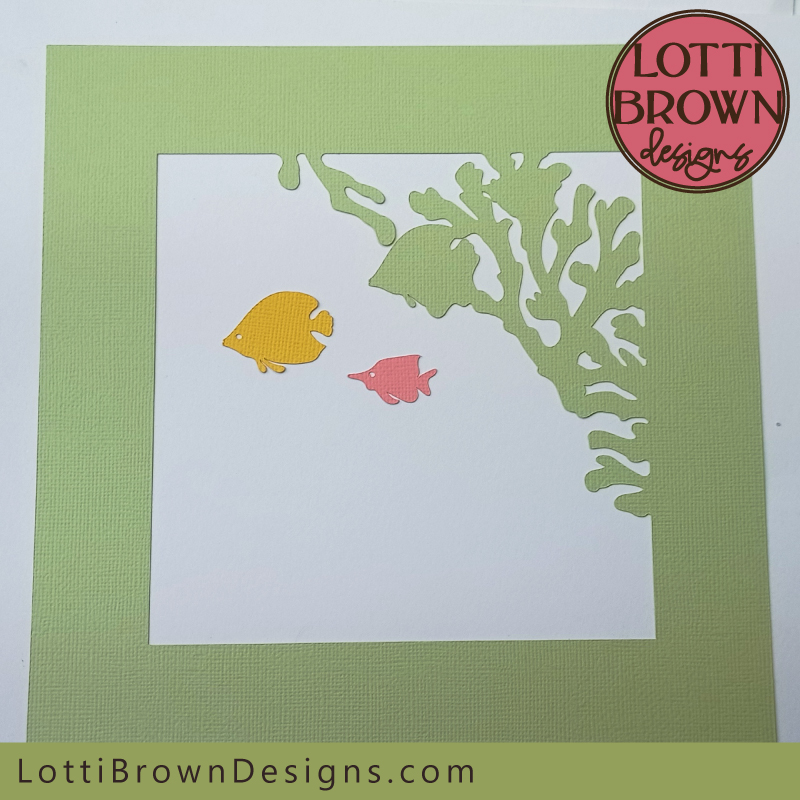 This pale green layer is next and has these two fishes to stick on it
- The first thing we'll do with this layer is to get the little fishes stuck on. So add some paper glue to the back of each fish, like you can see in the image below...
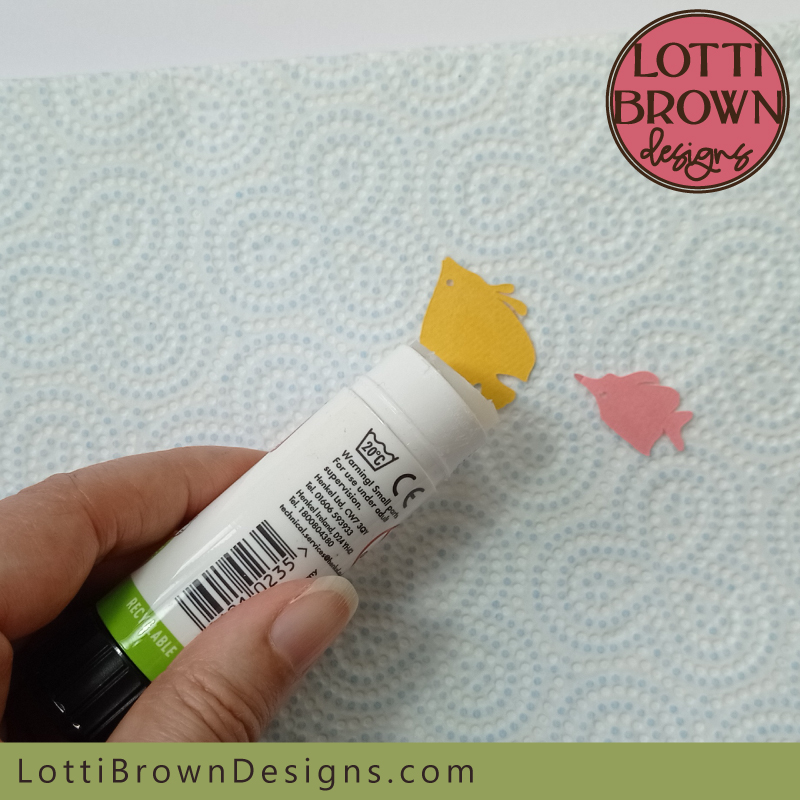 Add paper glue to the back of the two little fishes
- Then we'll stick them down in the positions you can see in the image below...
- The seaweed is shaped for the fish, so for the larger, yellow fish line up the front and top of the fish with the seaweed layer below - the top of the tail should also line up with the seaweed layer.
- For the smaller, pink fish line up the curve of the tail at the back and the middle part of the nose.
- Again, it's quite forgiving, so it doesn't matter if you don't get them perfectly aligned!
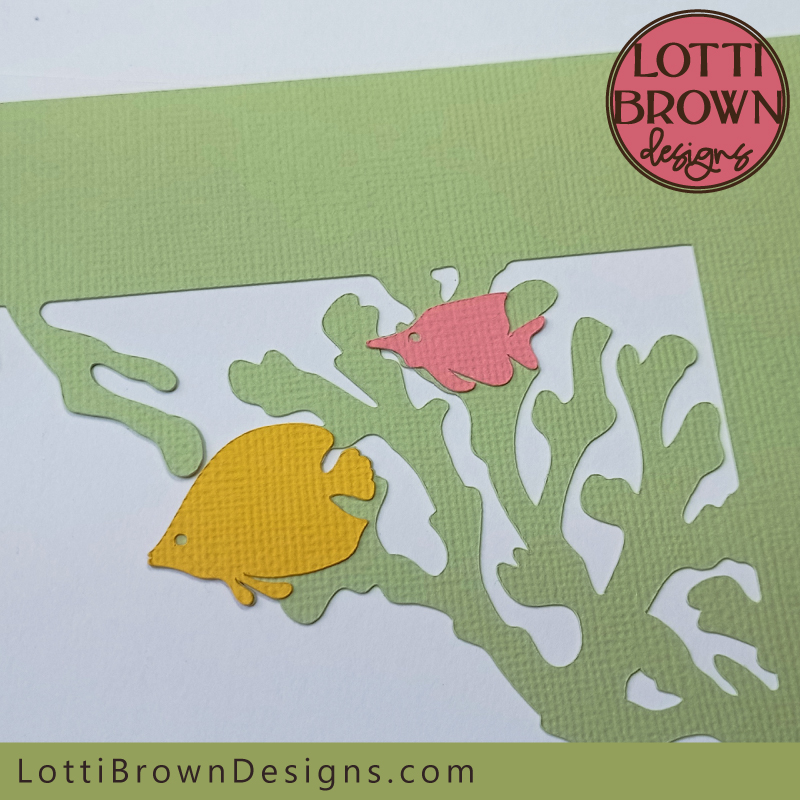 Stick the fish down in these positions
- Now, we can add the double-sided sticky tabs to the back of this pale green layer. Try and get them positioned in similar spots to the previous layer if you can. See mine in the image below...
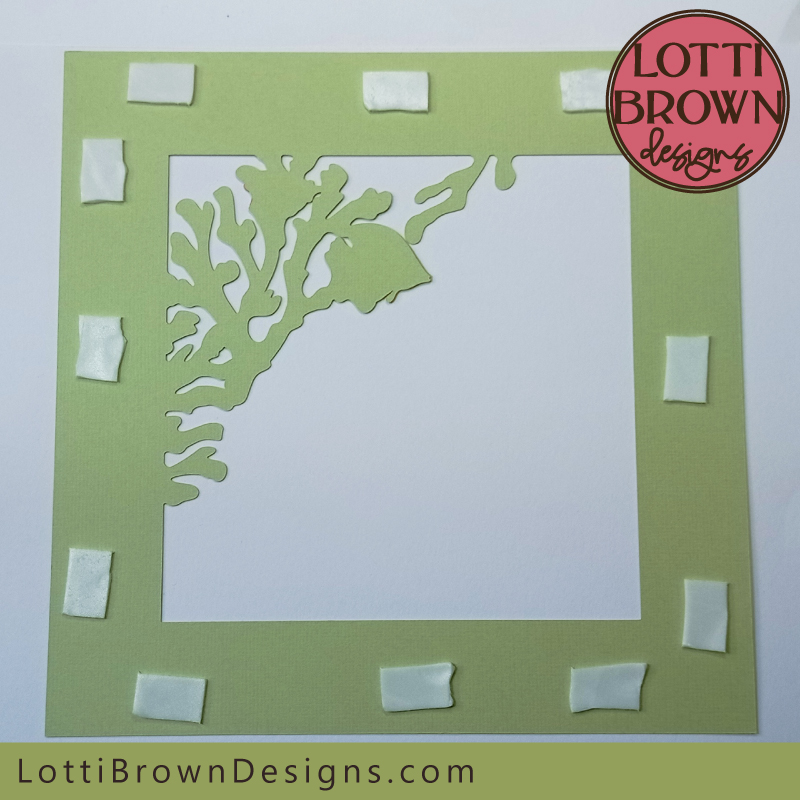 Add double-sided sticky tabs to the back of this layer, trying to get them in similar positions to the previous layer
- Then, line up the top edges of the squares and lower this one down onto the previous layers below, trying to keep the edges aligned - it should look something like mine in the image below...
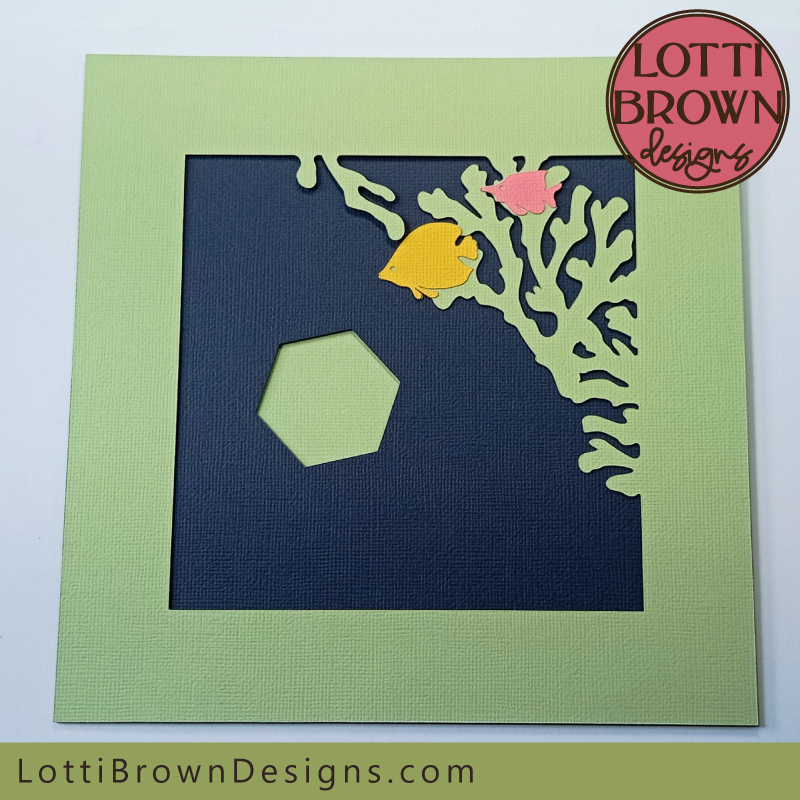 Align the top edges first then lower this layer down carefully onto the ones below and stick it down
- Next, it's the octopus layer - this is pale purple (lilac) here. Again, stick your double-sided sticky tabs around the edge of the layer (on the back), and again trying to keep them in a similar position to the previous layers. See mine in the image below...
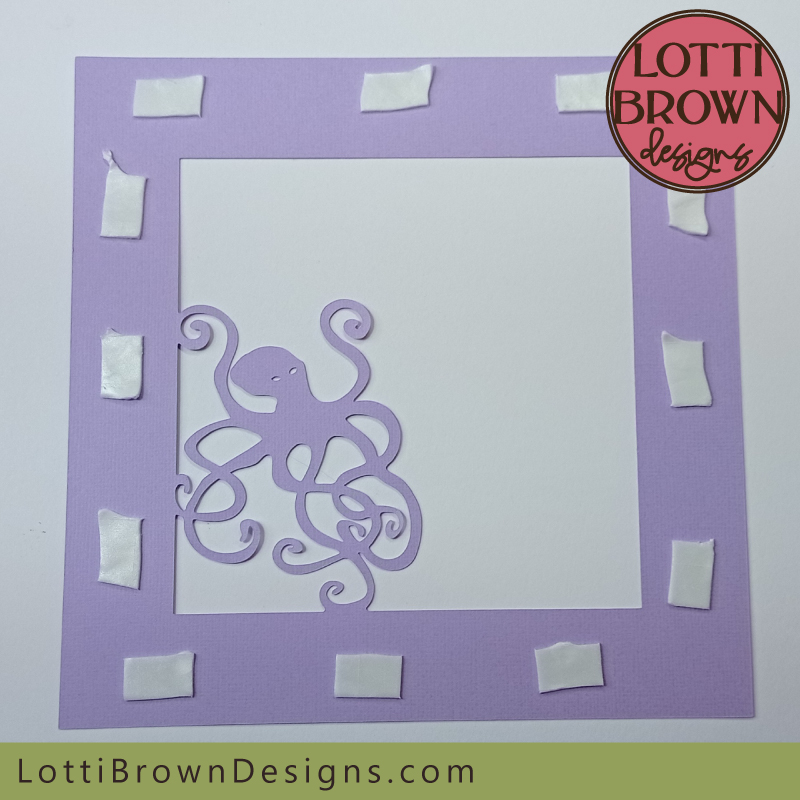 Use double-sided sticky tabs around the back of the octopus layer, trying to keep them in a similar position to the previous layers
- Then once again, flip the octopus layer over, align the top edges and lower it down onto the previous layers below - it should look something like mine in the image below...
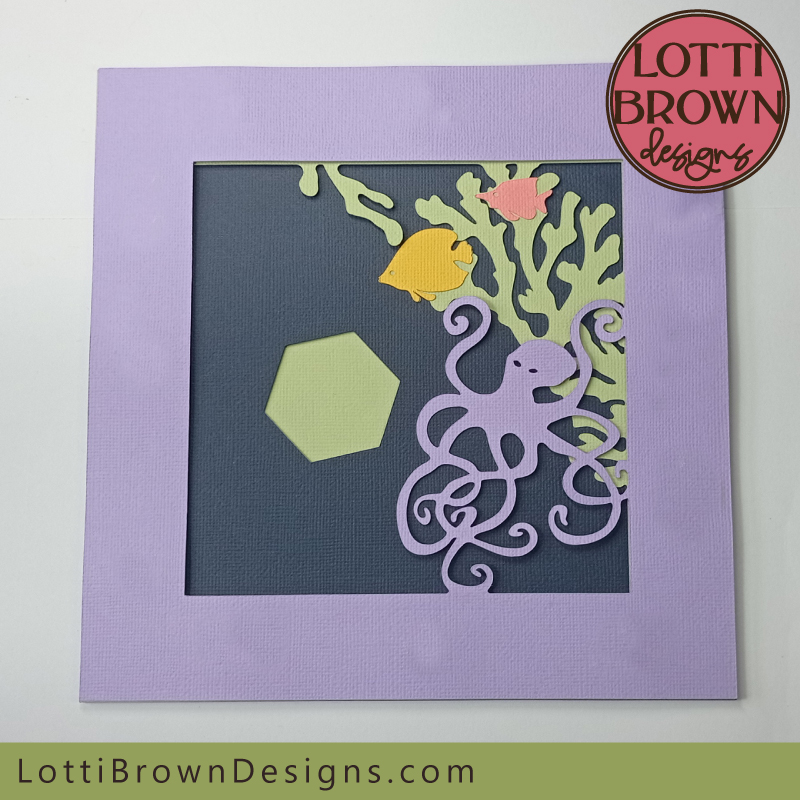 Stick the octopus layer in place
- Our next step is to glue the mermaid down onto her layer - you'll need the mermaid shape and the blue layer with the mermaid silhouette like in the image below...
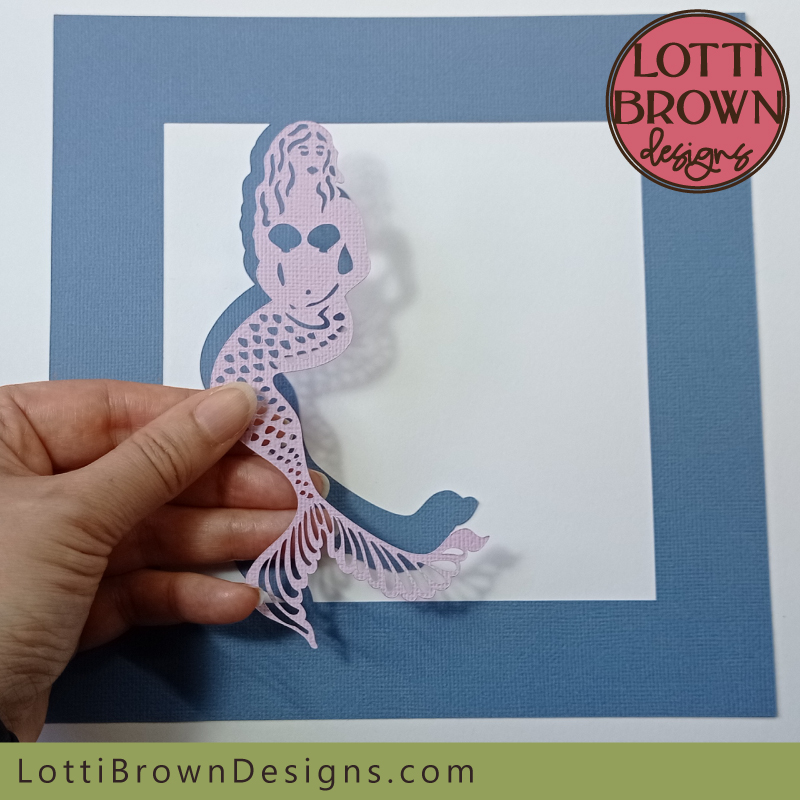 We'll glue the mermaid to her layer next...
- Now add paper glue to the whole of the back of the intricate-cut mermaid shape - like in the image just below...
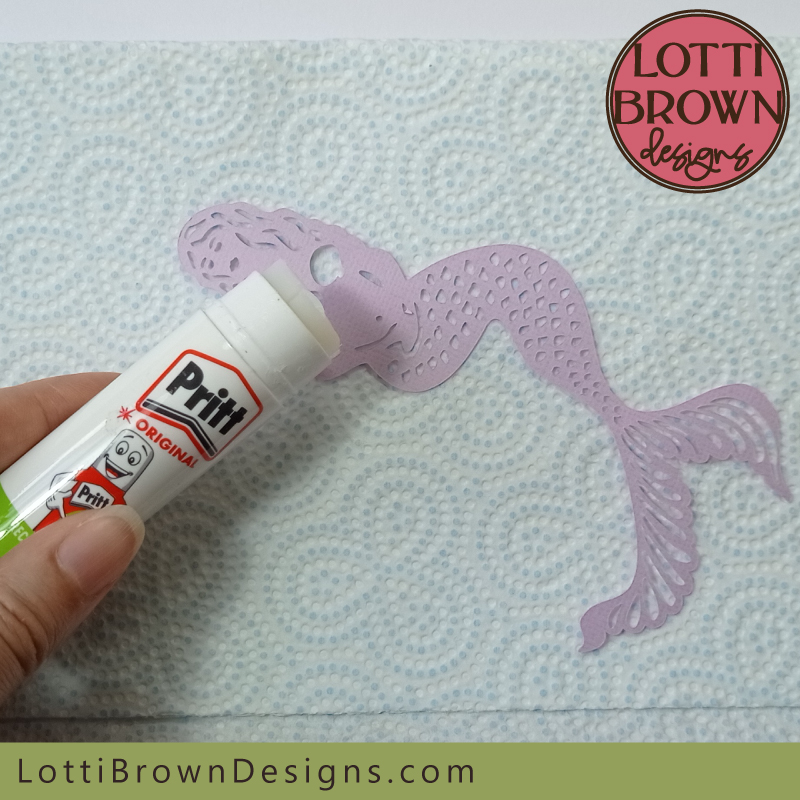 Add paper glue to the back of the mermaid shape
- So next, we just need to glue the mermaid down in the middle of her shape - try and get her as centrally positioned as you can, but it doesn't matter too much if it's not exact. See mine in the image below...
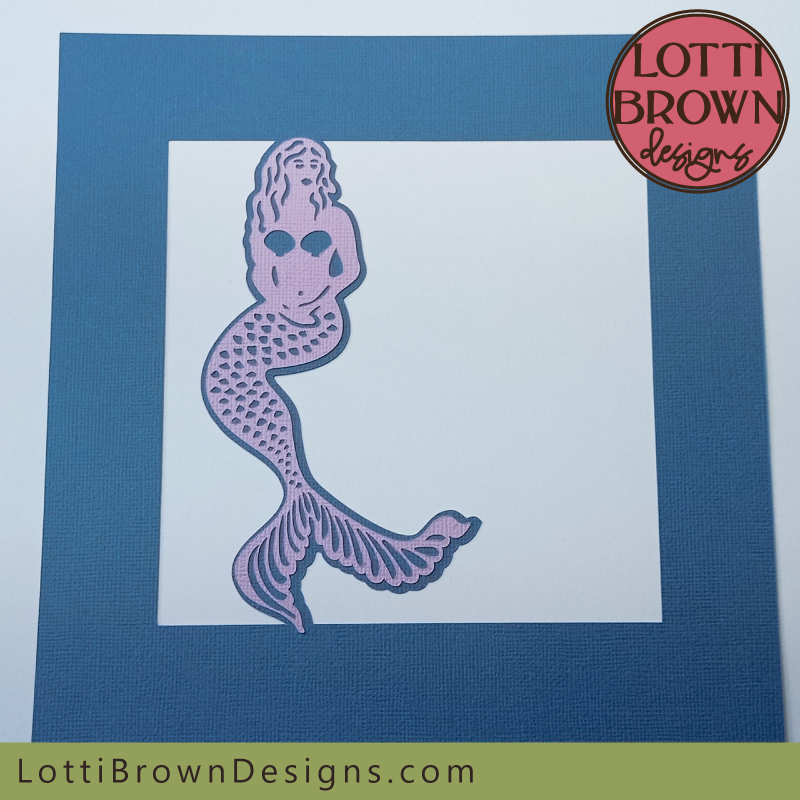 Glue the mermaid down in the middle of her shape
- Then, we need to add the double-sided sticky tabs to the back of this layer, trying to get them in similar spots to the previous layers, again. See mine in the image below...
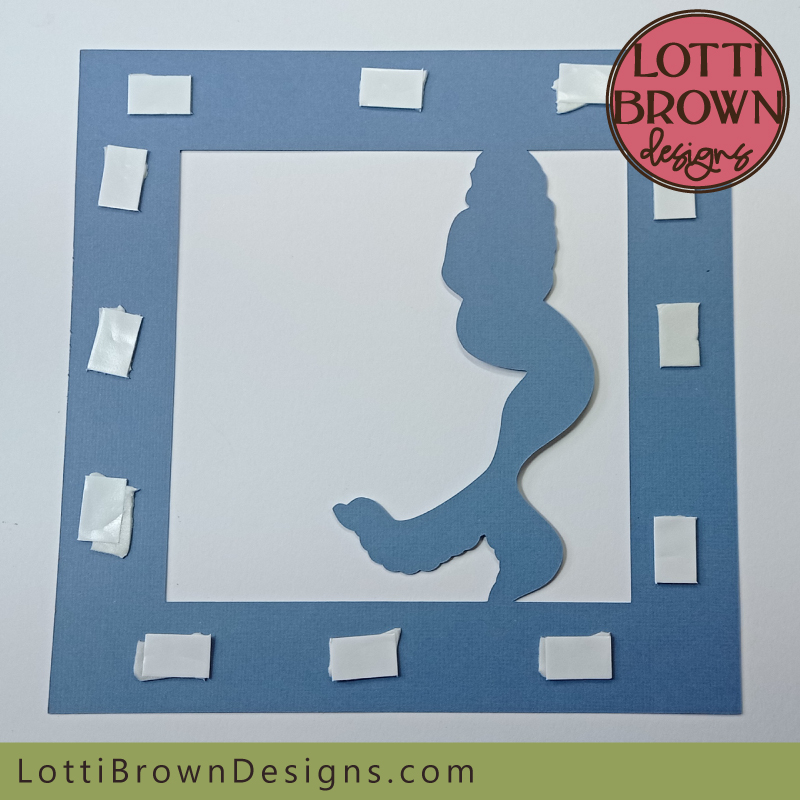 Add double-sided sticky tabs to the back of the mermaid layer, trying to keep them in similar spots to previous layers
- Next, just align the top edges again and lower down the layer to glue it down on top of the previous layers - it should look something like this in the image below...
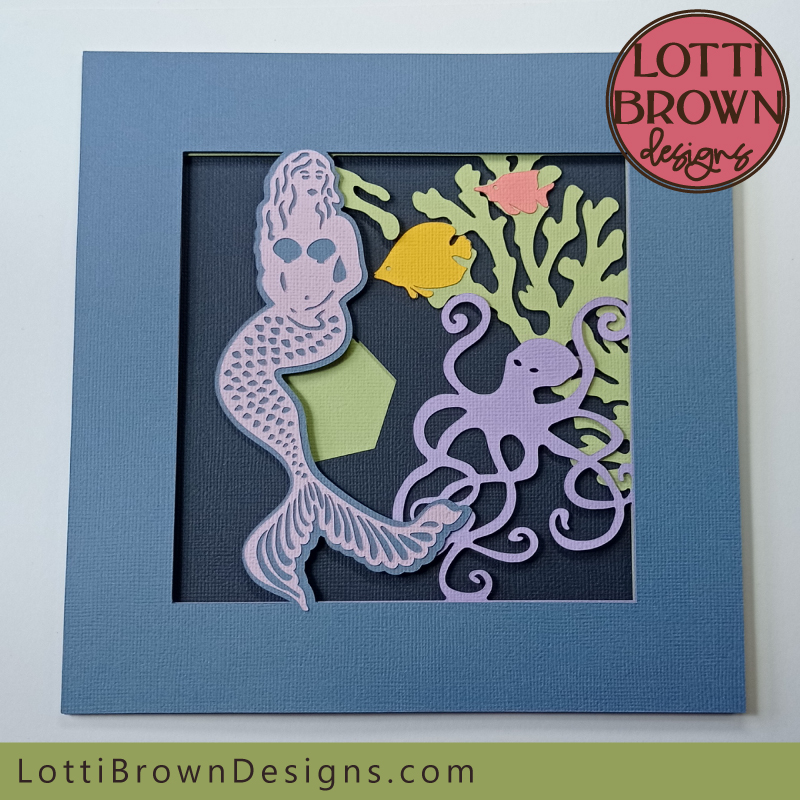 Stick the mermaid layer in place
- Now it's time for the final layer - this one has the final fish on it too - we'll add it just in the position you can see me holding it in the image below...
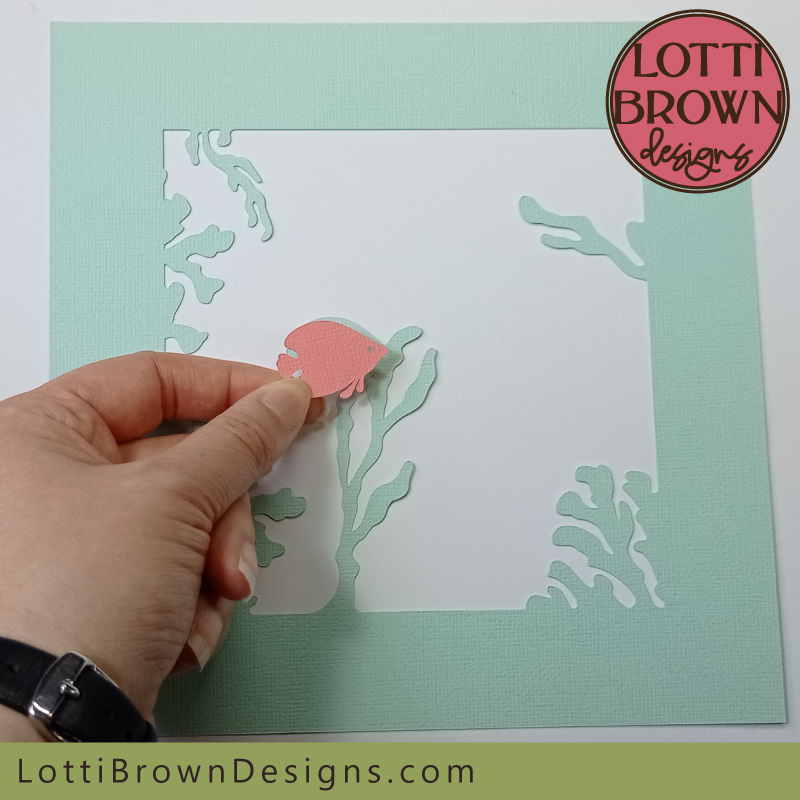 It's time for the final layer - with the final fish
- Add paper glue to the back of the little fish, like in the image below...
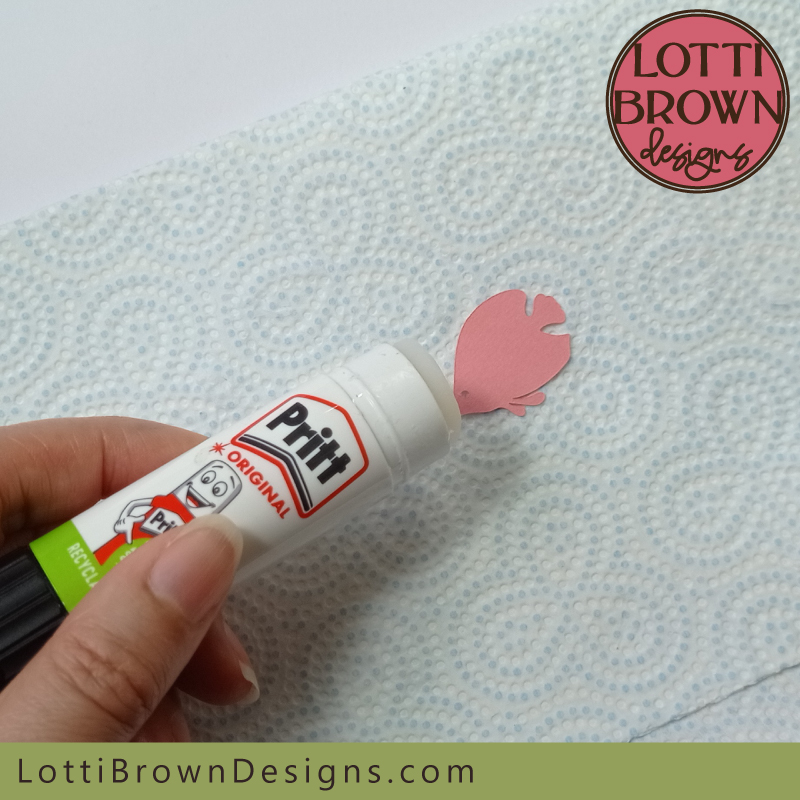 Add paper glue to the back of the fish
- Now, glue the fish in position. Line up the top and back of the fish with the seaweed layer below, again it doesn't matter too much if it's not exactly precise. You can see mine in the image below...
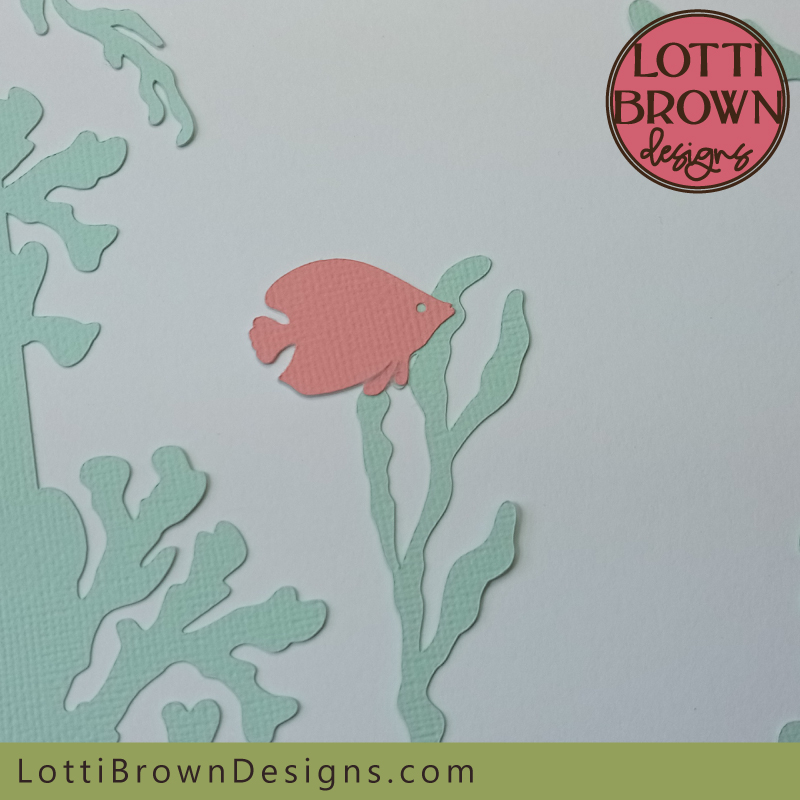 Glue the fish in position, lining up the back of the fish with the seaweed layer beneath
- Next, add your double-sided sticky tabs to the back of this final layer, once again trying to keep them in a similar position if you can. See the image below...
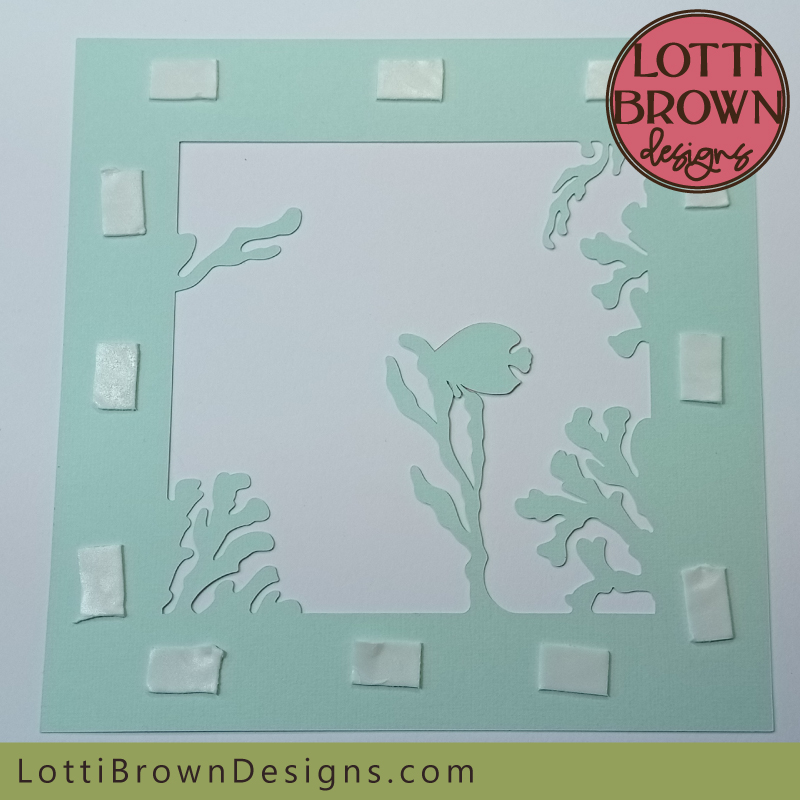 Add double-sided sticky tabs to the back of this final layer
- Then just flip the layer over, line it up, and stick it down. Finished! See mine in the photo below...
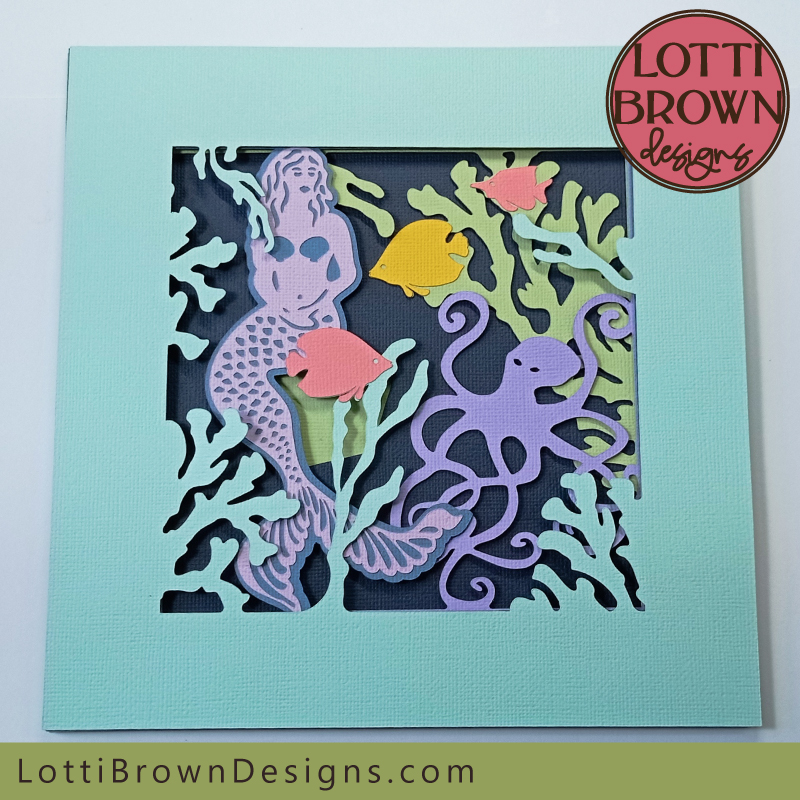 Stick down the final layer to complete the mermaid scene
All that you need to do now is pop your finished mermaid scene into your frame...
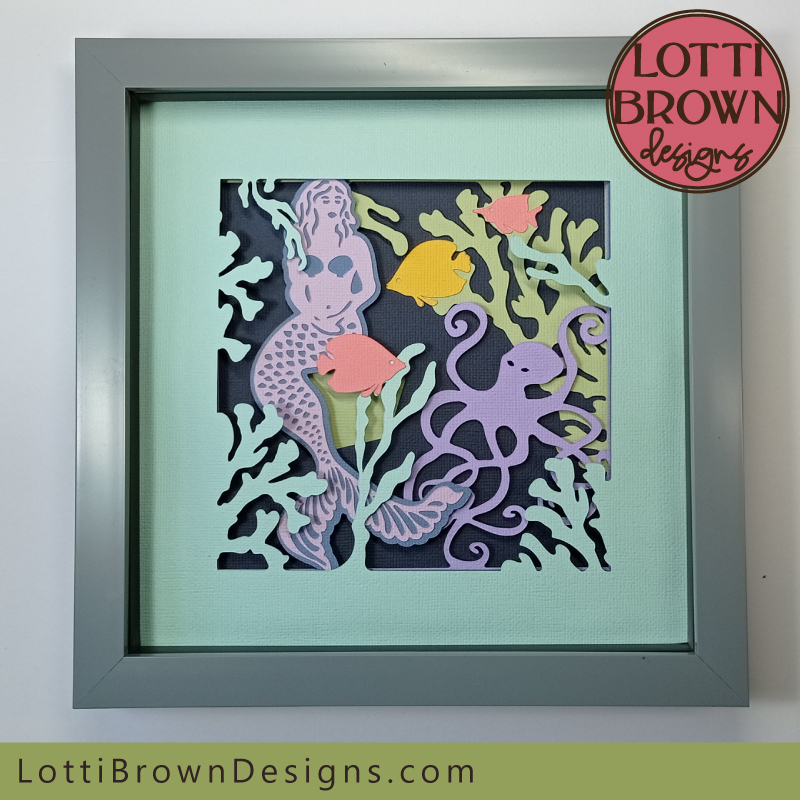 Pop your mermaid scene into its shadow box frame
 Mermaid shadow box craft project
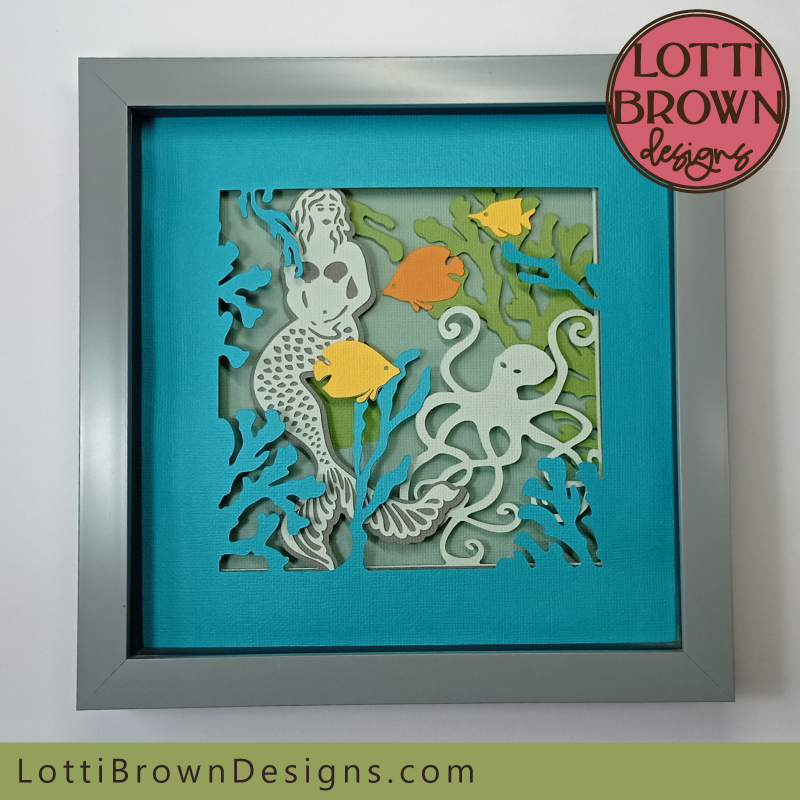 Alternative colour idea for the mermaid shadow box
 A closer look!
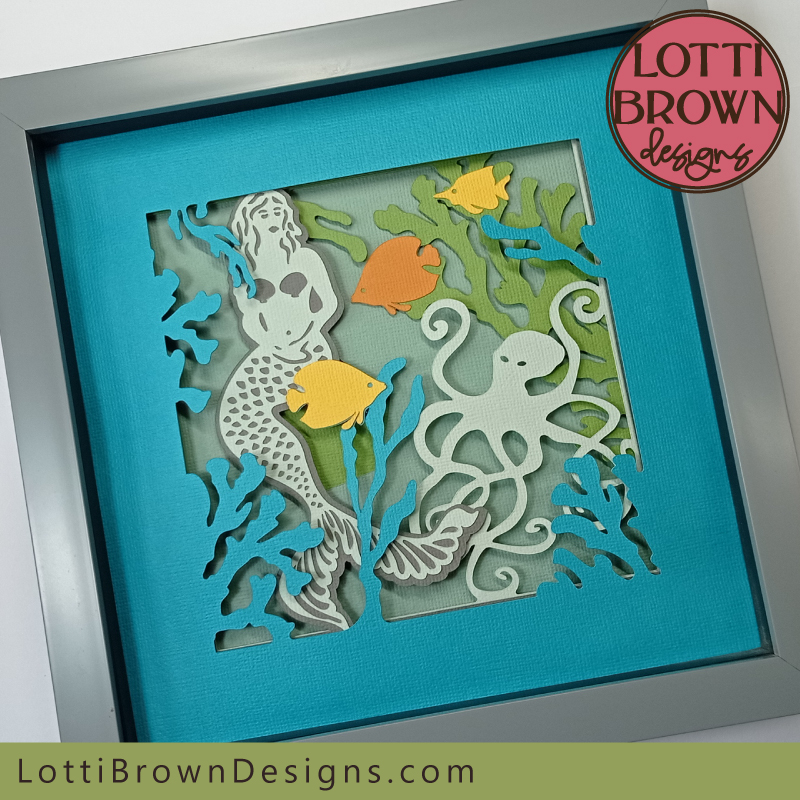 Blues and greens give an under the sea feel!
How to Buy the Mermaid Cut File Template
 Mermaid cut file template for the shadow box craft project - SVG, DXF, EPS, PNG
Get the mermaid cut file shadow box template from my store here...
SVG, DXF, EPS, and PNG file formats
For personal craft use or small-business commercial use (up to 200 products)
For physical (craft) products - no digital products, use, or sharing
You Might Also Like:
Lotti Brown's Designs & Templates
How-tos...
- How to use SVG cut files for Cricut (also other cut file formats & machines)
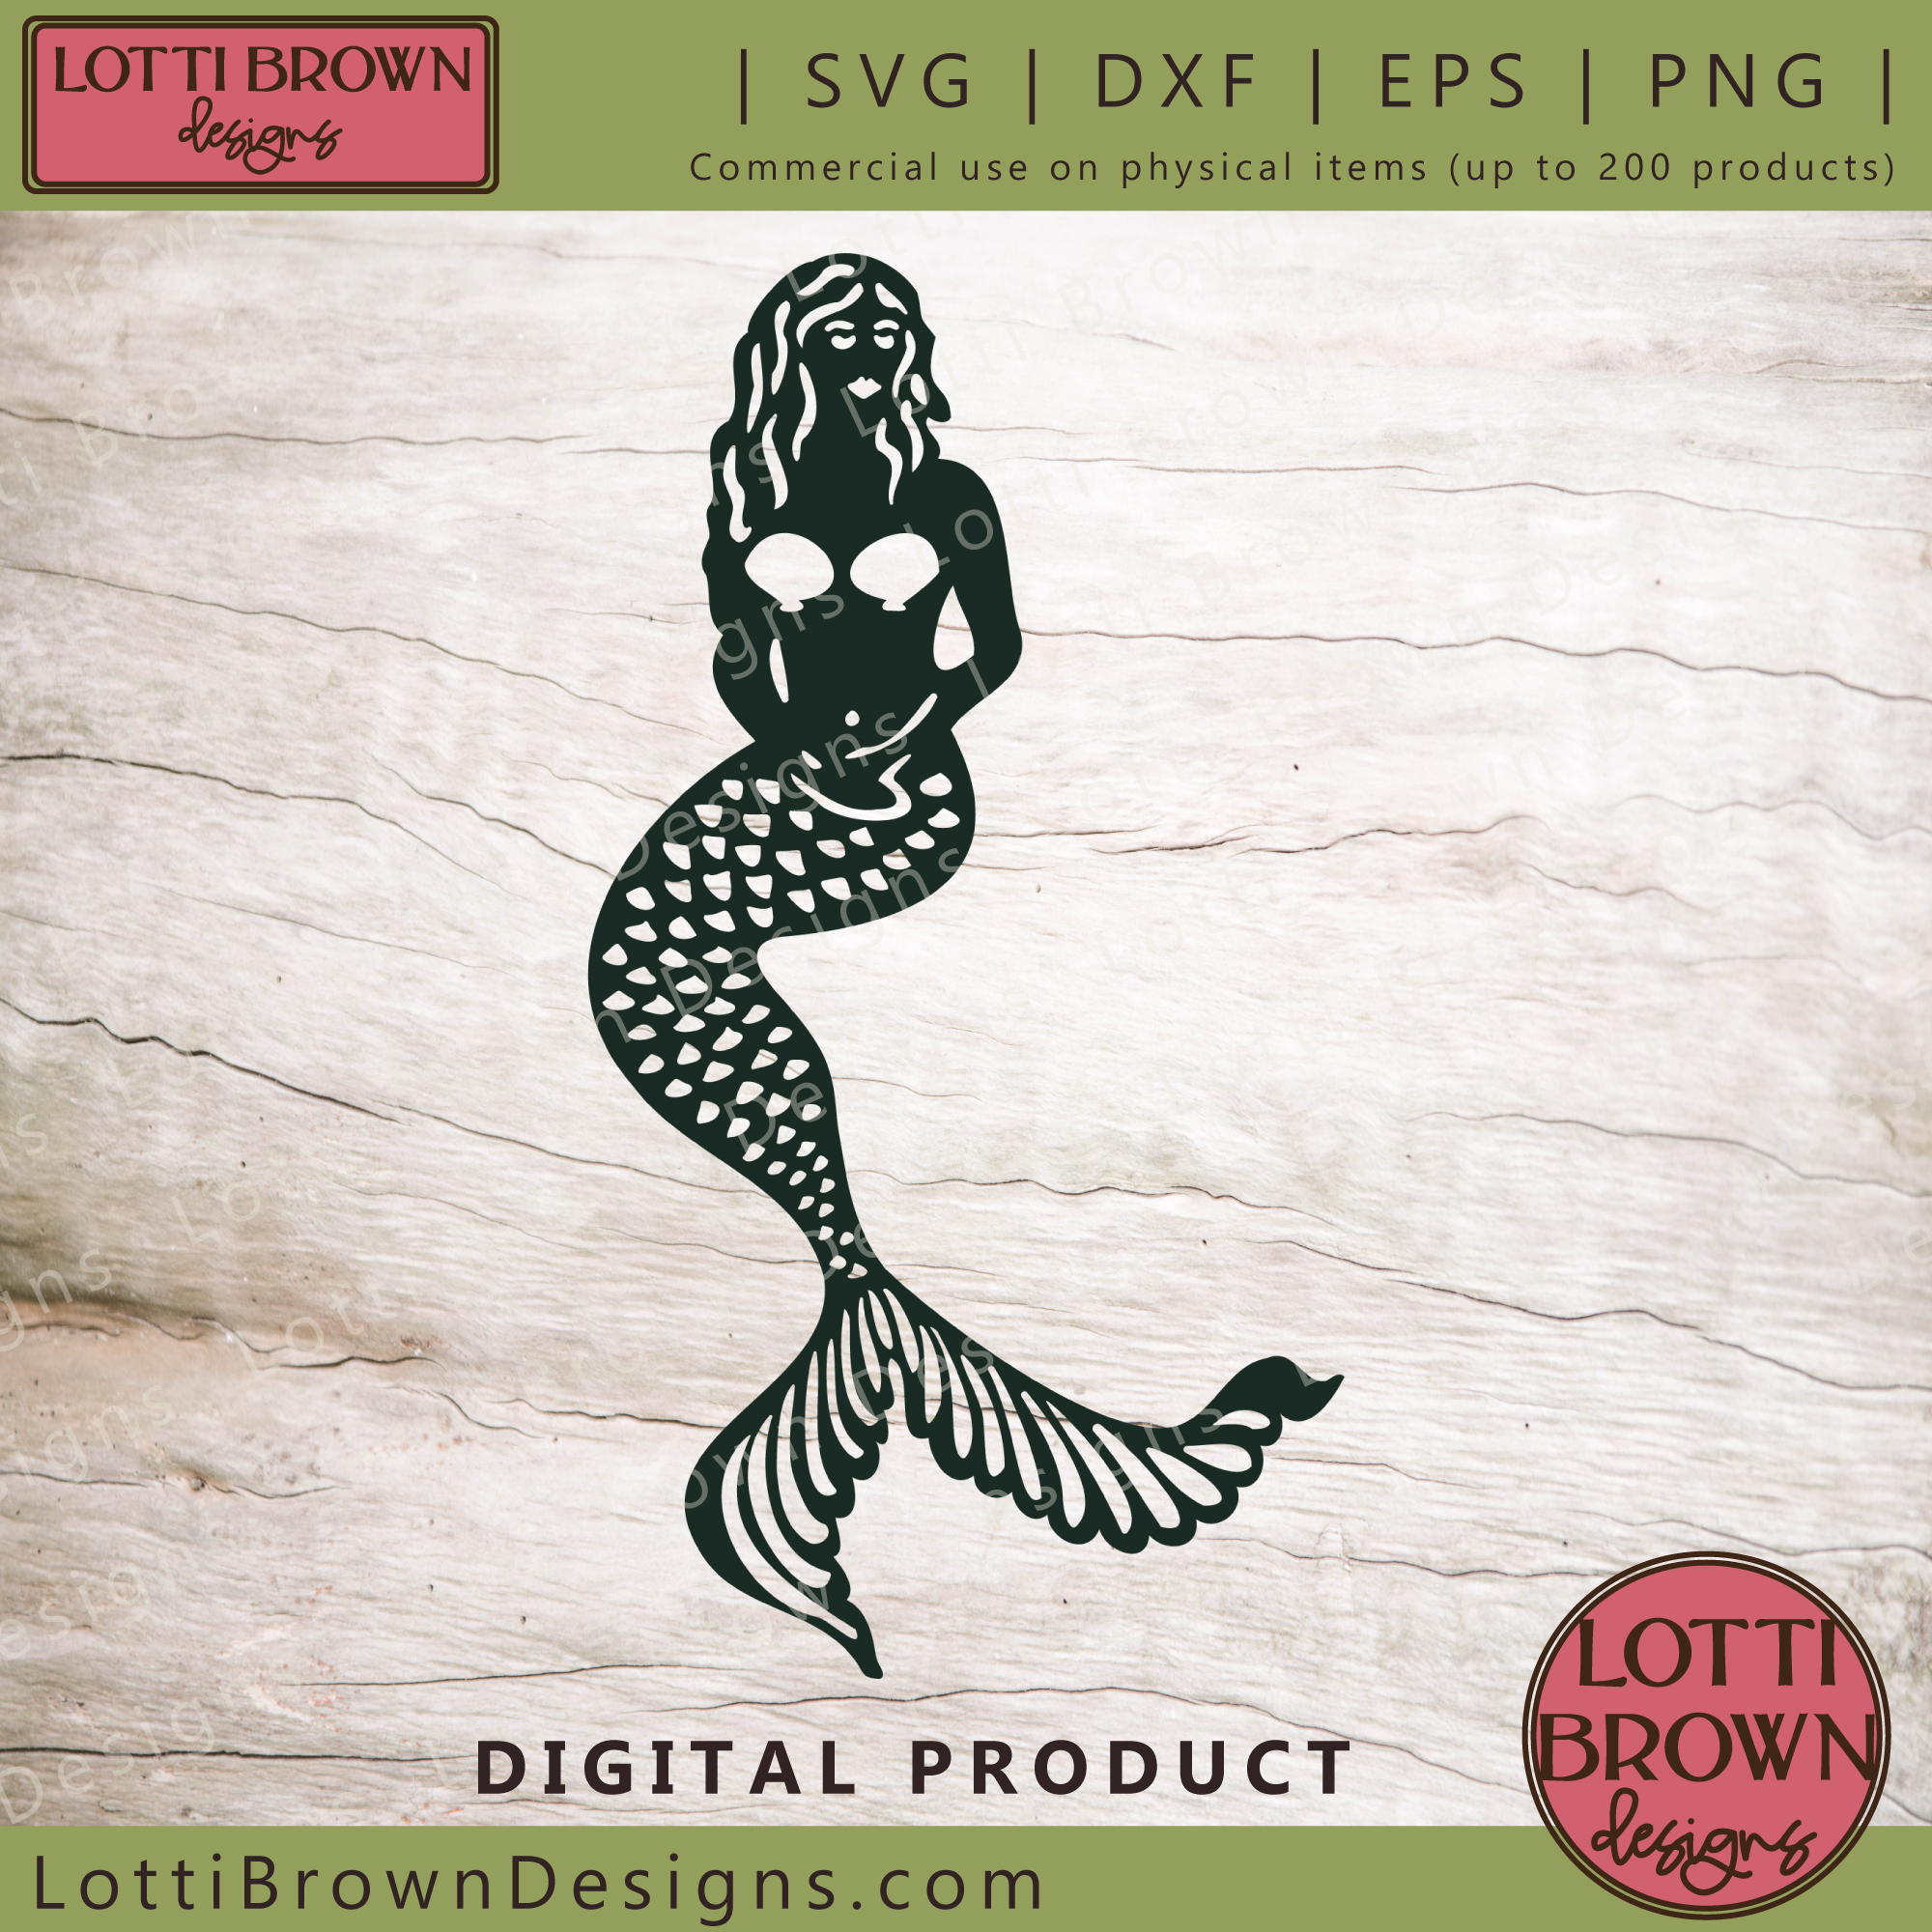 The mermaid from the shadow box is also available on her own
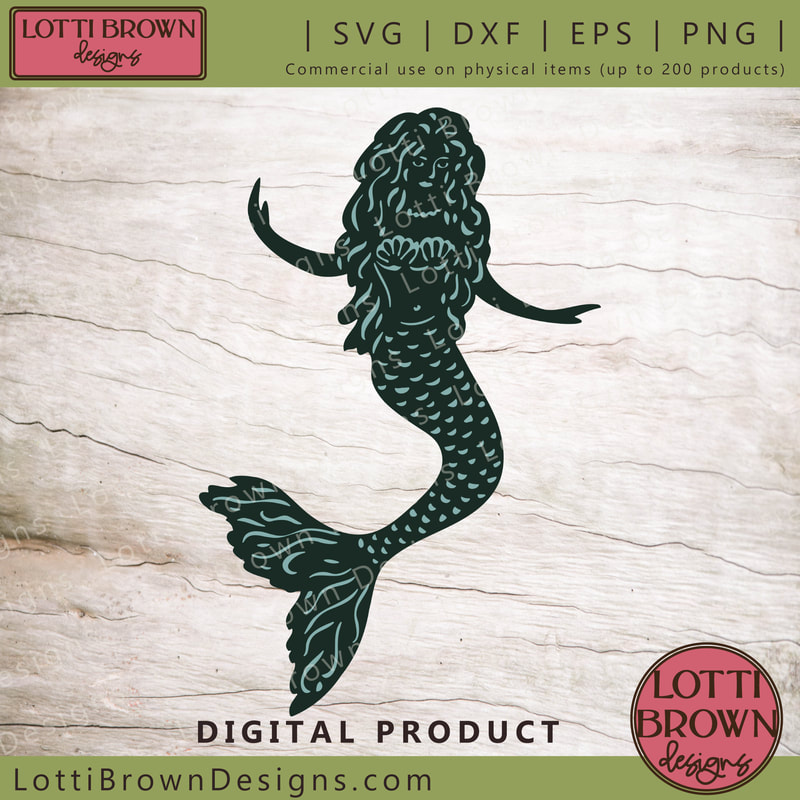 Another option - mermaid SVG file
The mermaid from this shadow box is also available as a separate SVG file, in case you want to make her separately. I also have my original mermaid SVG file (the one with the blue details above, that I created a couple of years ago) - you can find them both here...
I also have a set of 2 mermaid tail SVG files - find those here...
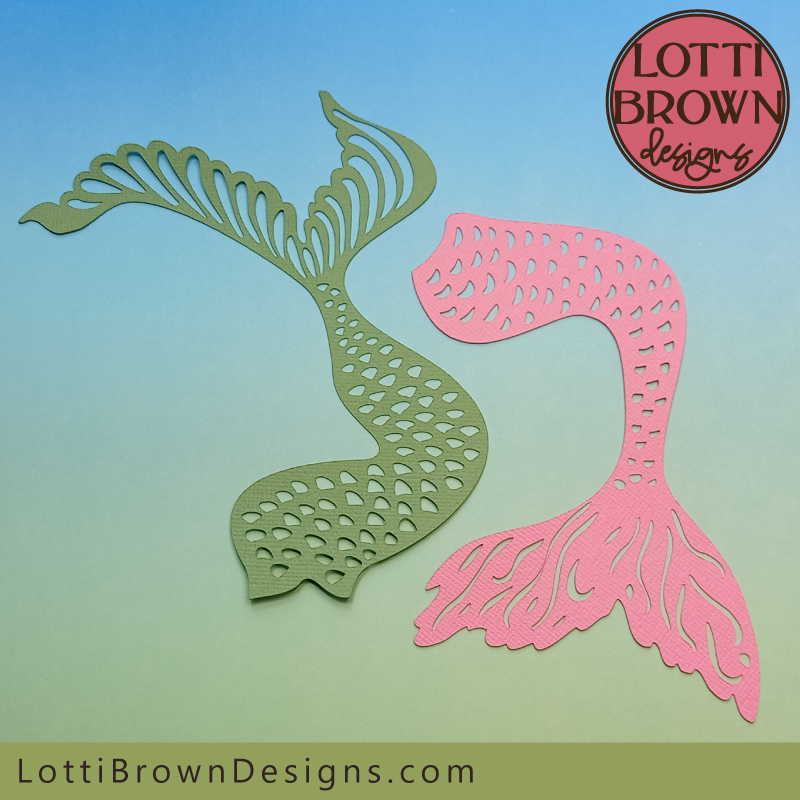 Mermaid tail cut files - SVG files
And a mermaid tail birthday card template, which could be really nice if you're making the mermaid shadow box as a birthday gift. See the card template here...
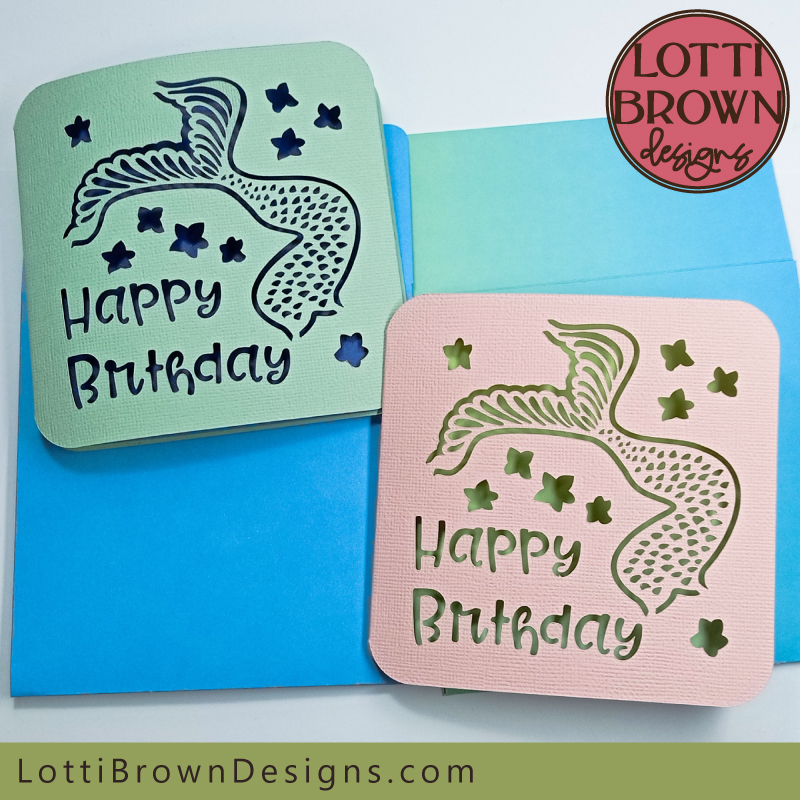 Mermaid tail birthday card cut file
If you enjoy making shadow boxes, I have a growing collection - check them all out here...
Shall we stay in touch..?
Each month, I share stories from my own nature journal, new art from my studio, and simple seasonal inspiration to help you feel more connected with the turning year...
Recent Articles
-
December Berries Folklore in Britain - Rosehips, Holly and Haws
Dec 24, 25 04:35 AM
Explore December berries folklore in Britain - rosehips, haws, holly, ivy and sloes - with seasonal nature notes, birdlife, and quiet winter magic. -
Birch Tree Symbolism, Myth, and Folklore
Dec 23, 25 04:19 AM
Explore birch tree symbolism, myth, meaning and folklore as part of my Celtic Tree Calendar art project... -
British Nature Folklore Library: Stories, Seasons & Celtic Tree Wisdom
Dec 01, 25 05:09 AM
Explore British nature folklore, Celtic tree meanings, and seasonal wildlife stories. A growing library of myth, meaning, and hand-drawn inspiration.
Follow me:
Share this page:

