SPRING 2025 - I've just completed a WEBSITE REVAMP! Everything is still here but may be in a slightly different place where than you left it and there's also lots of new sections, so if you're having trouble finding something in particular or you spot something that's not working as it should, please do get in touch and I'll do my best to help!

Cute Daisy Mini Box Template
- Home
- SVG files
- Box Templates
- Daisy Box Template
Cute daisy mini box template to make a sweet gift box with a colourful daisy design - use your Cricut or another similar cutting machine. It's also possible to cut the design by hand if you prefer...
- SVG, DXF, EPS, PNG file formats included in the template
- Full instructions for cutting and assembling the box on this page
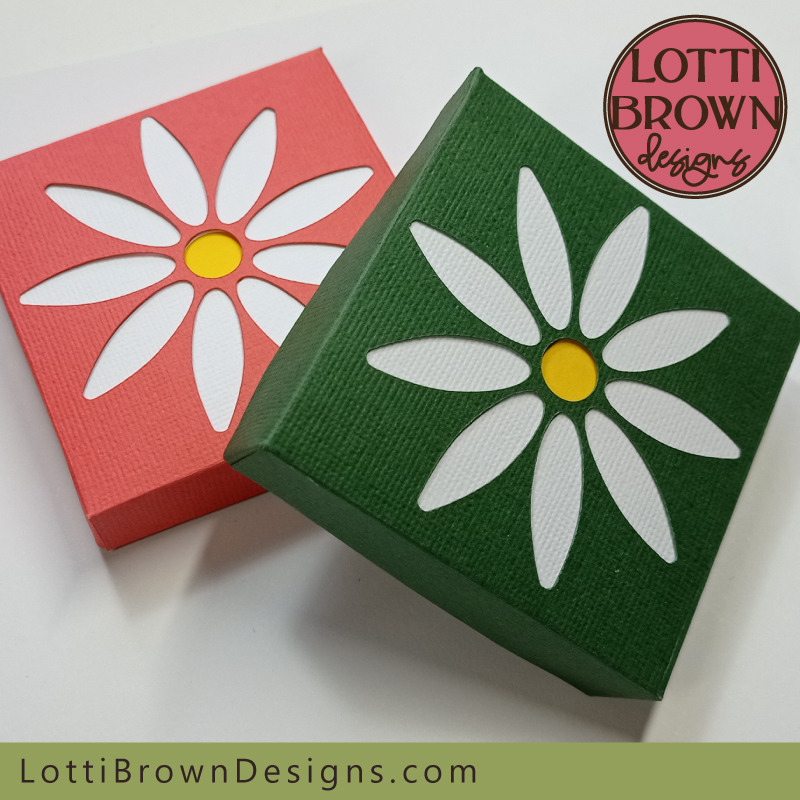 Daisy gift box template
Get the daisy gift box template from my store here
Digital download to make a cute daisy gift box
SVG, DXF, EPS, PNG file formats included
Ideal for Cricut & similar cutting machines - also possible to cut by hand
For personal craft projects and small-business commercial use (up to 200 products)
For physical (craft) products only - no digital products, use, or sharing
About the Daisy Mini Box Template
This fun daisy mini box template is a really cute project for your cutting machine - it makes a little gift box, with separate base and lid, with a colourful cut-out daisy design on the lid, and a contrast inner inside to make the box feel really special...
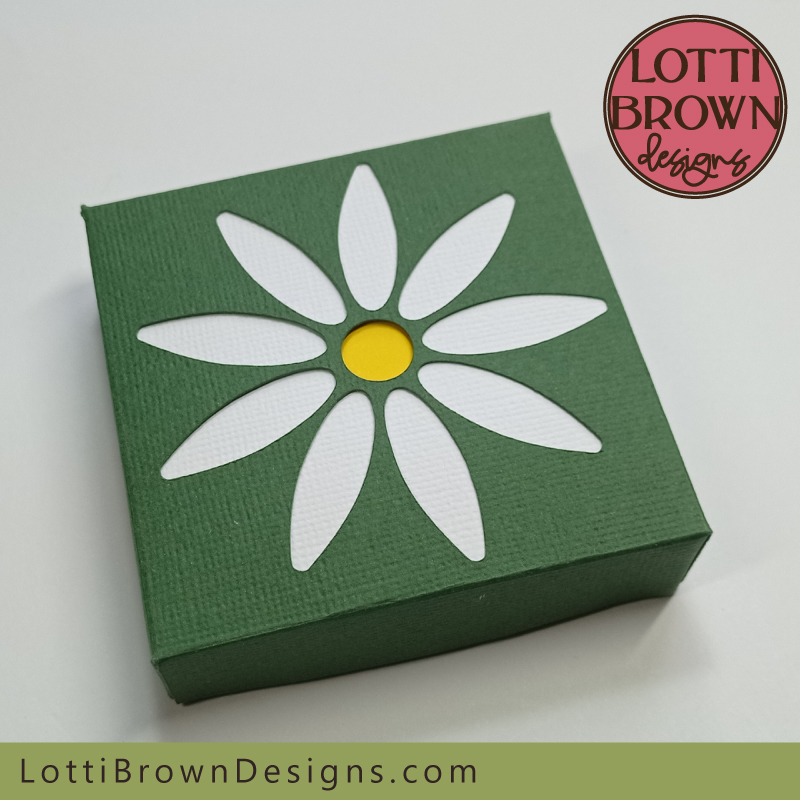 Make this pretty daisy gift box from cardstock
The main box template and process for this design is the one I use for all of my boxes (here is the basic square gift box that this is based on) - I chose it because it's a really nice and sturdy construction so that it makes a proper little gift box that you can use for gifting or presenting your crafts or jewellery.
One of the things I really like about the box design is the contrast-colour interior - I think it makes it looks quite luxurious and nice for a special gift!
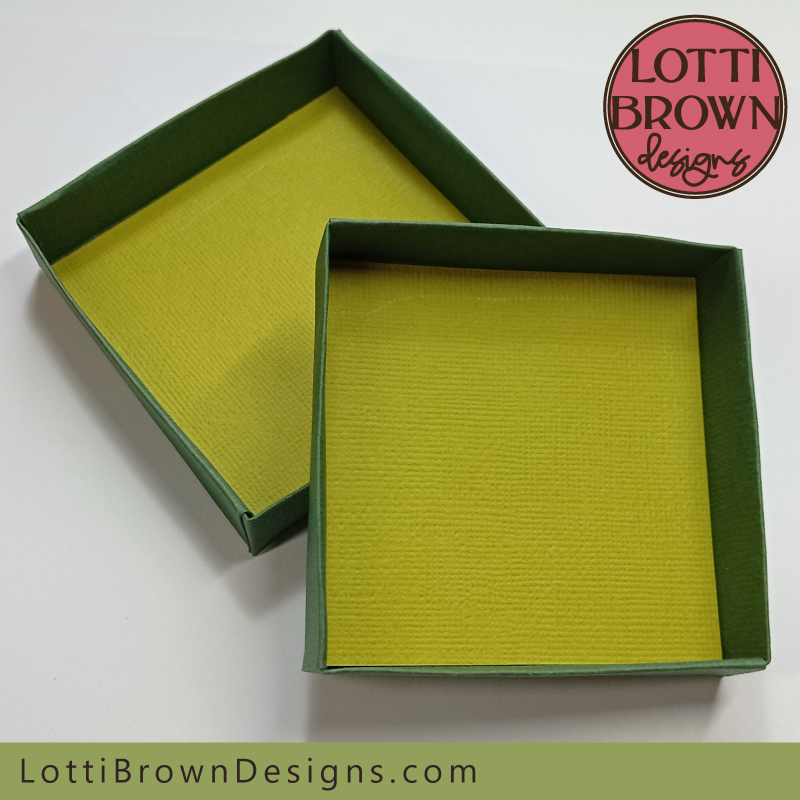 A pop of colour inside makes the mini box template for the recipient
The template make a little box that's around 8 x 8 x 2cm in size (that's about 3.15 x 3.15 x 0.79 inches) - you can resize the template to make a different sized box, too, if you want. It works better at a fairly small size.
If you use the template as it is, it should fit onto 3 A4-sized sheets of cardstock (plus extra small bits for the yellow flower and white petals).
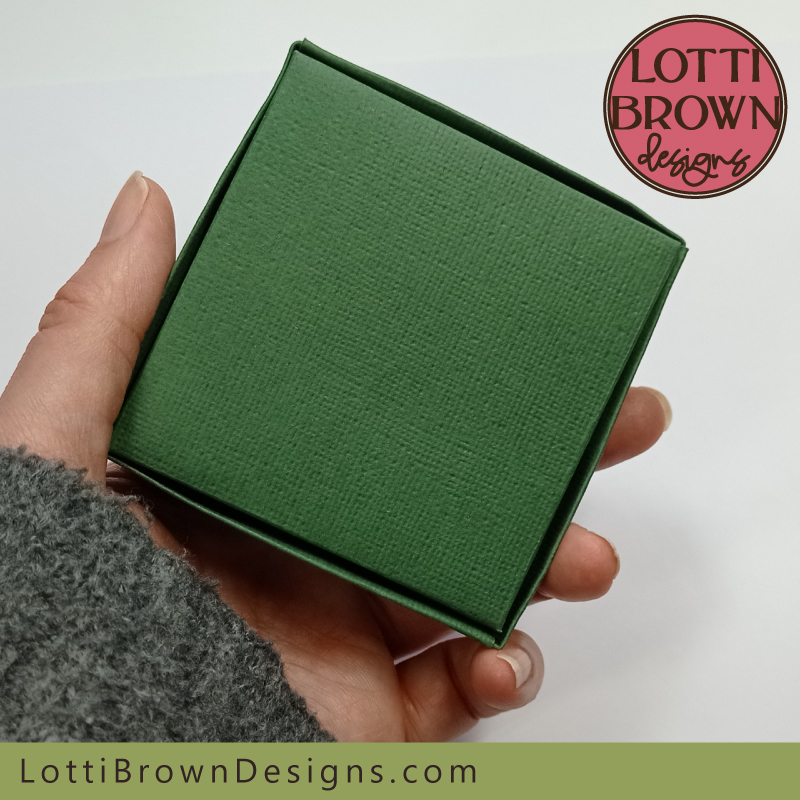 Showing the base of the box
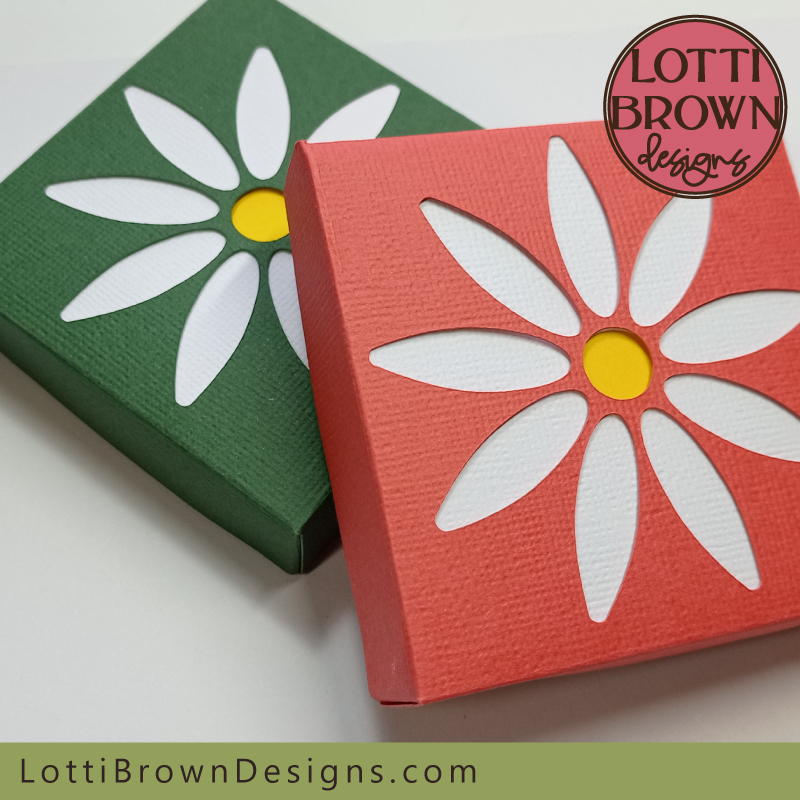 Bold and beautiful colour choices!
I used Sizzix 'Surfacez' textured cardstock to make my mini box template with daisy design - all except for the yellow square, which was a lightweight generic crafting cardstock.
I just used the 'Medium Cardstock' setting to cut the Sizzix cardstock on my Cricut Maker, and the 'Lightweight Cardstock' setting just for the lightweight yellow card.
I chose to make the flower a daisy with white petals and a yellow centre, but really it could be any colour you choose, so if you want, you can get really creative with your colour choices and have some fun.
I thought the dark green gift box set off the daisy colours really well and felt Springlike or Summery - I tried it out in a pink-red colour too, which I thought would look good with the green gift box - both colour choices are quite bold and bright, which I love. I definitely think you could also try it with pretty pastels for a softer look.
Instructions for Making your Daisy Gift Box
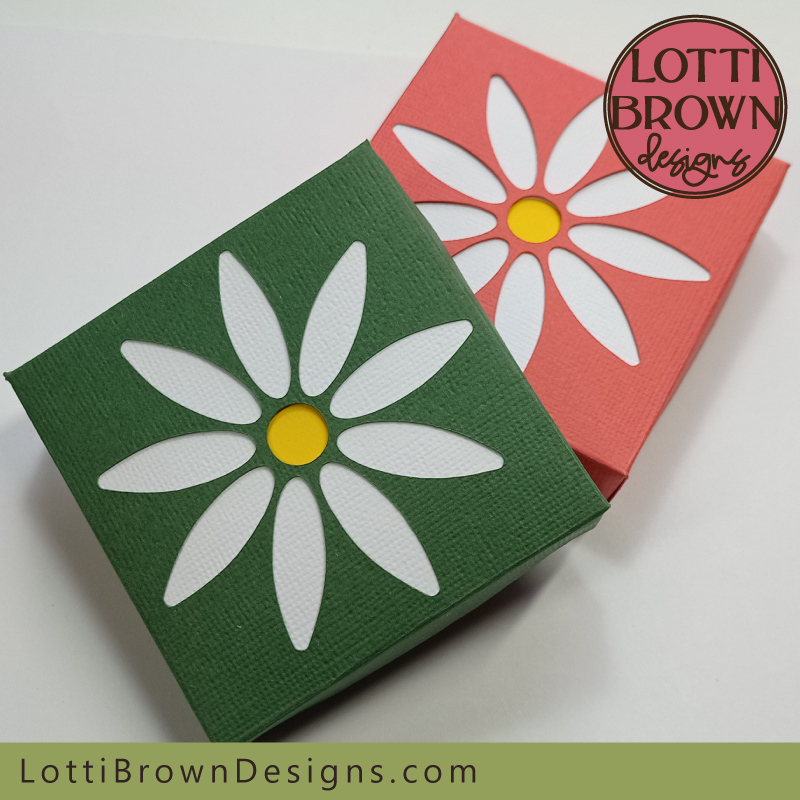 Let's get crafting to make this pretty daisy gift box
The daisy gift box is made with the same basic method as my other gift box templates so they share the same instructions for the most part - I'll show you where it differs and give you the specific instructions below, plus the links for each of the parts of the process...
The project uses the cut and score function on your cutting machine - this cuts the basic shapes, plus scores along the fold lines for you. For most cutting machines, you will need a separate scoring tool. If you don't have one, or if you prefer not to use one, you can delete the score lines in your program, and score manually by hand using a knitting needle or other blunt point and a metal rule. You might also want to lightly pencil in the score lines to help you do this.
I have full instructions for how to set everything up on Cricut, which I'll share in the process, below...
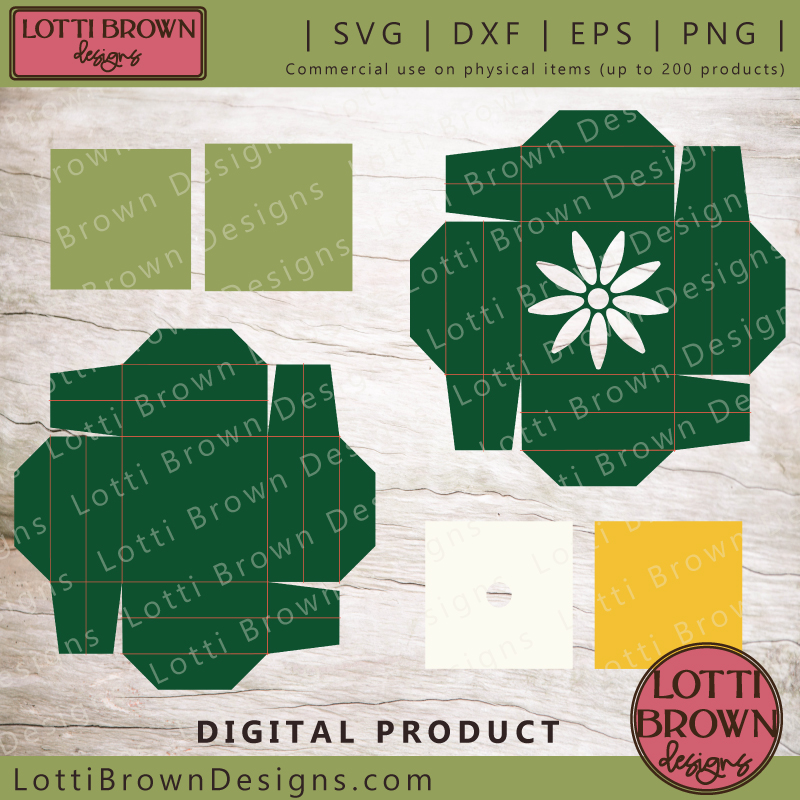 The template uses these parts - you can download the actual template from my store. The red lines are the score lines.
How to Make Your Daisy Box
Read ALL of this bit before you start, so that you're aware of what you need to do!
1) First set up the file in your design program:
- 'Ungroup' the design
- You will need to set each of the red lines to 'score' rather than cut
- Then 'attach' each set of score lines to it's associated cut shape (the one they're on)
- If you're a Cricut user, I have the full instructions here - you may also find these helpful, even if you're using another sort of cutting machine. (You have more small insert squares than in these instructions, but you can effectively ignore these as you don't need to do anything with them, just let them cut as you would normally).
2) Fold and assemble your pieces together:
- The instructions for the daisy box do follow these instructions for the most part - you do have one extra step, which is to do with getting the yellow and white colours in the lid, which make up the colours for the daisy flower...
- When you get to step 5 in those instructions, which prompts you 'Are you making a box with a cut-out patterned lid?' you will need to come back here for the specific instructions for that part - I will add a link in so that you will be able to come straight back here for the special daisy instructions. IMPORTANT - if you find yourself starting to glue anything in the lid section before you've put the daisy in the lid, then STOP - you've missed the daisy bit - come back here for that - JUST BELOW HERE!
- When you've finished the special daisy bit, you can return to the main instructions for the rest of the assembly process! I'll prompt you when you get to that bit, below.
Instructions for the Special Daisy Bit
These are the instructions you need for the 'special daisy bit' of your gift box project. The daisy box shares most of the instructions with my other gift box templates, but it has one extra bit, which puts the daisy in the lid. This is that bit!
- If you're not sure what you're supposed to be doing with the instructions or which part you're at - check the box just above with the links to the main instructions, then come back here when you're ready...
Adding the Daisy in the Lid
- You should have everything cut and scored, and then folded, using a metal rule...
- The next step is to put the colours in the daisy in the lid - so we'll need the large square with the flower shape cut out the middle - plus the white and yellow squares, as in the image below...
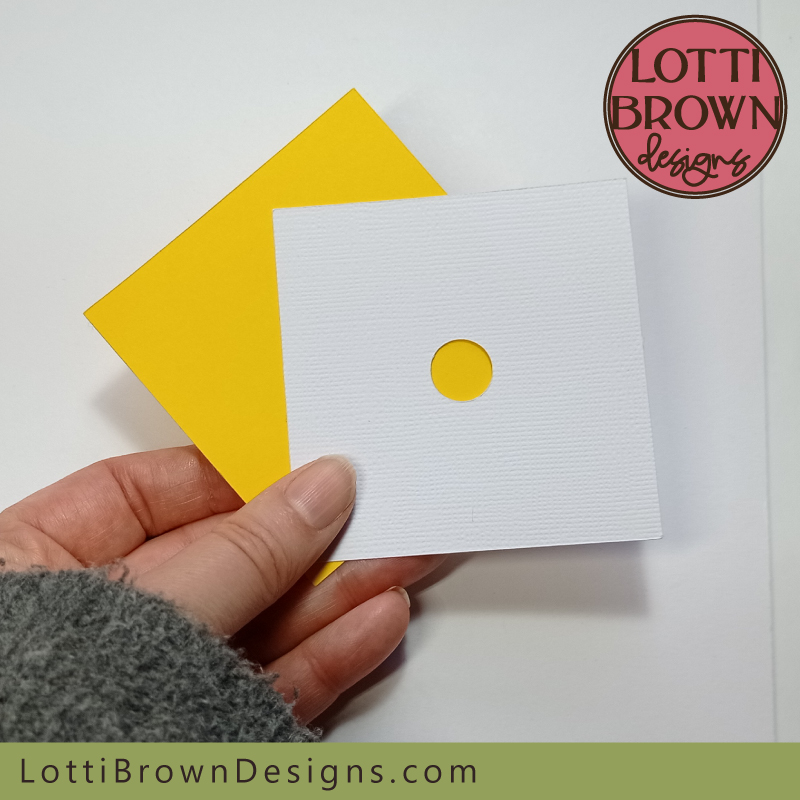 We will be using the small white and yellow squares
- Add glue to the BACK of the white square with the circle cut out of the middle (see image below)...
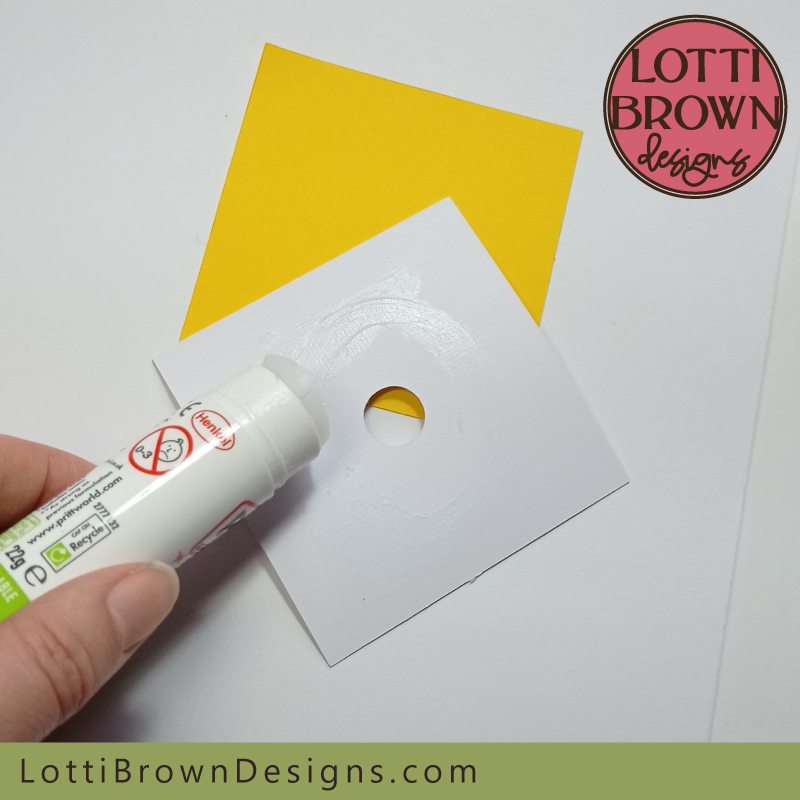 Spread glue around the back of the small white square with the hole in the middle - no need to go right to the edges!
- Then, stick it down onto the yellow square so the edges are exactly aligned (see image below)...
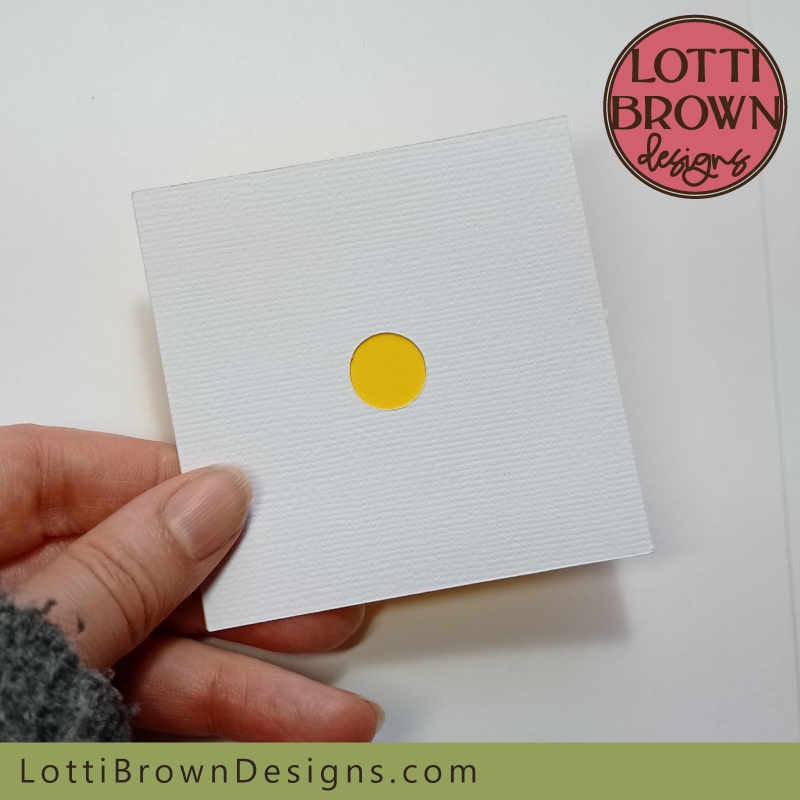 Stick it down onto the yellow square, doing your best to align the edges exactly
- We're going to add this square into the lid of the box, so that the colours show through the cut-out petals. Lay the lid part face down on your worksurface so that you're working on the BACK of the lid (see image below)...
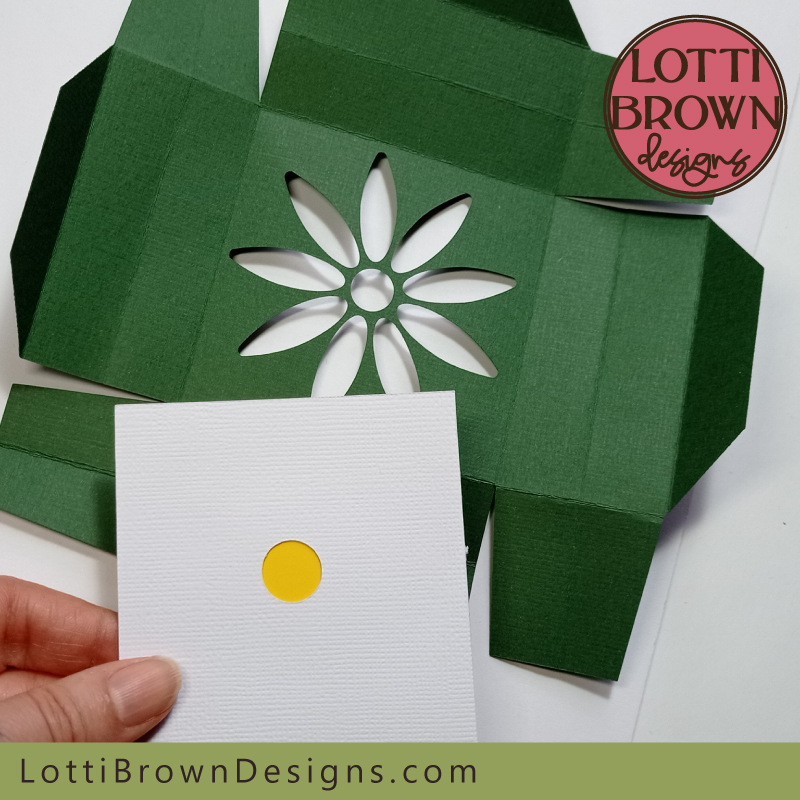 Make sure the lid is face down so that you're working with the BACK of the cardstock
- Use magic tape (sometimes called 'invisible tape') to attach the white and yellow square in the central square inside the lid. The white side should be face down and the yellow side facing you, like in the image below.
- Please note that it's best just to use a small strip of tape, like in the photo below, as this allows plenty of space for the glue in the next steps.
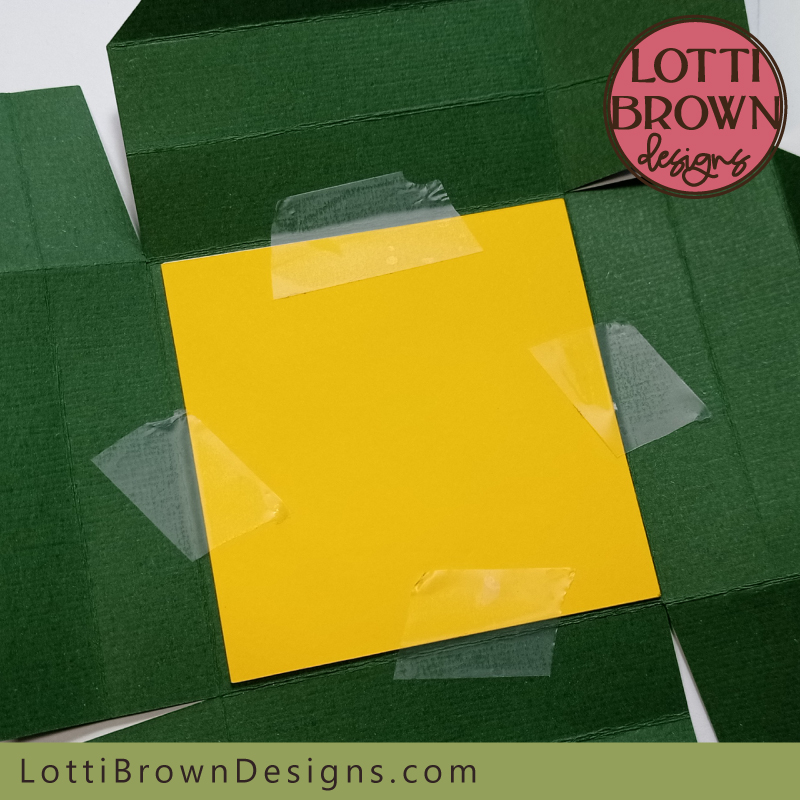 Tape the small square inside the lid, yellow side up, using magic tape
- Turn it over and take a look!
- The flower centre should show yellow, as in the image below - if you can see a bit of white poking through, just carefully unpeel the magic tape (this is one of the reasons we use magic tape, as it unpeels very easily without damaging the cardstock) - and then reposition your square and check again. I had to reposition this one (below - taken after repositioning!)...
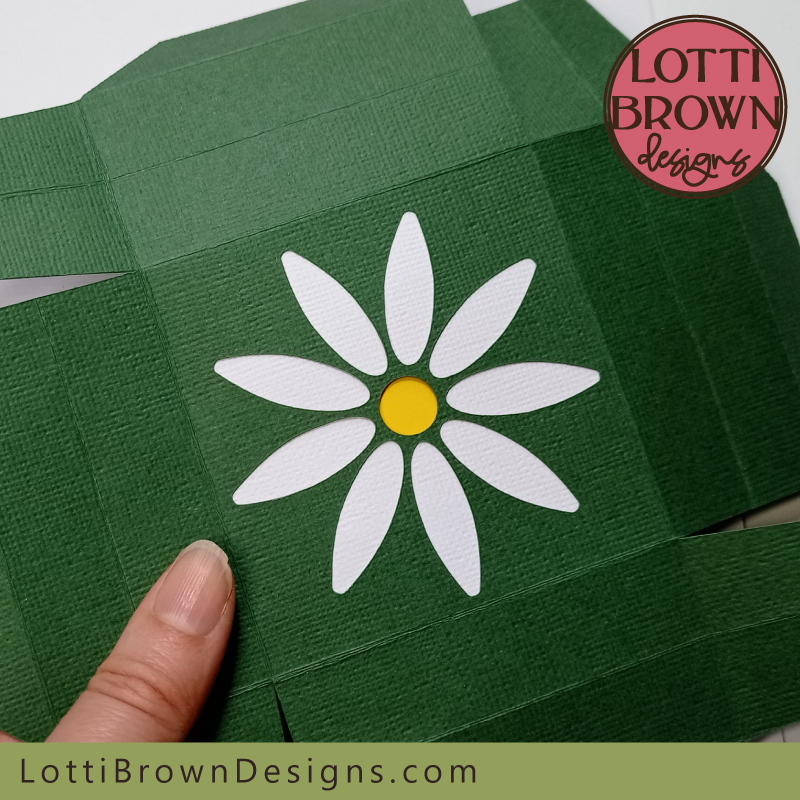 Turn your lid over to check how the daisy looks - if it needs repositioning, the magic tape should unpeel very easily for you to reposition and try again!
- When you've got it looking lovely, you can return to follow the rest of the main instructions here... (by the way, when it comes to gluing over your magic tape, just add glue right over it as if it wasn't there - due to the nature of the tape, the glue will stick on it just fine!)
How to Get Your Daisy Mini Box Template
If you enjoyed reading about my daisy mini box template craft project, you might like to make one of your own. You can get the template from my store at the link right below...
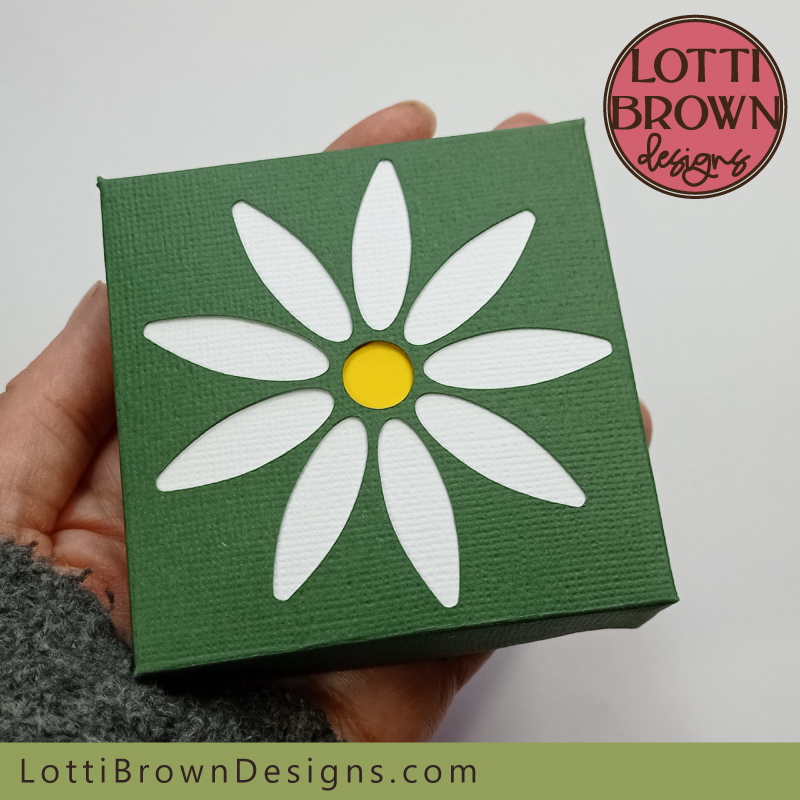 Daisy gift box craft project - for Cricut and other cutting machines
You can get your daisy box template from my store here
SVG, DXF, EPS, PNG file formats included
Ideal for Cricut & similar cutting machines - also possible to cut by hand
For personal craft projects and small-business commercial use (up to 200 products)
For physical (craft) products only - no digital products, use, or sharing
You Might Also Like:
Lotti Brown's Designs & Templates
How-tos...
- How to use SVG cut files for Cricut (also other cut file formats & machines)
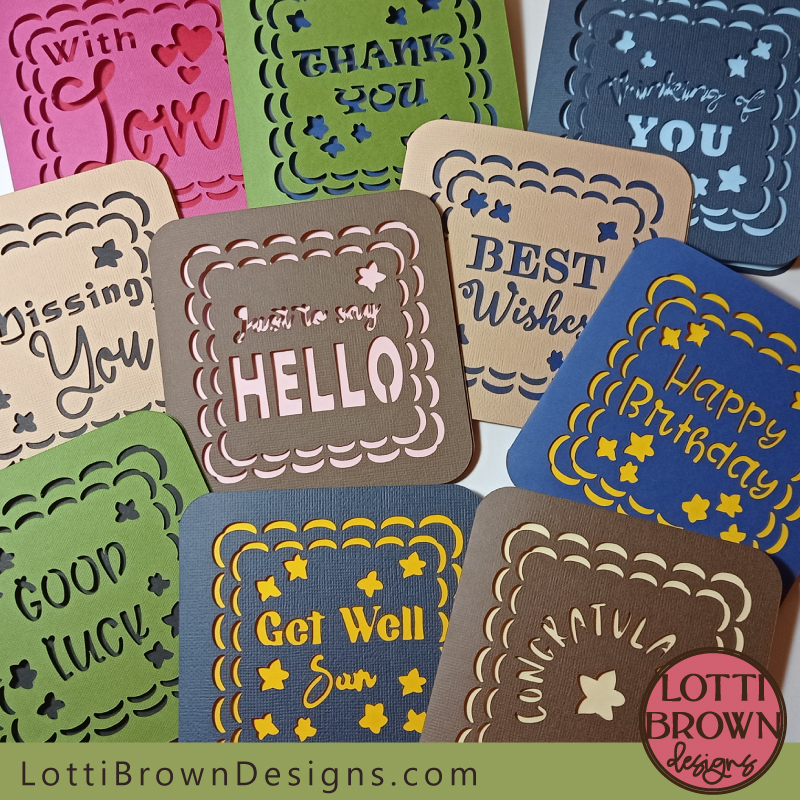 Greeting card templates
You might also like my collection of card templates - loads of occasions catered for and I'm adding more all the time...
And my growing library of different gift box templates - here!
Want to keep in touch?
Sign up below for my free email newsletter...
My newsletter is usually sent out once a month (at the end of one month or the start of the following month) and you can unsubscribe any time...
Sign up below...!
Recent Articles
-
Willow Tree Symbolism and Celtic Willow Art
Apr 11, 25 05:43 AM
Explore willow tree symbolism and meaning - Celtic willow art and printed products... -
Wild Dog Rose Pattern & Products
Apr 07, 25 06:12 AM
Pretty dog rose pattern and products in a nostalgic heritage style recalling pretty hedgerows of flowers... -
British Robin Book Recommendations
Apr 04, 25 06:26 AM
My British Robin book reviews and recommendations - learn about Britain's favourite bird...
Follow me:
Share this page:


