SPRING 2025 - I've just completed a WEBSITE REVAMP! Everything is still here but may be in a slightly different place where than you left it and there's also lots of new sections, so if you're having trouble finding something in particular or you spot something that's not working as it should, please do get in touch and I'll do my best to help!

Rainbow Wedding SVG
Shadow Box Project
- Home
- SVG files
- Shadow Box SVGs
- Rainbow Wedding SVG
Get colourful with a fantastic rainbow wedding SVG craft project to make a shadow box - suitable for a straight or gay wedding - you can select bride and groom, groom and groom or bride and bride...
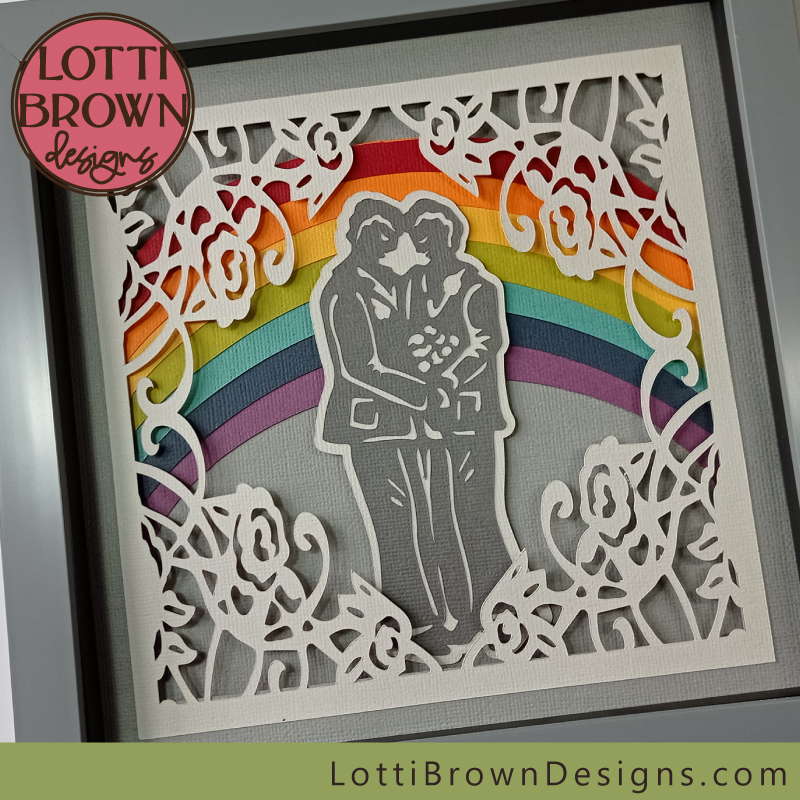 Two grooms shadow box
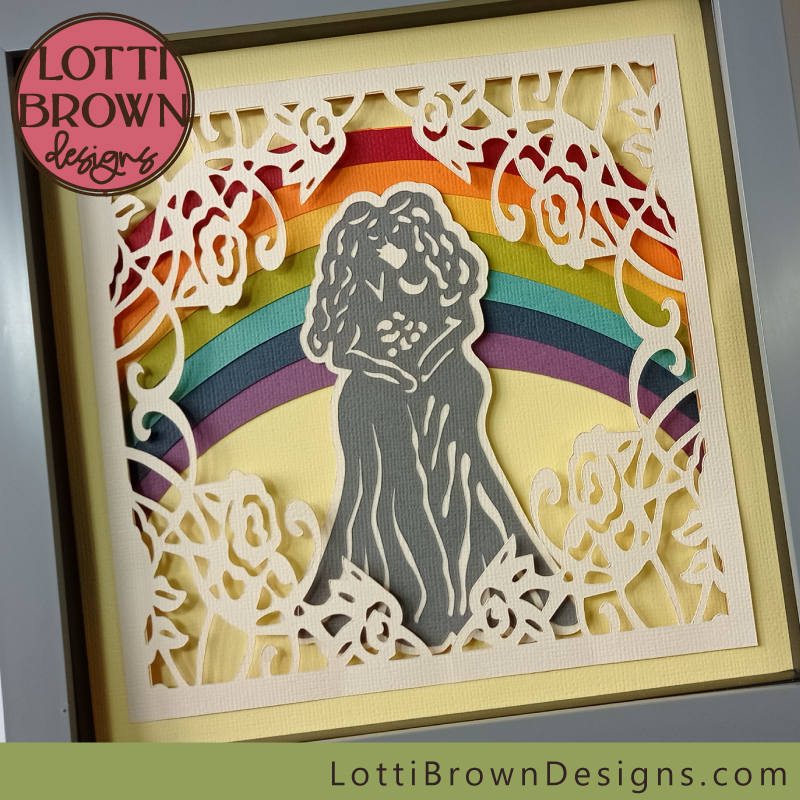
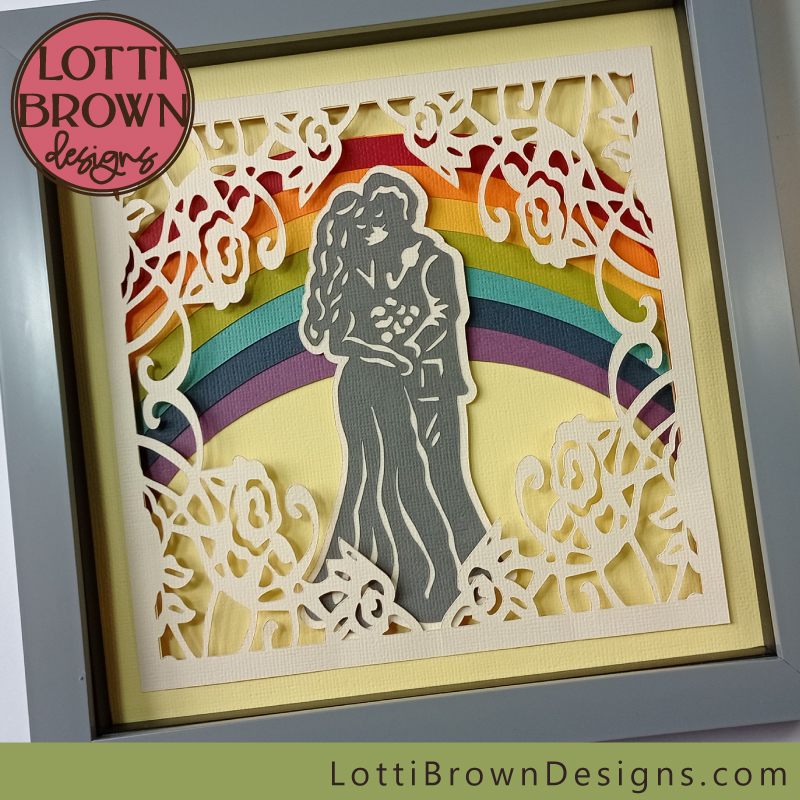 Bride and groom shadow box
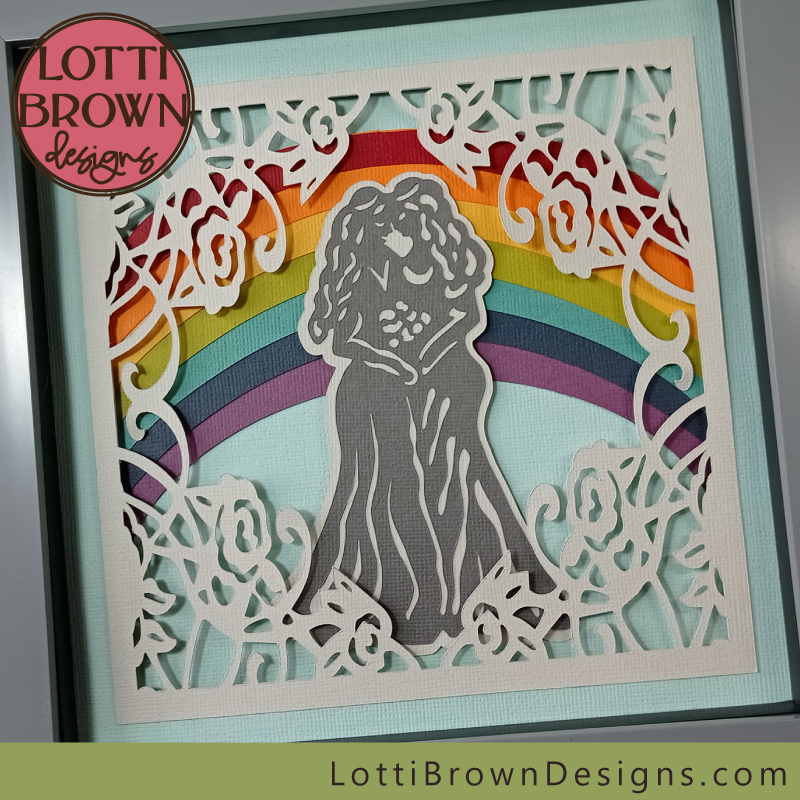 Two brides shadow box
I was inspired to create this colourful wedding shadow box after creating my very intricate wedding shadow box design here, with matching cards - I wanted to make something with a colourful rainbow which is a true symbol of love, diversity and togetherness for our times. I also wanted to make something very inclusive, too, so that's what I've tried to do...
I hope you like it!
This is quite a cool make and I really enjoyed making it! I'll show you how on this page - it's not especially difficult but there are a lot of layers. So I'll share with you how I found it best to make the rainbow wedding shadow box and hope that you have lots of fun with making it too!
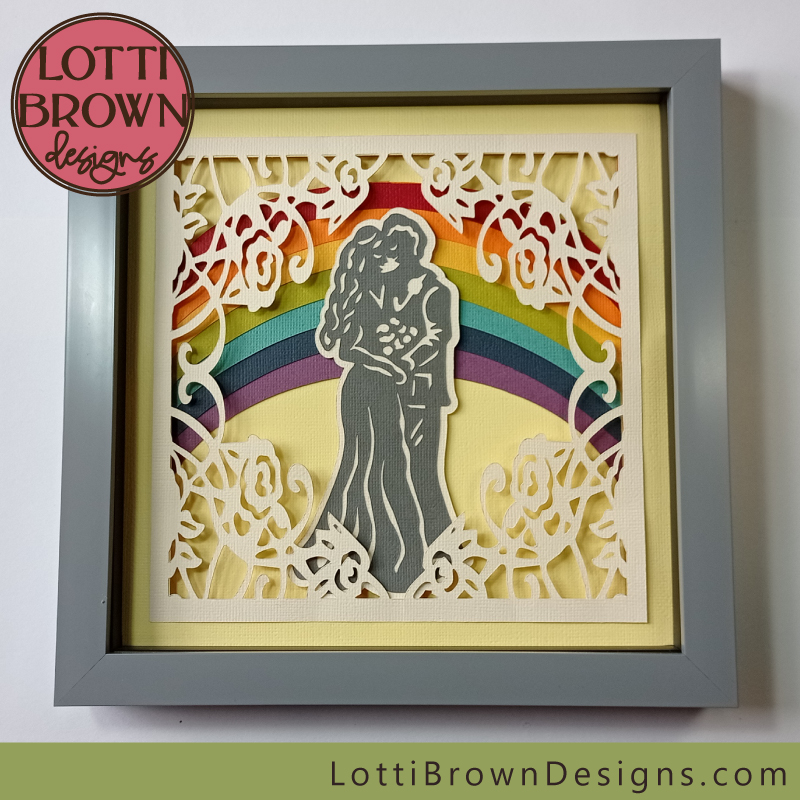 Colourful rainbow wedding shadow box
The design comes as a digital template
- SVG, DXF, EPS & PNG formats for cutting machines including Cricut (or hand-cut with the PNG)
- suitable for personal craft projects
- suitable for small craft businesses (up to 200 products)
- only for physical products - no digital products or sharing, please
How to Make the Rainbow Wedding Shadow Box
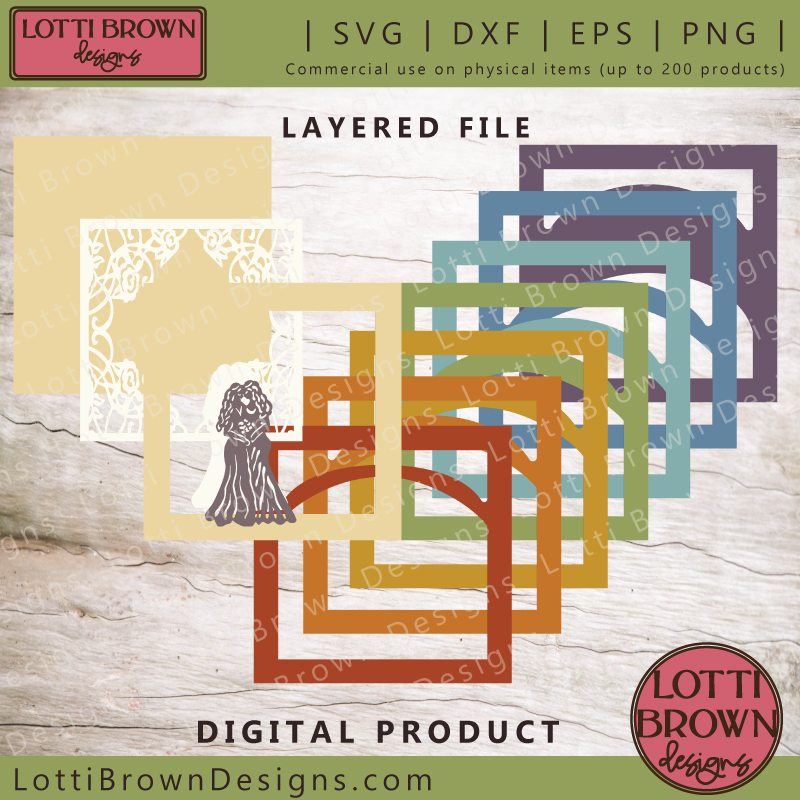 There are 12 layers in the rainbow wedding SVG file
You will need:
- Cardstock - in 10 different colours. There's seven rainbow colours plus a cream and a dark grey and then a colour for the background and frame (pale yellow here). You will need two sheets of card for the background and frame colour if you're using an A4-sized card. I've also tried out some other colours for the background/frame so you can see them here and see which you like. I also tried a really pale grey in place of the cream for some (mainly as I'd run out of cream card - but I like the effect). I've used Sizzix textured cardstock here for all the layers. The dark blue in the rainbow is actually a dark slate grey from the Sizzix neutrals pack.
- Double-sided sticky pads - these stick the layers together and separate them a little to give a better shadow effect. We'll only use these on some of the layers, so you will also need...
- Glue stick or paper glue
- Frame - a box frame that's a little bit deeper is ideal for your shadow box. The frame I used measures 8 x 8 inches (20 x 20cm) and the template is set to this size. Please measure your own frame size and resize the template to suit.
- A method of cutting your cardstock layers - I'm using my Cricut Maker cutting machine. You can also use a different make of cutting machine or you can cut by hand using the PNG if you prefer.
- The rainbow wedding shadow box SVG template - available via my store - please make sure you select the correct version for your recipients - there's bride & groom - also groom & groom - and bride & bride
I'll be showing you how to make the bride and groom version of the rainbow wedding shadow box - all three versions are the same except for the figures, so just follow along with the process and whichever version you choose will be grand!
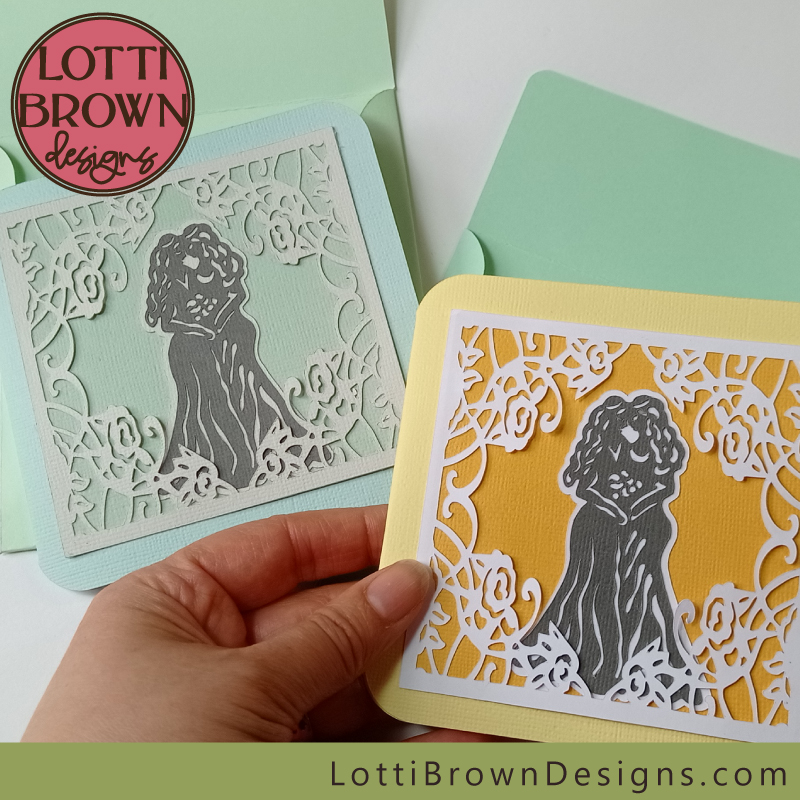
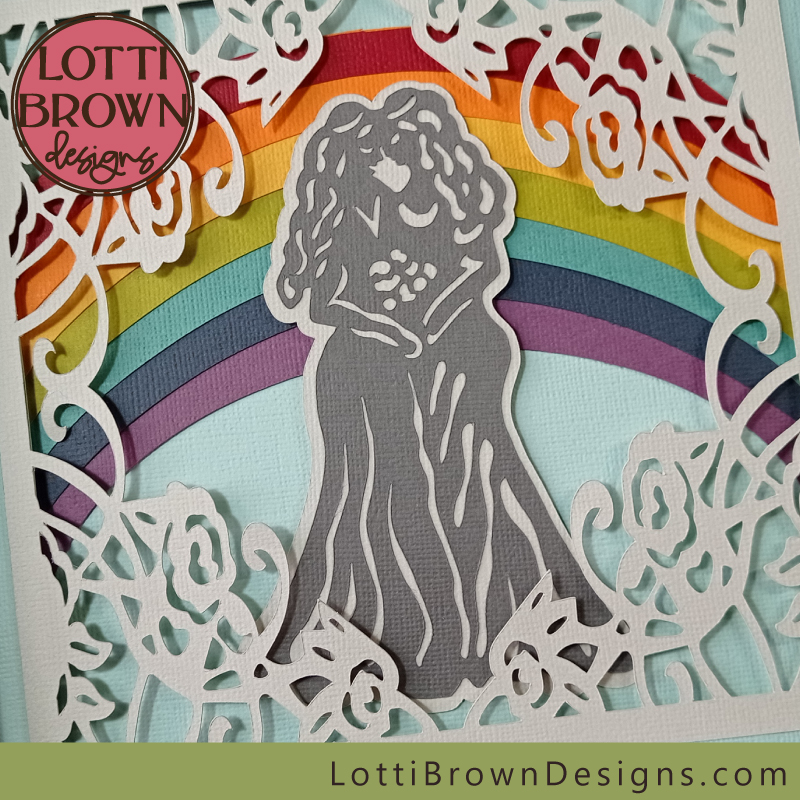 Two brides with pale green background - close-up look
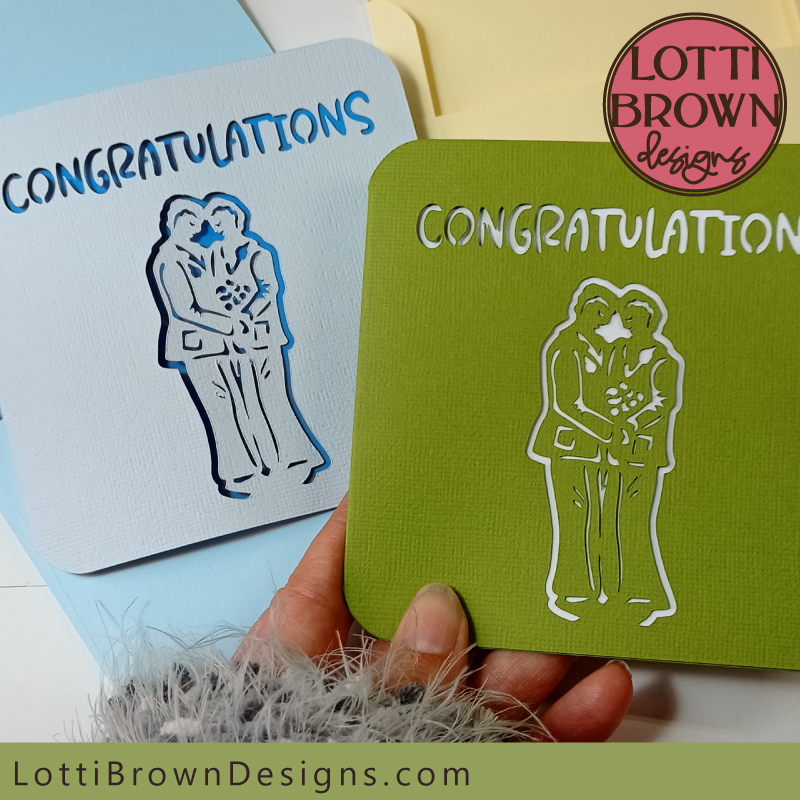
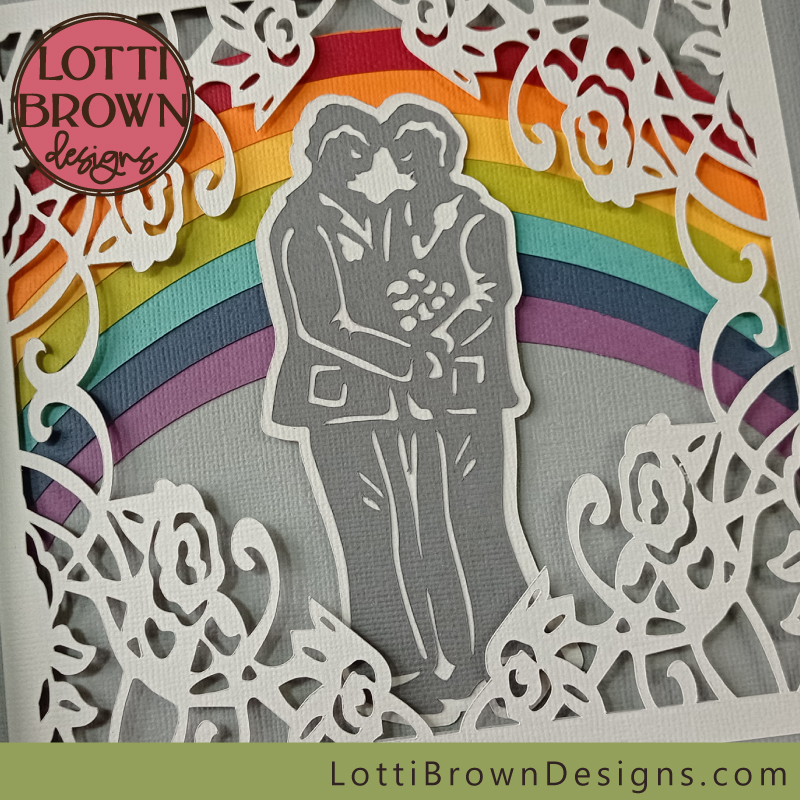 Two grooms with grey background - close up look
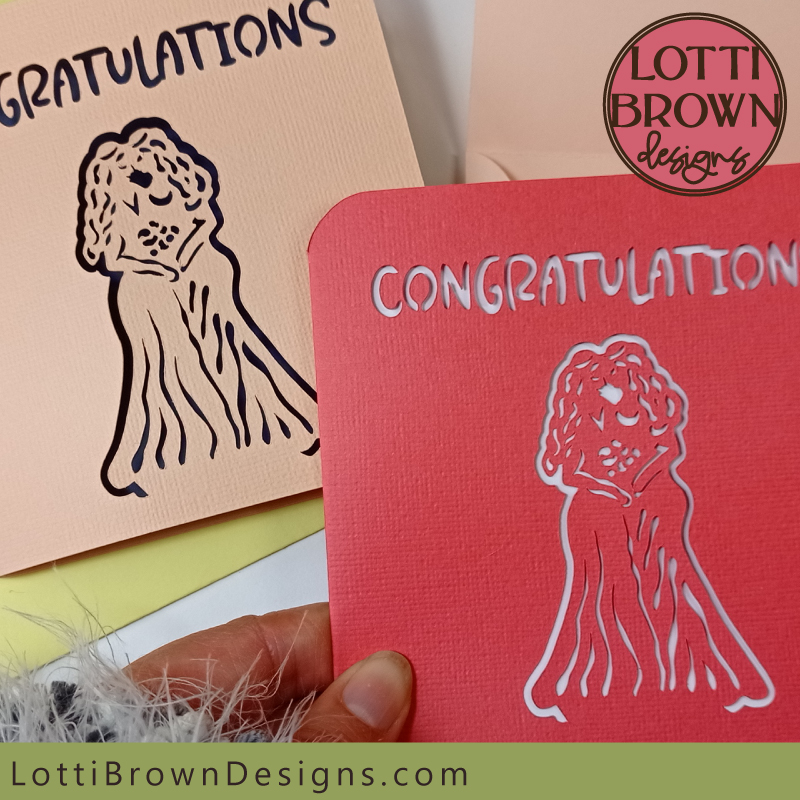
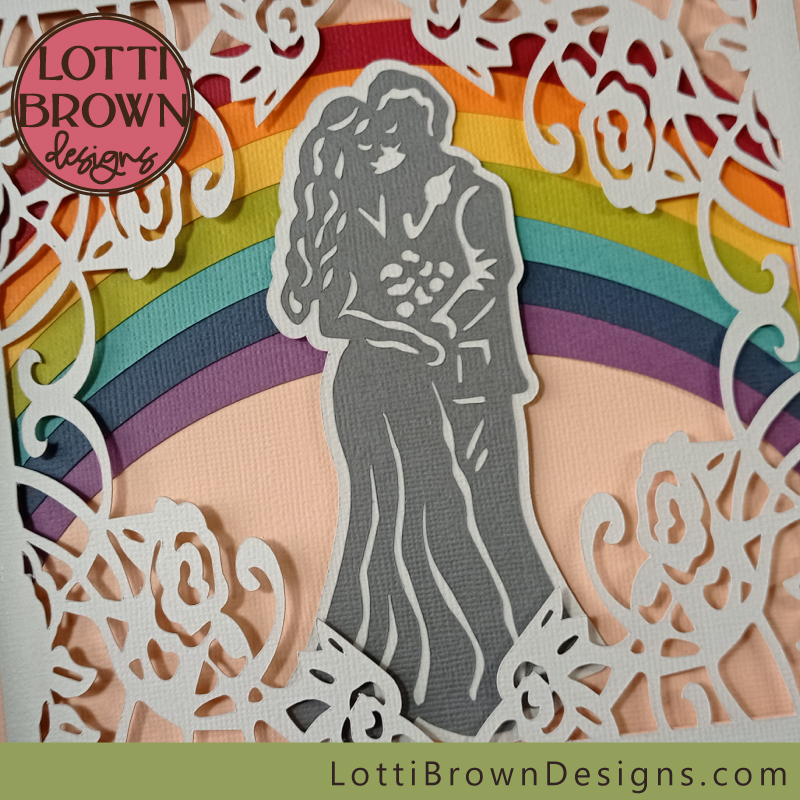 A close up look - bride and groom with peach background
Rainbow Wedding Shadow Box Craft Tutorial
- First - resize your template in your cutting machine program to fit your frame. The template is 20 x 20 cm (approx 8 x 8 inches). I shift it a little to the left in Cricut Design Space to make sure that it fits onto an A4-sized sheet of card. Mine fits in my 8 x 8 inch frame.
- Choose your cardstock colours - feel free to change about any or all colours to make the project your own. Realistically, I think the main choice will be the colour of the background and frame. I made these the same colour, but go ahead and make them two different colours if you like. Personally, I would avoid a background that's the same colour as one of the rainbow colours, but if you like it, go for it, it's your project. I thought a softer colour for the background and frame made the rainbow really stand out well. I think a pale and dark neutral for the figures and their background work well so that there's some contrast so that you can see the detail - different colours might be fun though?
- Cut your layers using your cutting machine or other cutting method you prefer. I cut mine with my Cricut Maker cutting machine, using intricate cardstock setting for the lacy pattern layer and the main layer for the figures, otherwise I just left it as standard. There are a lot of layers so this can take a little time! I have some help with how to use SVGs and other formats here. If you're a Cricut user, there's some extra help here.
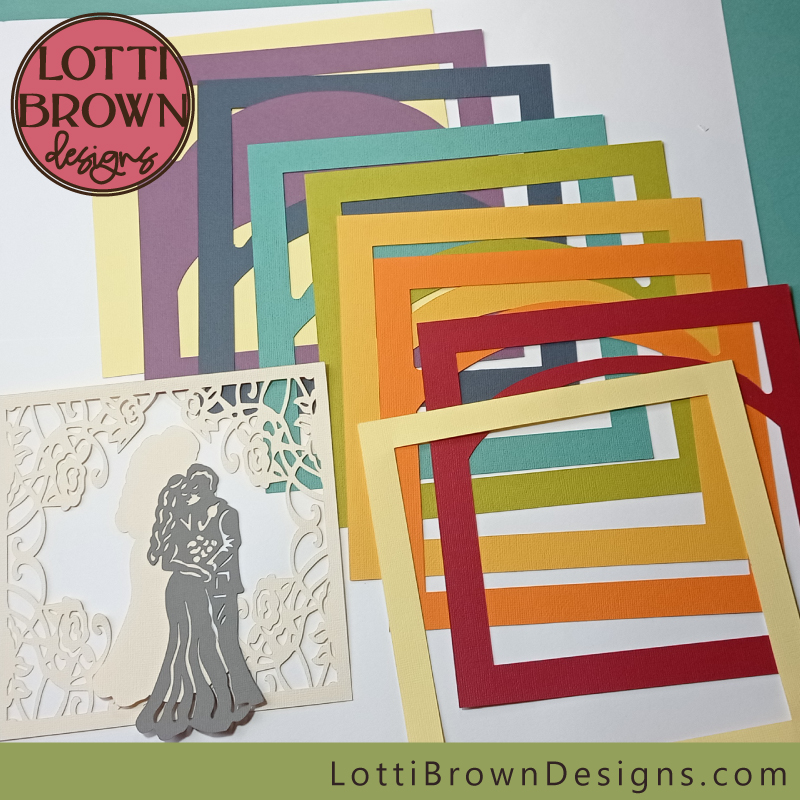 Cut layers ready for the rainbow wedding shadow box project
Once you've cut your layers, you're ready to start - I found it easier just to organise my layers a little bit as I find it easy to get in a muddle!
So I laid everything out as in the image below, with the background and frame, together with the lacy layer and the figures and their background on one side - and then the rainbow layers, in order on the other side...
 I found it best to get my layers in order before I started, especially for the rainbow layers
Start with the figures - we need to stick them to their background layer. I just spread a layer of glue from my clue-stick on the back of the grey layer with the figures and then stuck it centrally onto the cream background. You may need to wipe a little glue away from the surface if it seeps through the cut holes.
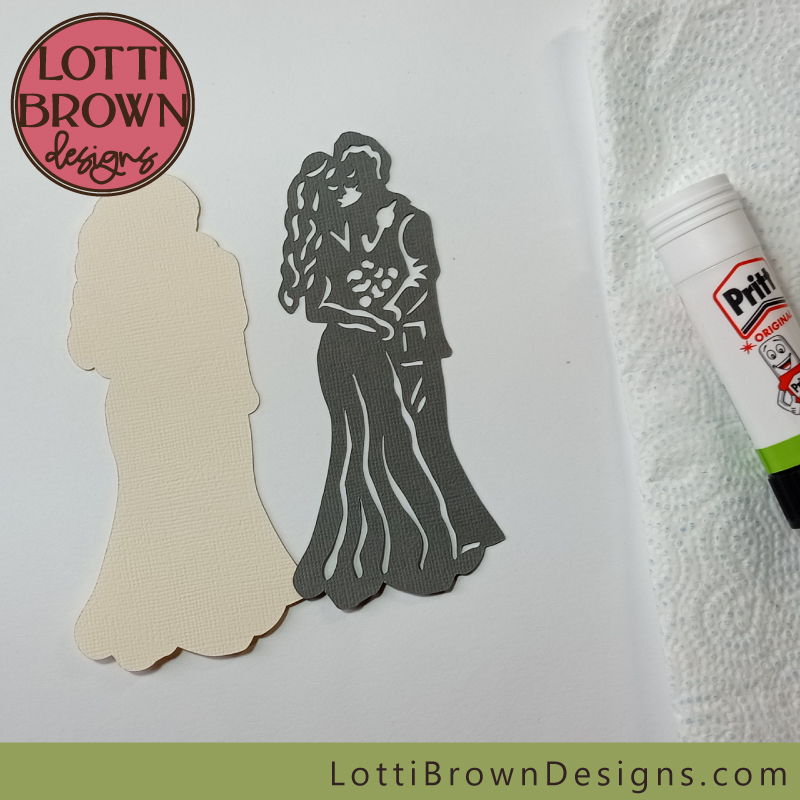 A little glue on the whole surface of the back of the figures will stick them nicely to their background layer
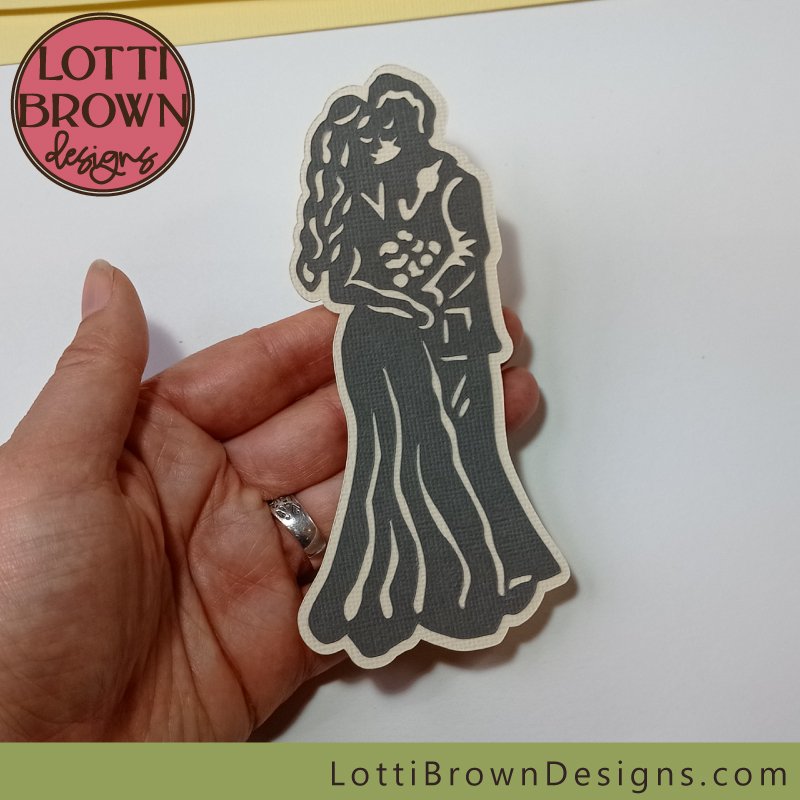 The bride and groom are ready
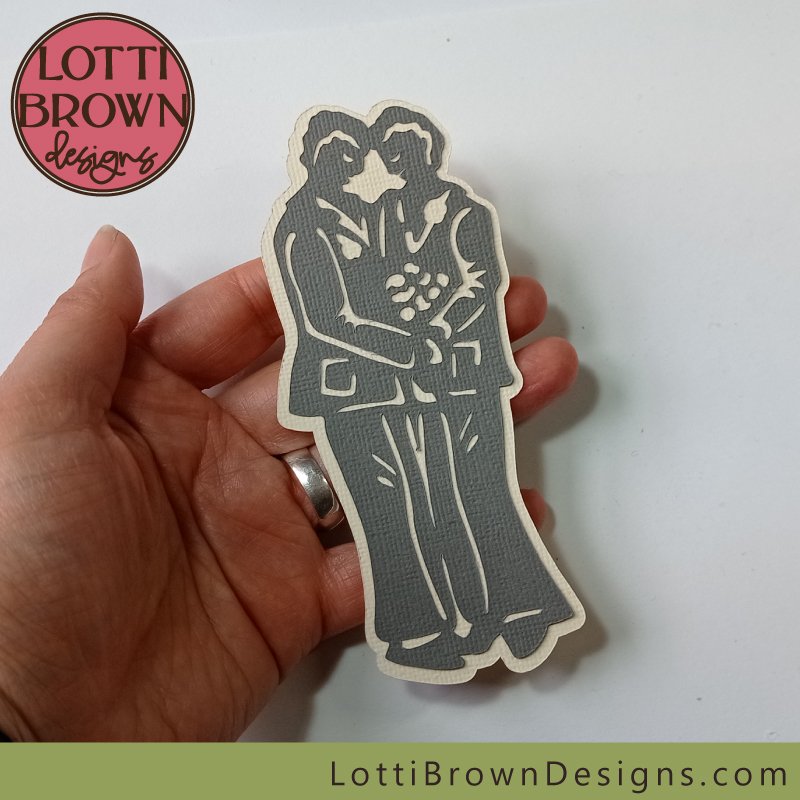 And so are the groom and groom!
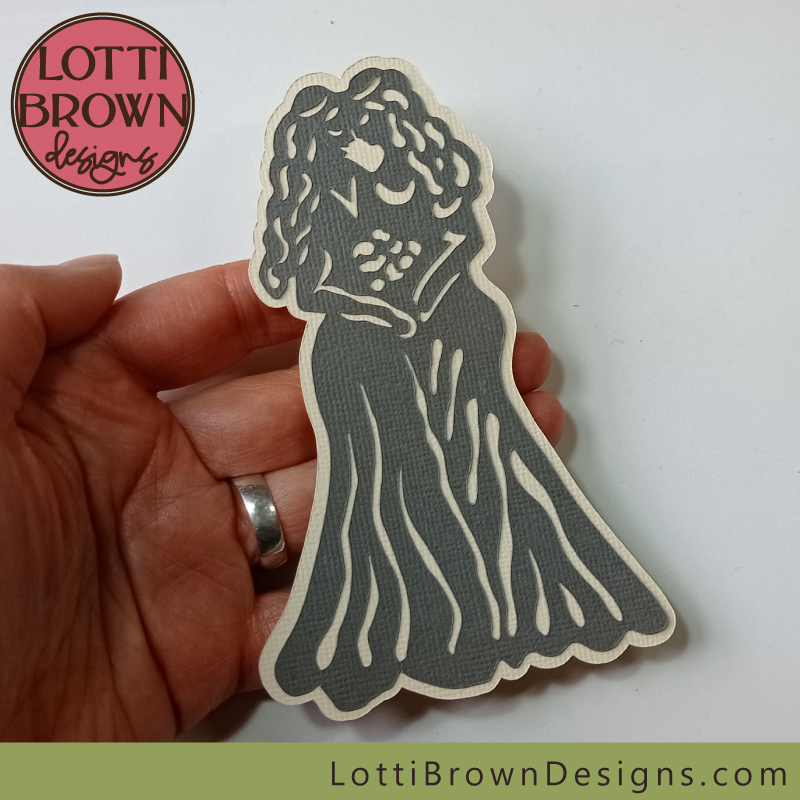 And the bride and bride!
Pop your little figures safely to one side for the minute - and we'll start on the rainbow...
The rainbow layers up from the back, on top of the back purple layer. I suggest you flip your rainbow pile over and select from the top of that each time, and you should be selecting the bottom-most layer each time.
So our purple layer is the bottom of the rainbow - and we'll layer up all the other colours on that.
Lay your purple layer down face up - and take the dark blue layer, ready to apply glue to the whole of the back of the piece...
I used a glue stick for the rainbow layers - I want them to appear as one layer in the shadow box. If you'd like to put a little depth between each colour on the rainbow, you can use your double-sided sticky tabs between each colour - but do bear in mind there are a lot of layers and think about how thick this project will be by the time you've done this between all the colours and if your chosen frame has enough depth.
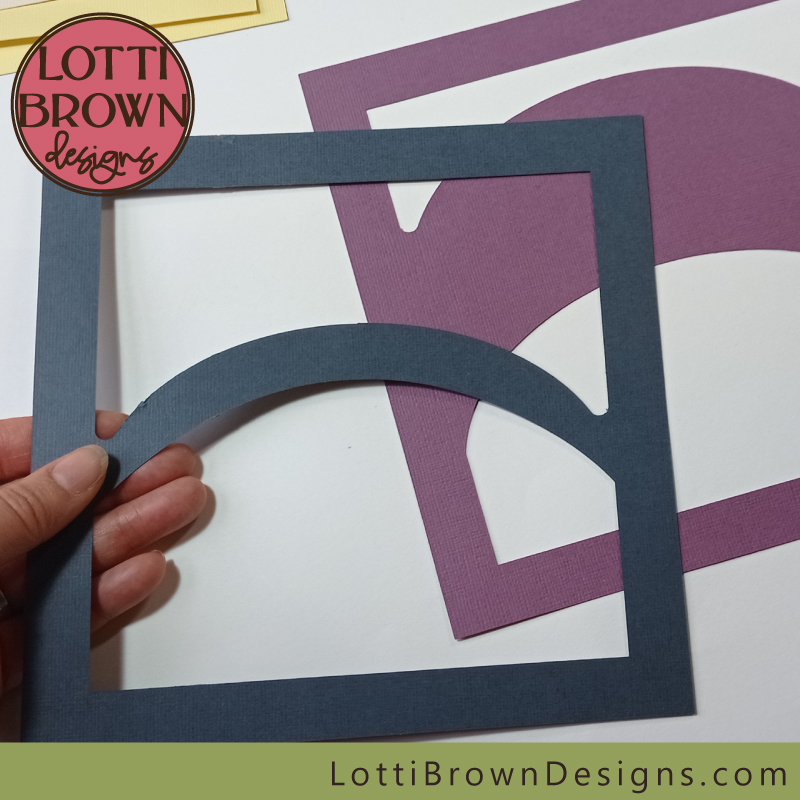 Lay your purple layer down face up and apply glue with your glue stick to the BACK of the dark blue layer
Once you've applied glue to the back of the dark blue layer, you can stick it down onto the purple layer...
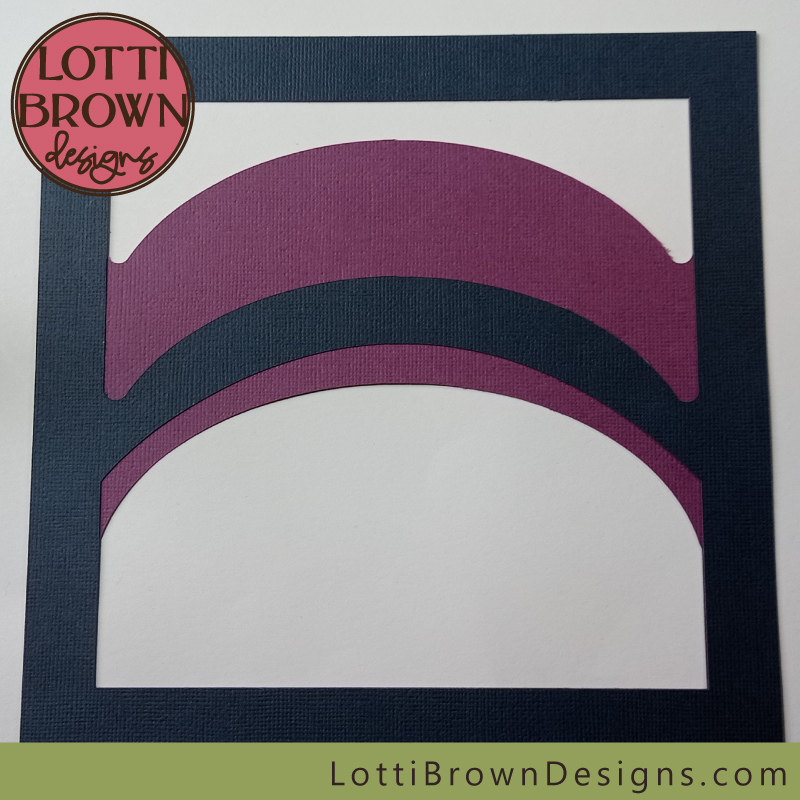 Dark blue layer of the rainbow
Then repeat this with the next layer of the rainbow - this is actually the blue layer - I used a teal colour of Sizzix cardstock for this blue...
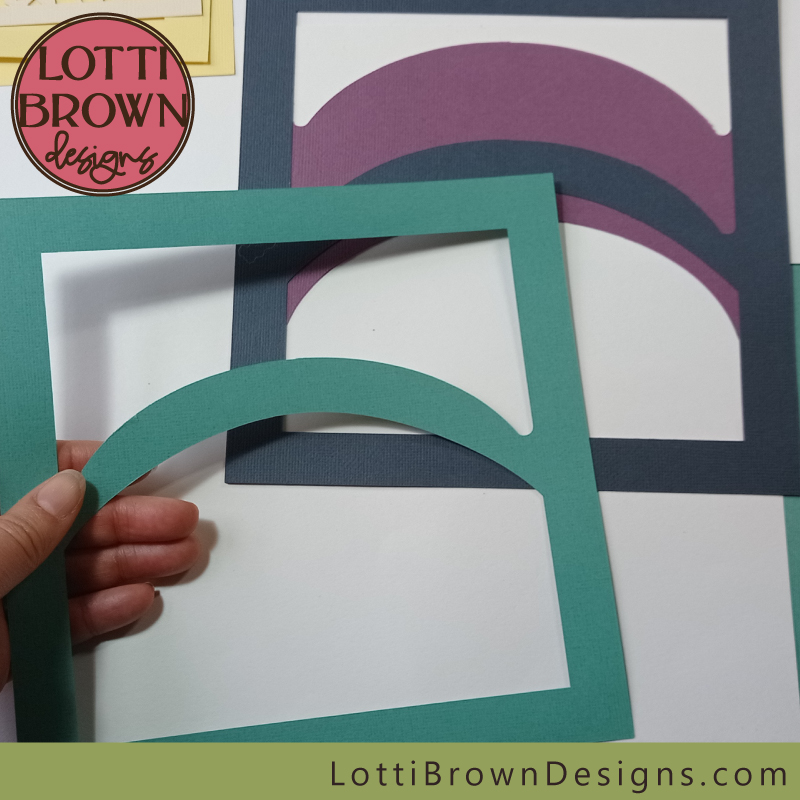 Add glue to the back of the blue (teal) layer of the rainbow
And stick it in place...
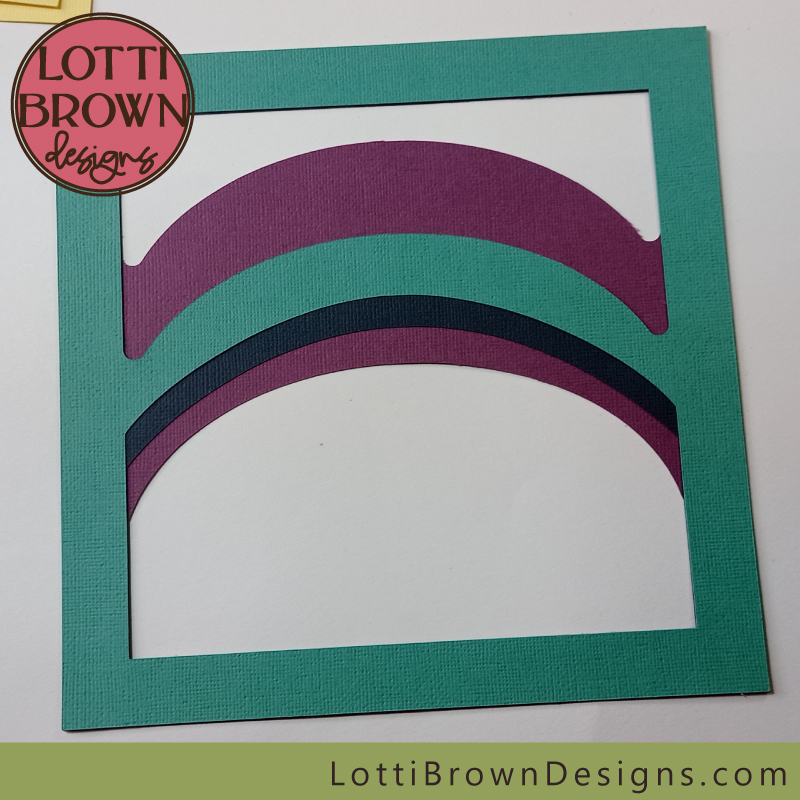 Teal (blue) layer of the rainbow in place
Next is the green layer - add glue to the back of the layer, then stick it down in place...
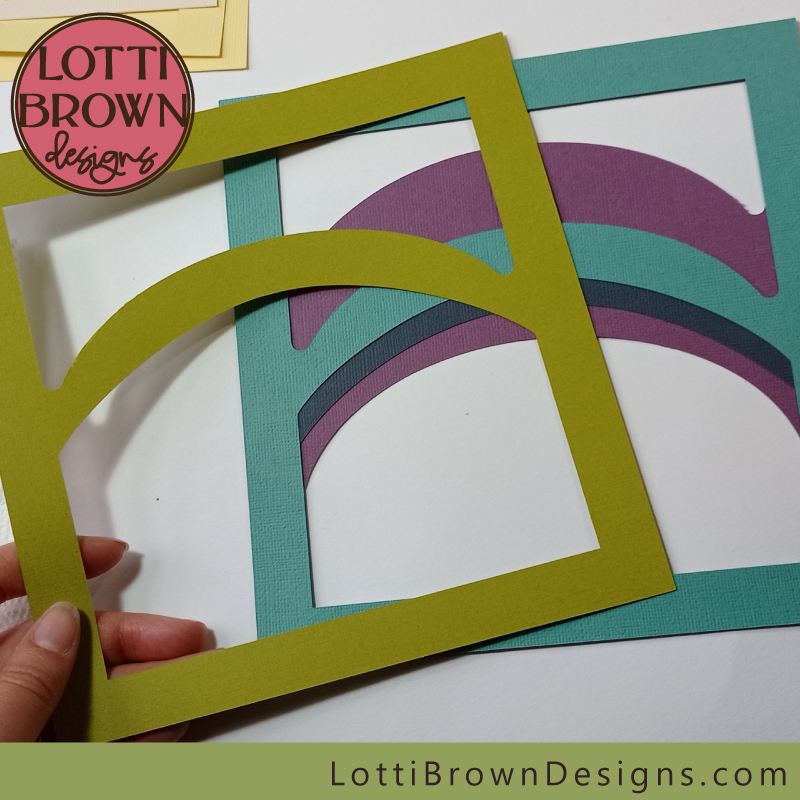 Get your green layer ready and add glue to the back of it
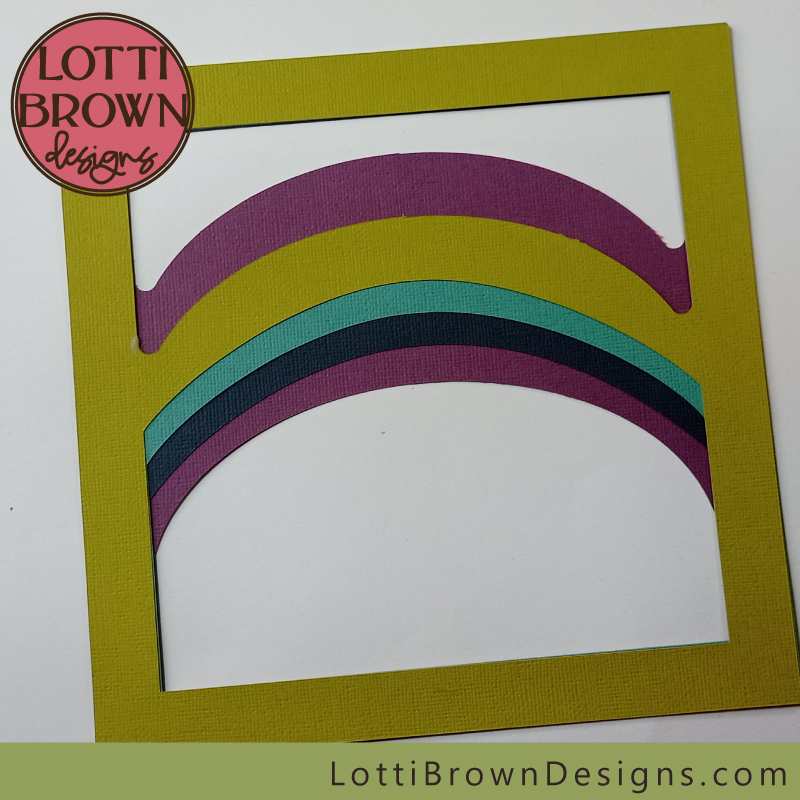 Green layer of the rainbow in place
And of course, repeat this for the yellow layer - glue the back, and stick it down onto your rapidly growing rainbow...
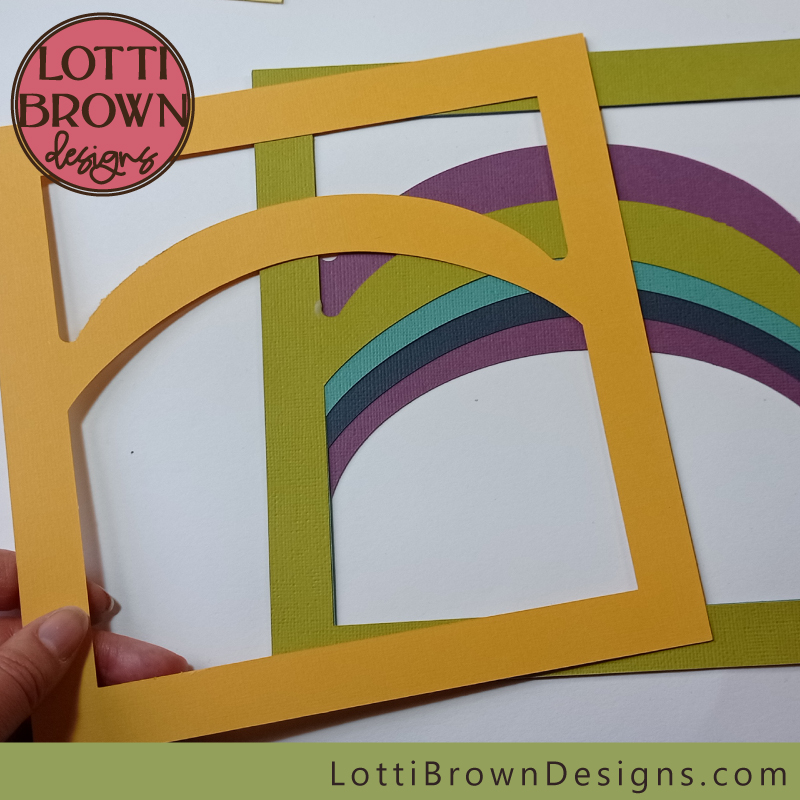 Add glue to the back of the yellow layer
See the big blob of glue on the left in the image below? This is going to be covered by the next layer, so no need to worry about it. If it was on the lower edge where it would show, do wipe it off to keep your rainbow looking neat!
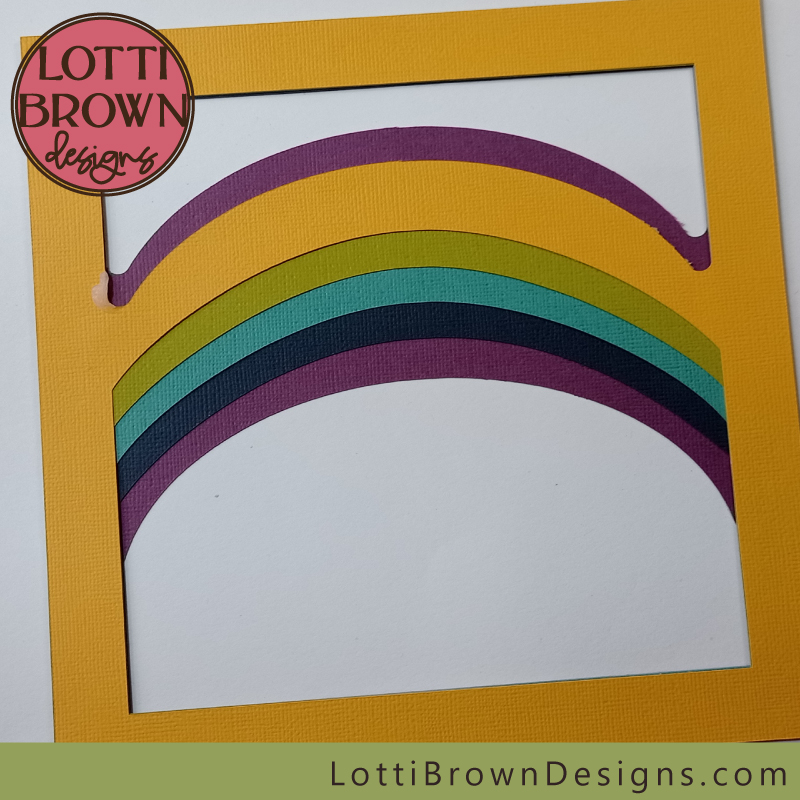 The yellow layer of the rainbow is glued in place
Our rainbow is really looking the part now! Just a couple more colours to go! So next, it's the orange layer - and you know what to do... add some glue to the back and stick it down.
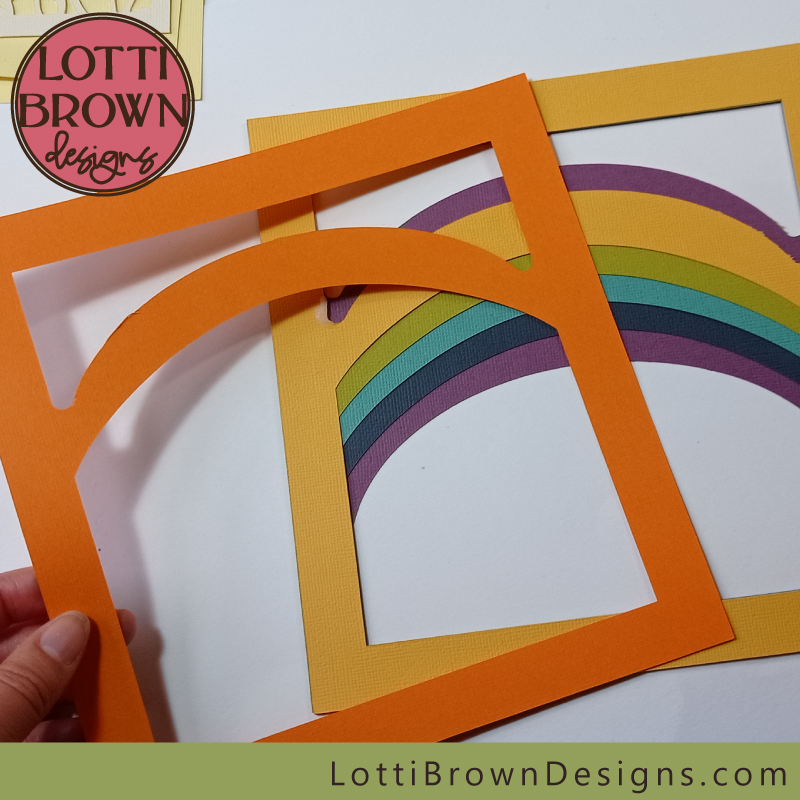 Get ready to glue the orange layer
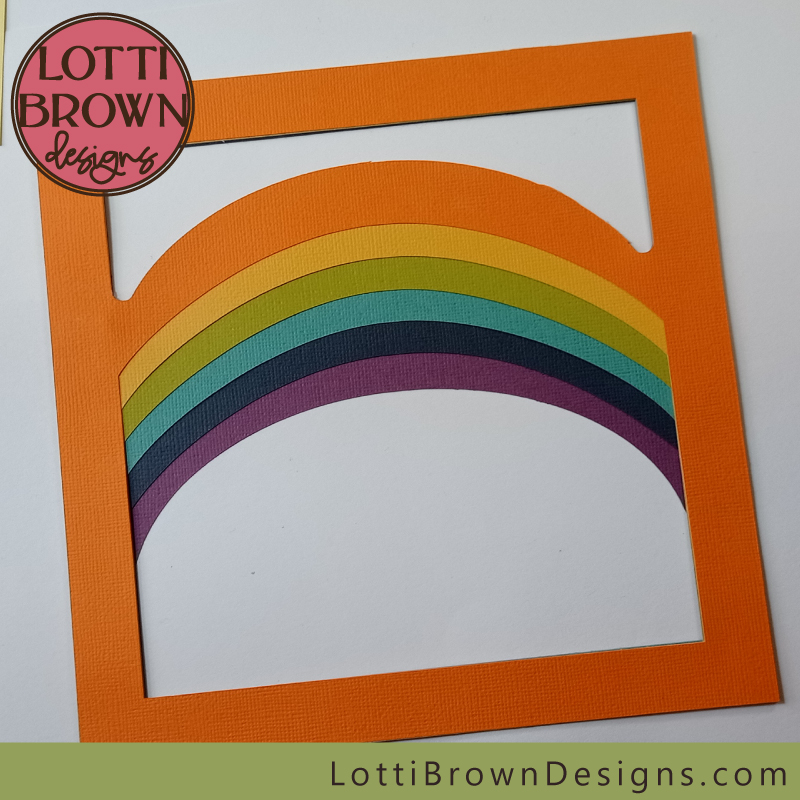 The orange layer of the rainbow is now glued in place
So there's just one colour left - and it's red of course! Get it glued and stuck on...
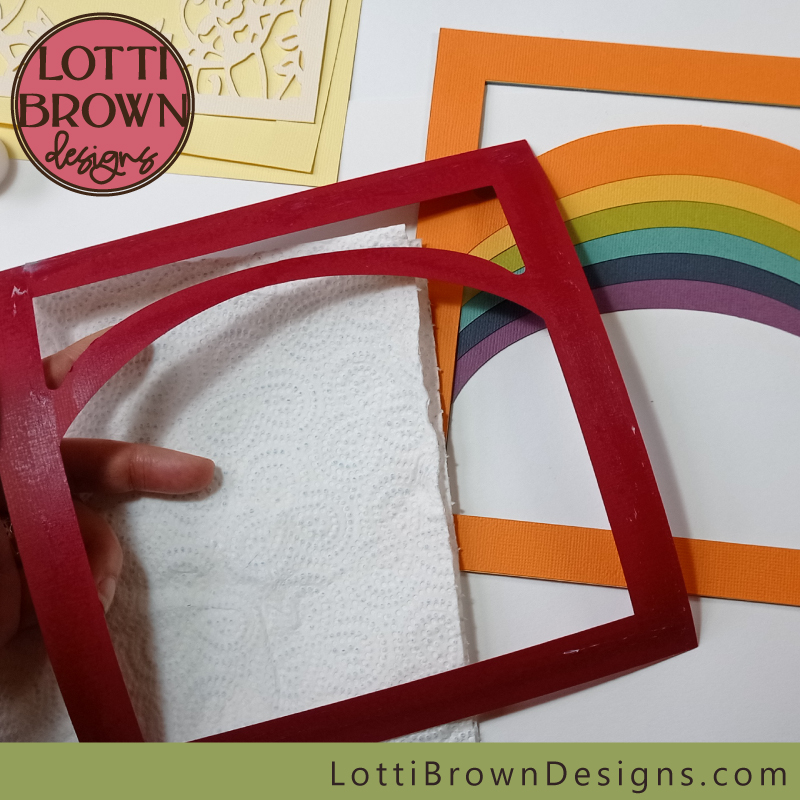 Add glue to the final layer, red
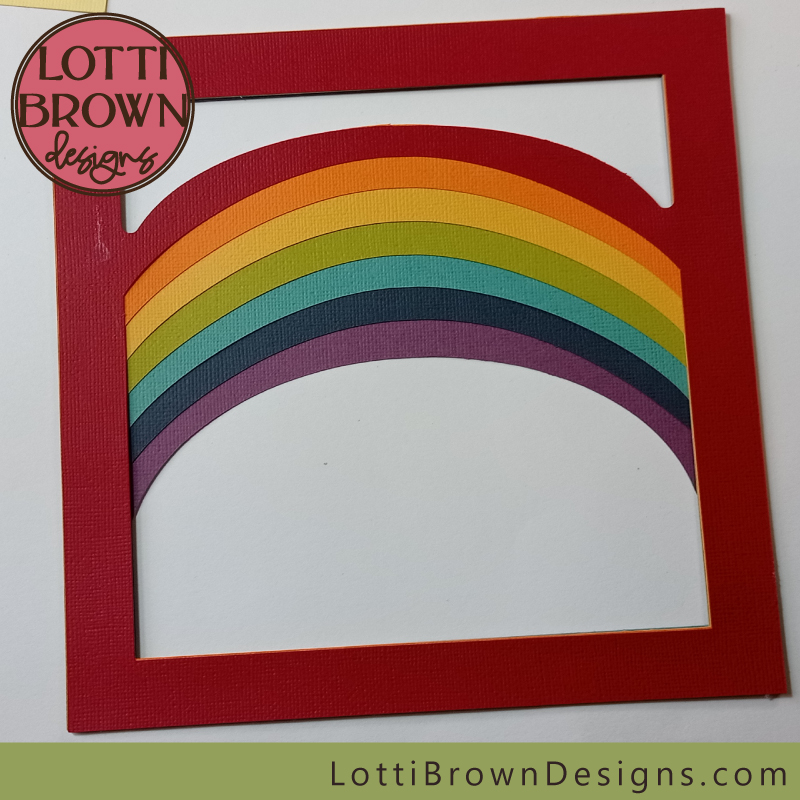 The red layer is added and the rainbow is now complete
Next, we need to put the rainbow onto the background layer. I'm using double-sided sticky tabs here, to give the rainbow a bit of depth from the background. Add them around the edge like so (below) - you could use 4 per side if you like, or even try just two per side, if you want. Whatever you decide, try to stick with it for the other layers, and try to keep the sticky tabs in the same or very similar positions.
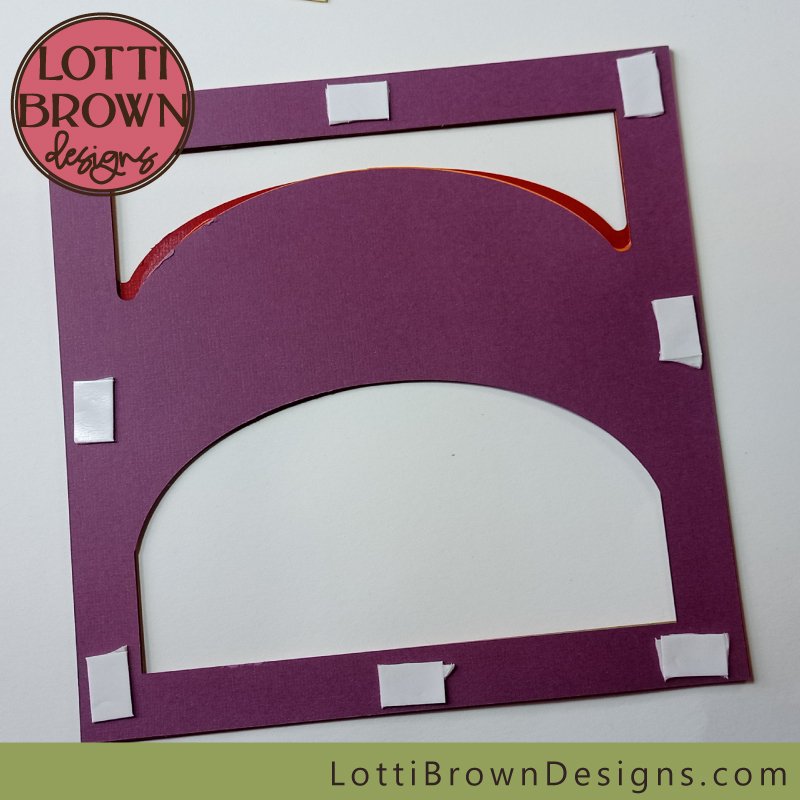 Add your double-sided sticky tabs around the edge on the reverse of the rainbow
And stick your rainbow onto the background...
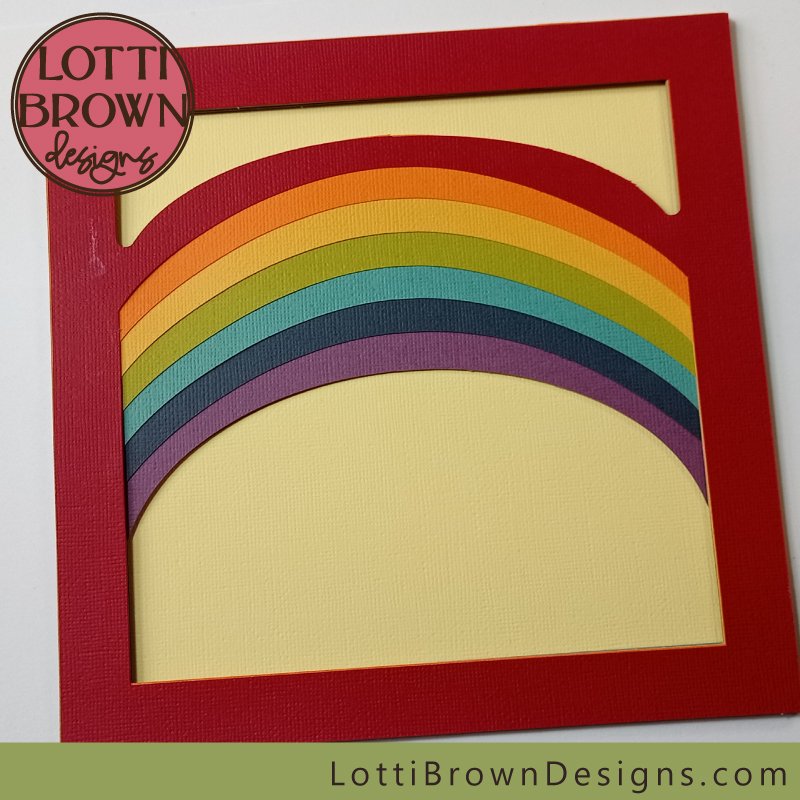 The rainbow is now stuck to the background
You can put this part to one side for a minute - now, we'll work on the front frame...
You will need the lemon frame plus the lacy panel...
We want to add glue just to the edge square section of the back of the lacy panel. I've used my glue-stick here again, as the area to glue is quite small (the edge square). You could use glue dots if you prefer...
I'm going to glue the lacy square on top of the yellow frame. You might prefer the look of having the frame glued on top of the lacy panel - you can do this if you fancy it.
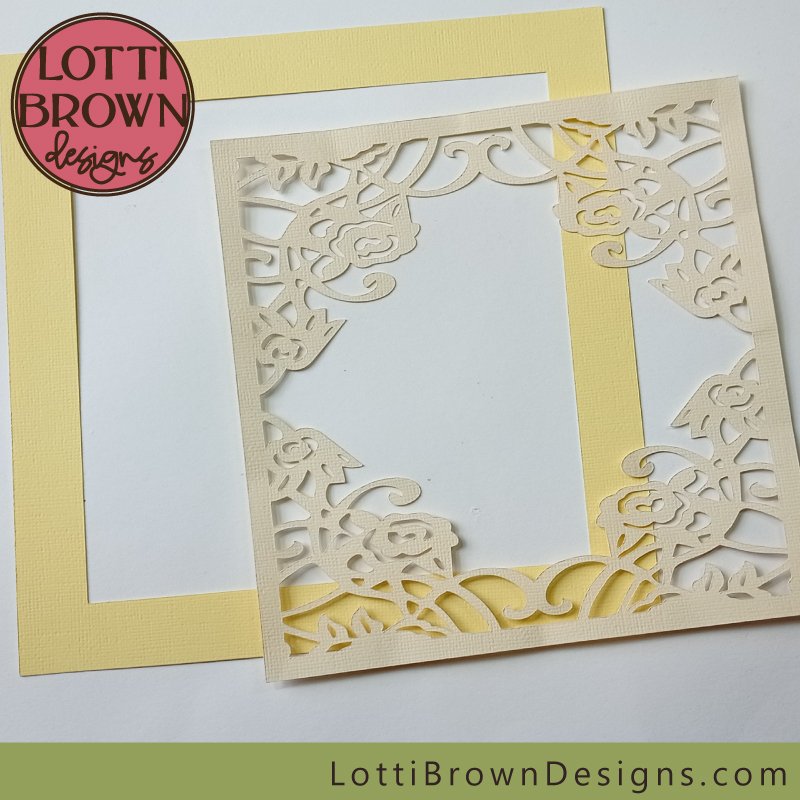 We're going to glue these two together
You should be able to glue the two together without the frame showing - if you're having trouble just turn the frame a little and try it at 90 degrees.
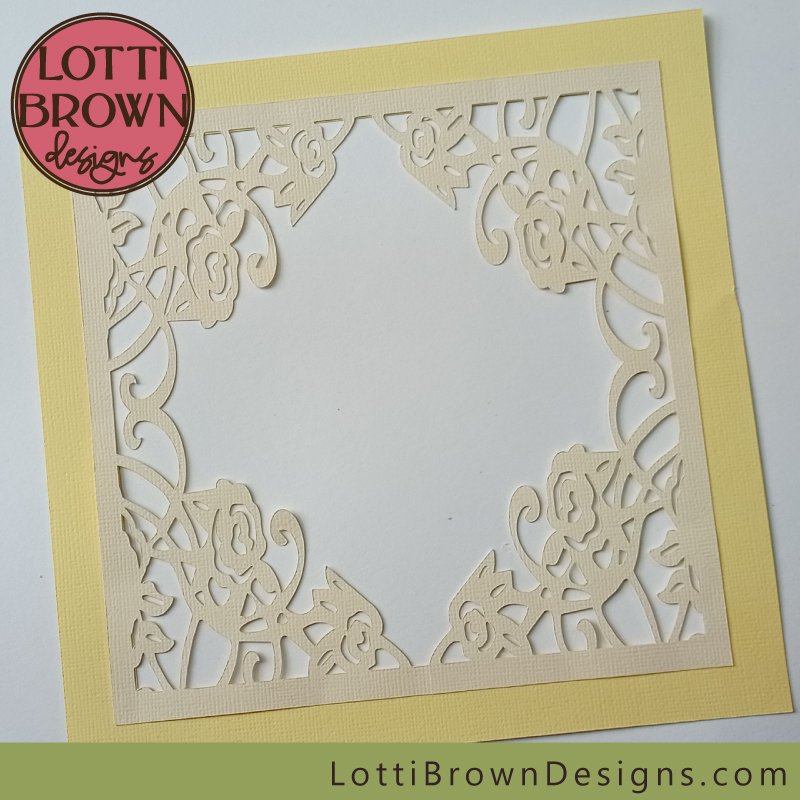 The front panel is glued in place
We're nearly done now - just the final couple of steps to go...
We need to position the figures in front of the rainbow. We need to make sure we position them correctly, so (without gluing yet) get them in place and position the frame over the top to check the positioning.
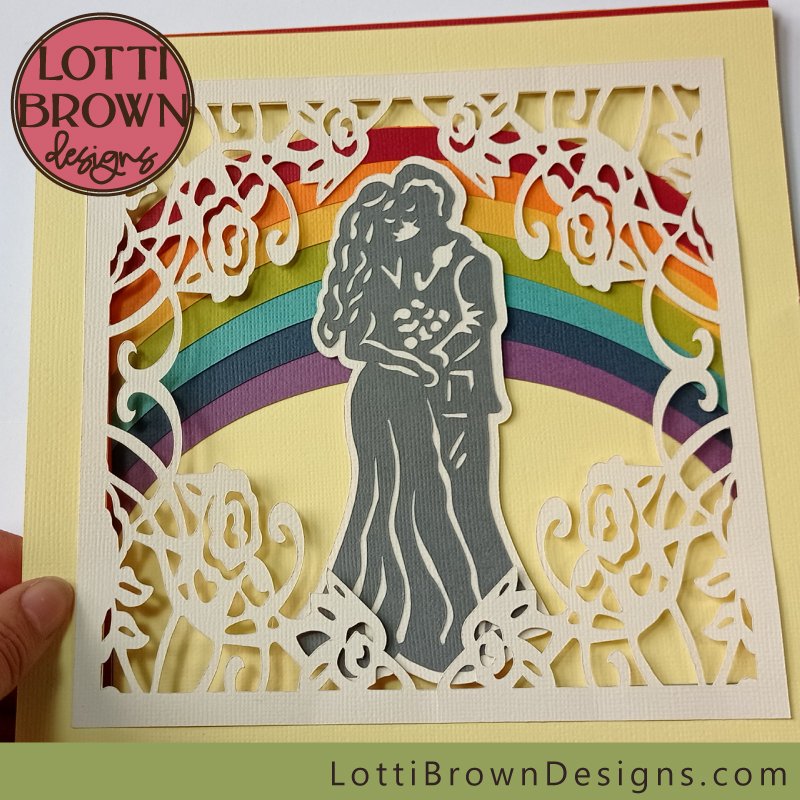 The figures will go in front of (on top of) the rainbow
Make a mental note of how you want to position your figures, and then add double-sided sticky tabs to the back, this will give them a bit of depth from the lower layers.
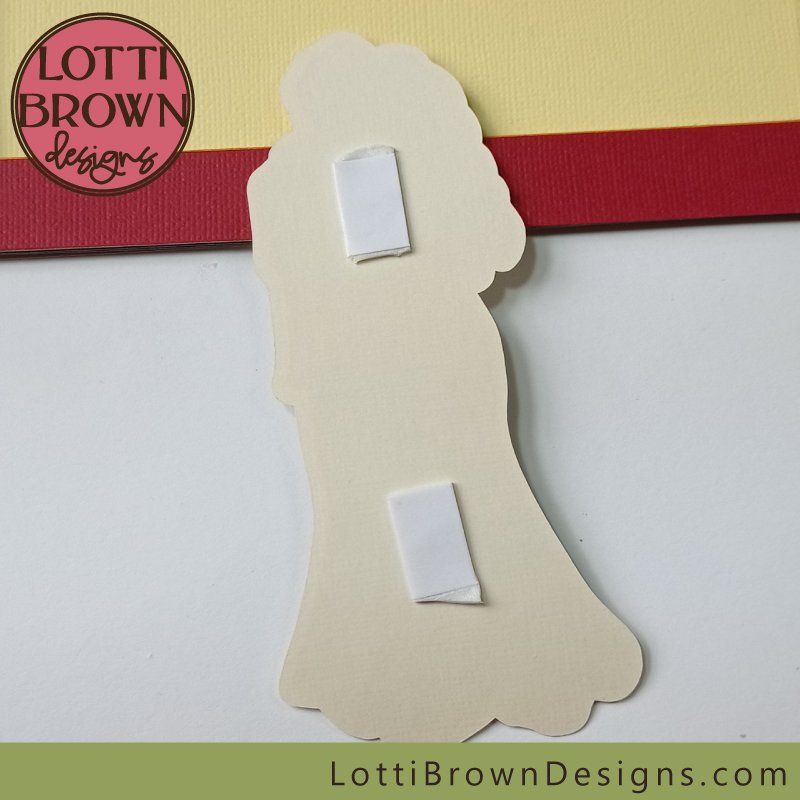 Add double-sided sticky tabs to the back of the figures
I would pop them down lightly, check again with the top frame over the top, and when you're sure they're in the right place, stick them down fully.
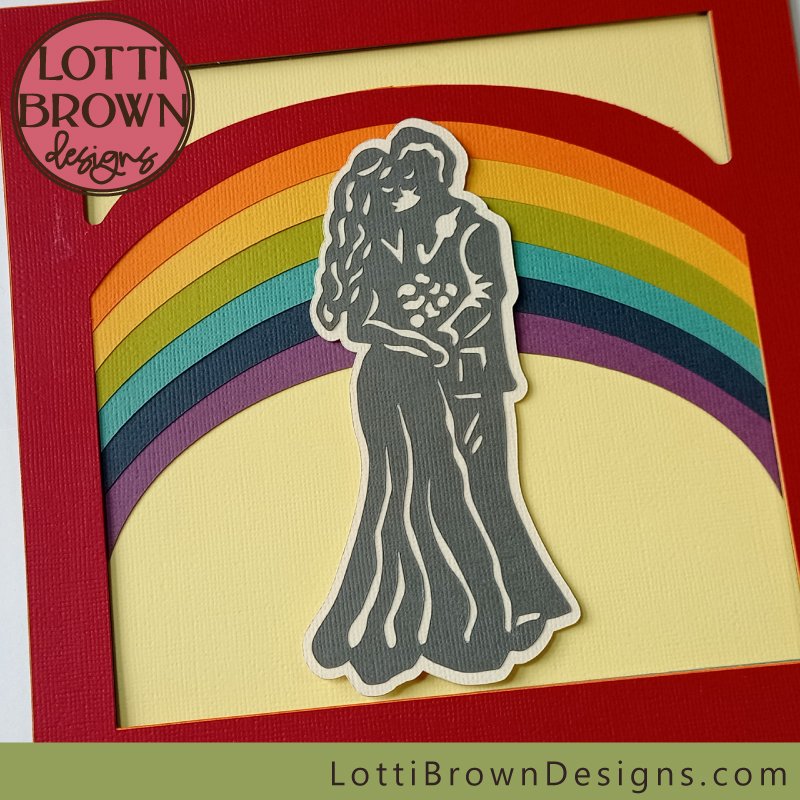 Figures stuck down in place with the rainbow
Now, there's just one final step to go - that's adding the top frame with its lacy panel. Add double-sided sticky tabs to the back of this layer, around the edges...
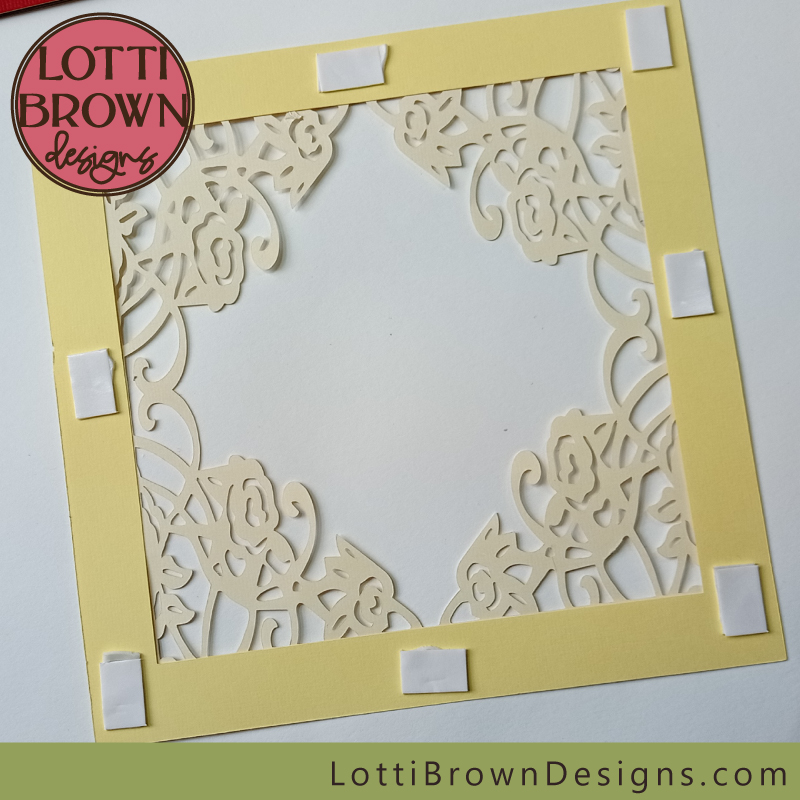 Add double-sided sticky tabs around the edges on the back of the layer
And stick it in place!
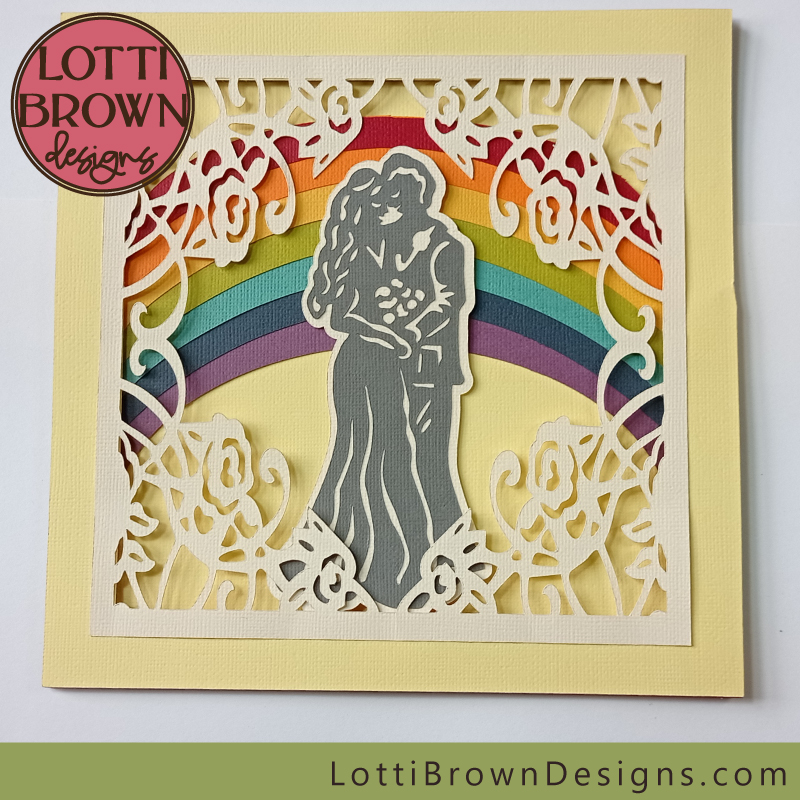 The project is complete!
You can frame your shadow box project to complete it...
 Framed rainbow wedding shadow box project
And here's how the other two versions look...
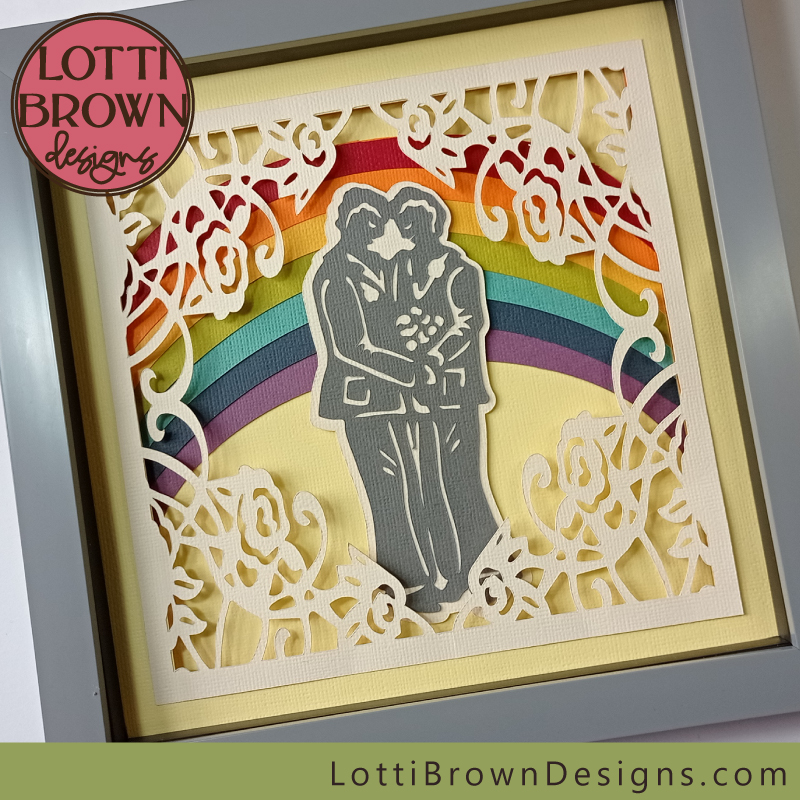 Two grooms wedding shadow box
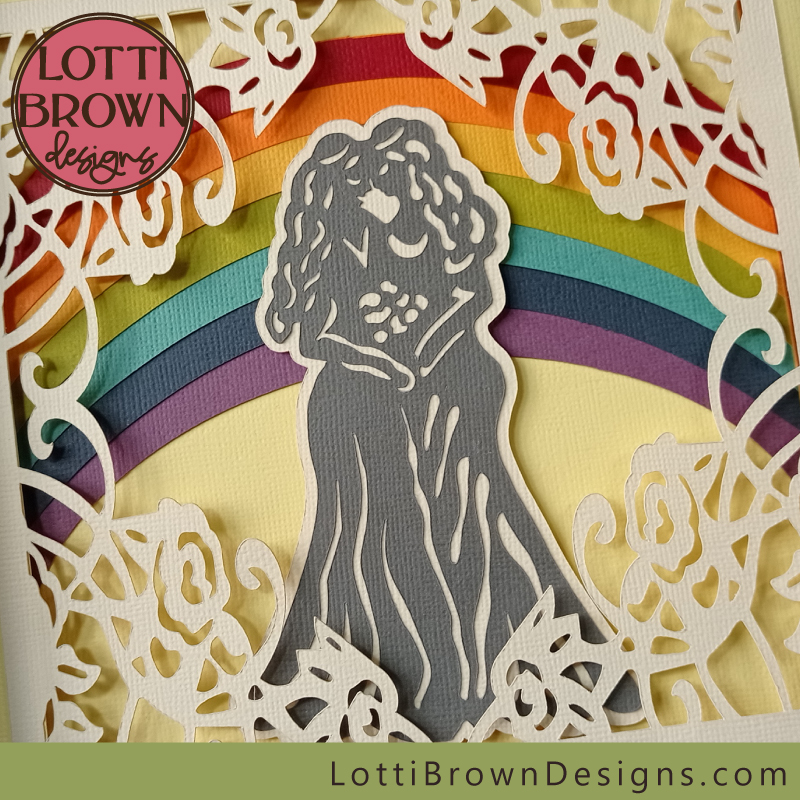 Two brides wedding shadow box
And some alternate colours...
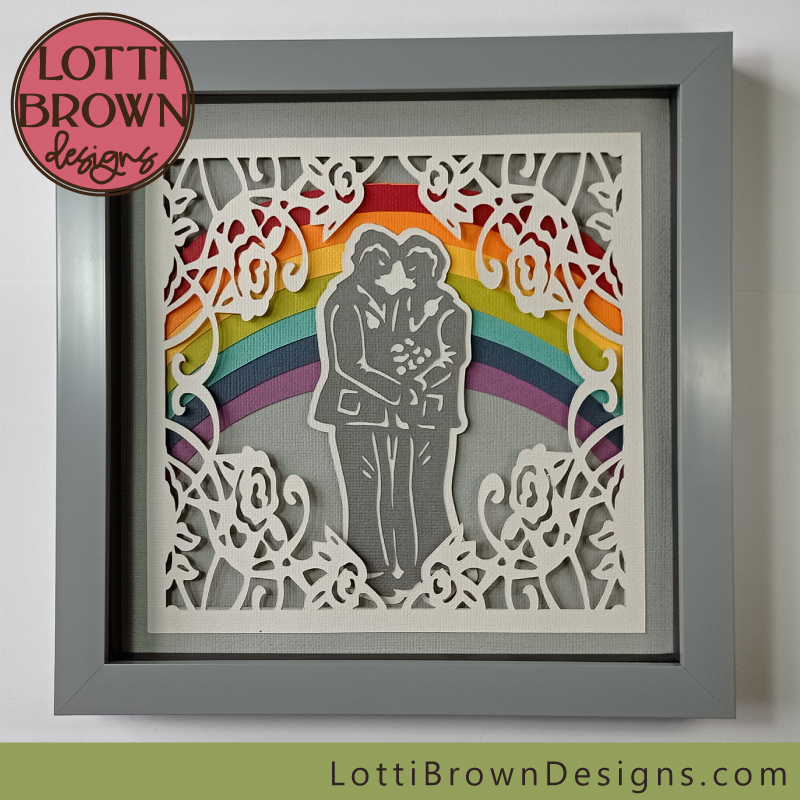 Two grooms gay wedding shadow box with grey background and frame
 Two brides gay wedding shadow box with pale green background and frame
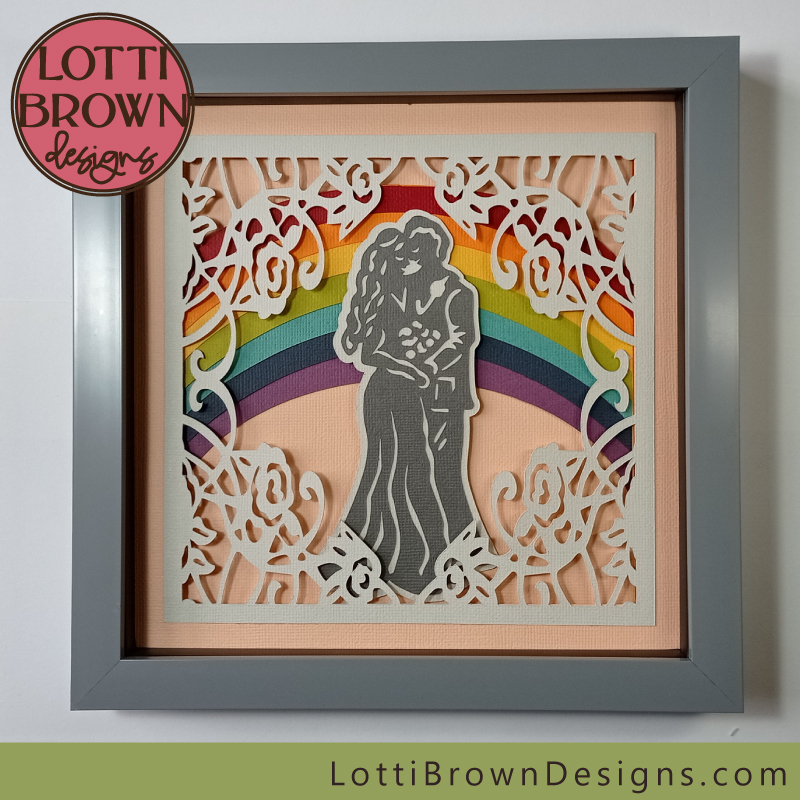 Rainbow wedding couple with peach background and frame
 Two grooms gay wedding shadow box - close up Two grooms gay wedding shadow box - close up |
 Two brides gay wedding shadow box - close up Two brides gay wedding shadow box - close up |
Would you like to make your own?
If you'd like to make your own rainbow wedding shadow box, you just need to choose which version you'd like to make and download the correct file from my store - you can find the links right below...
All files come in SVG/DXF/PNG & EPS formats
For personal or small-business commercial use
Physical (craft) products only - no digital products or sharing
More ideas for you
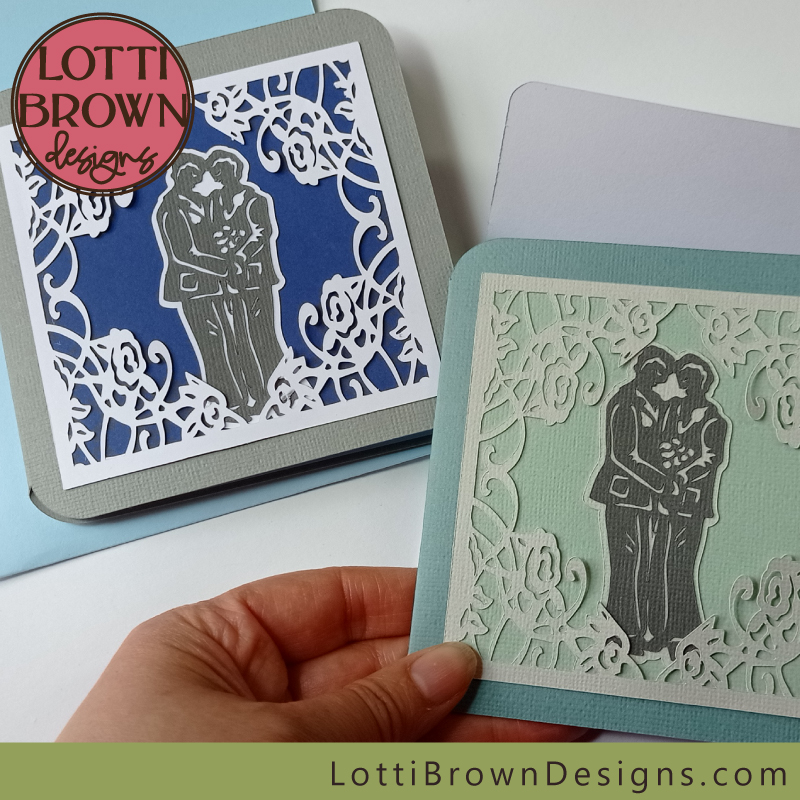
I've got gay wedding card SVG templates to match the shadow box project on this page in two styles (simple cut-out or layered topper styles) - there's 'bride & bride' or 'groom & groom', both below... (Plus bride & groom, if you scroll a bit lower down the page)
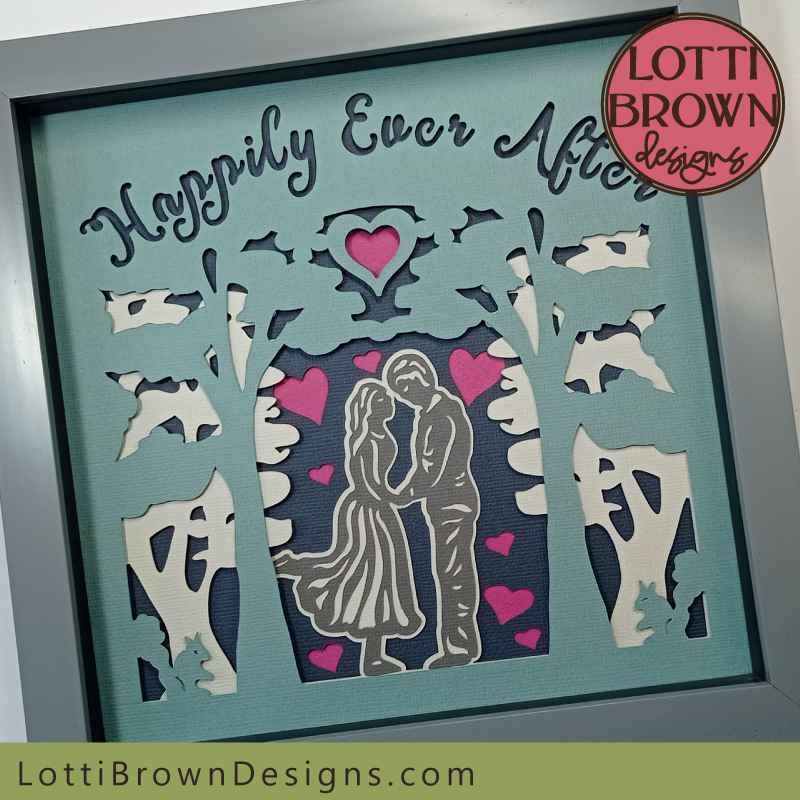
This (below) is a lovely romantic shadow box that I designed for an engagement but that is also perfect for a wedding or special anniversary - it's called 'Happily Ever After' and features a romantic couple in a fairytale woodland setting...
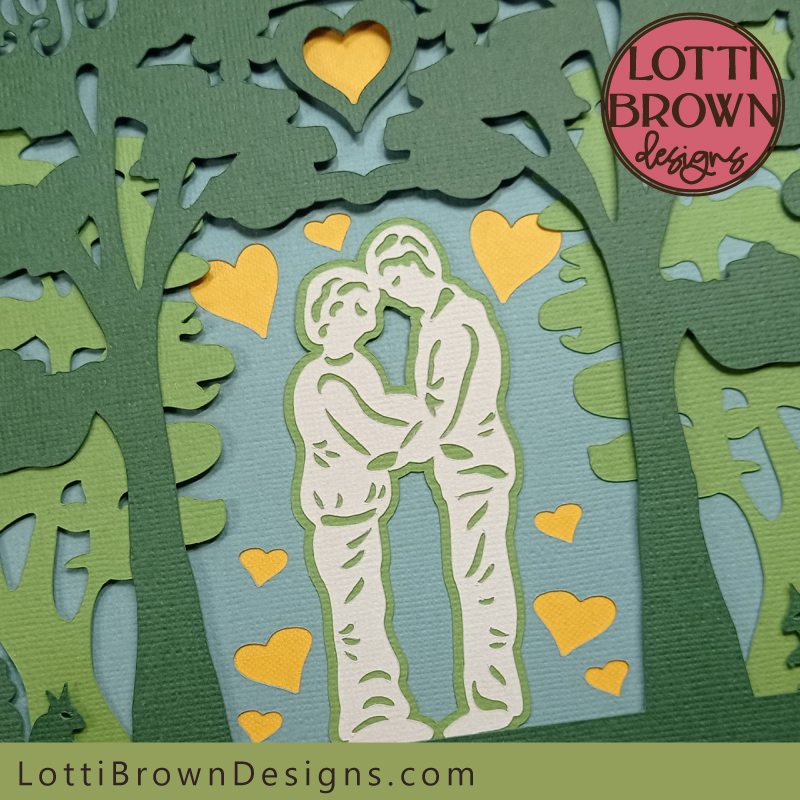
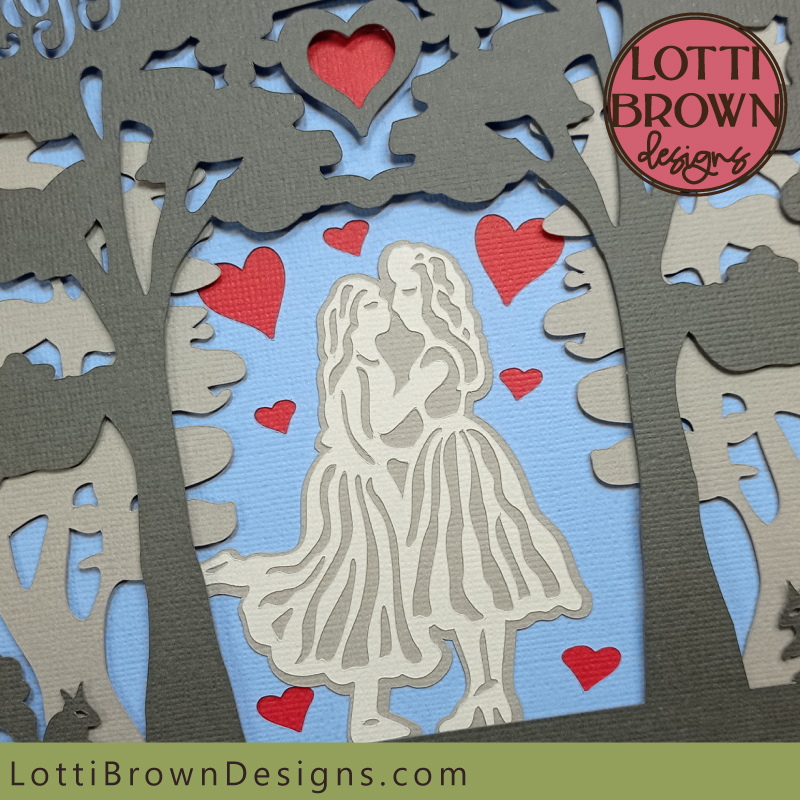
I also have gay versions for two men or two women - see those here (and below)...
I've also got another wedding shadow box design you might like here (see below - currently bride & groom only at the moment).
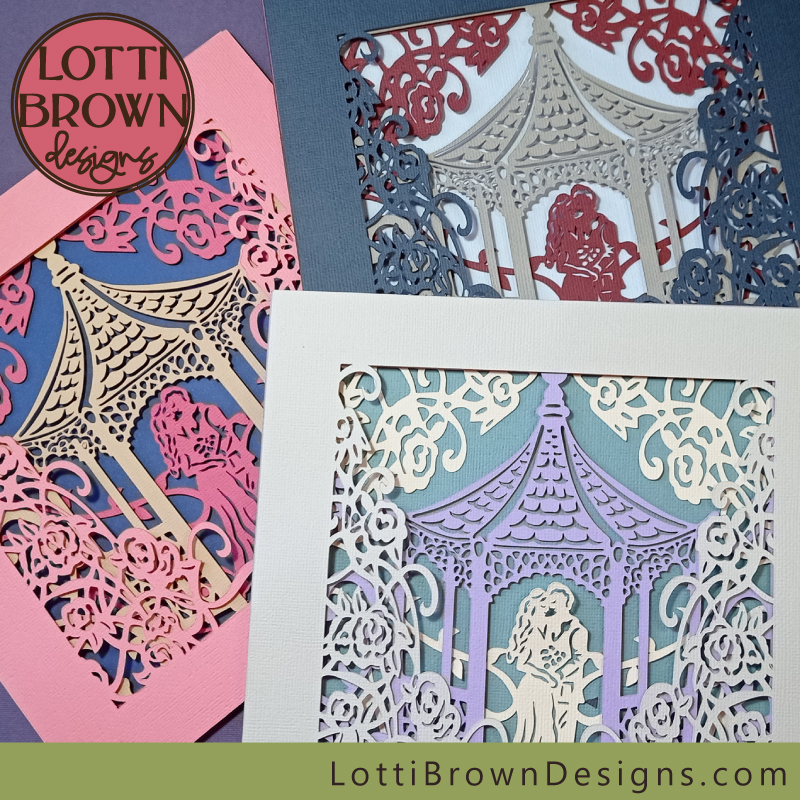 More wedding shadow box ideas
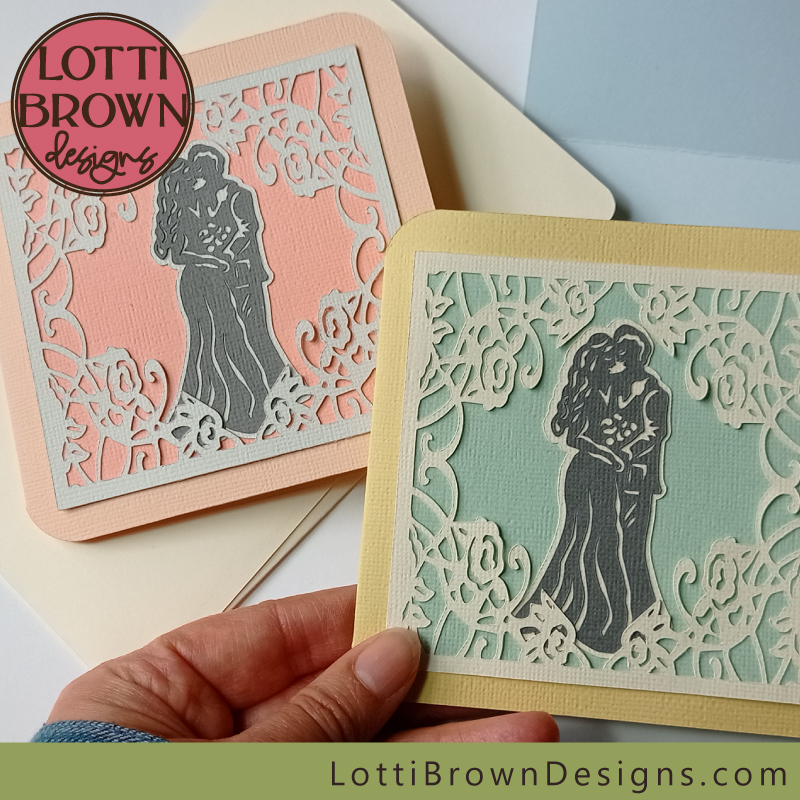 Wedding card SVG template
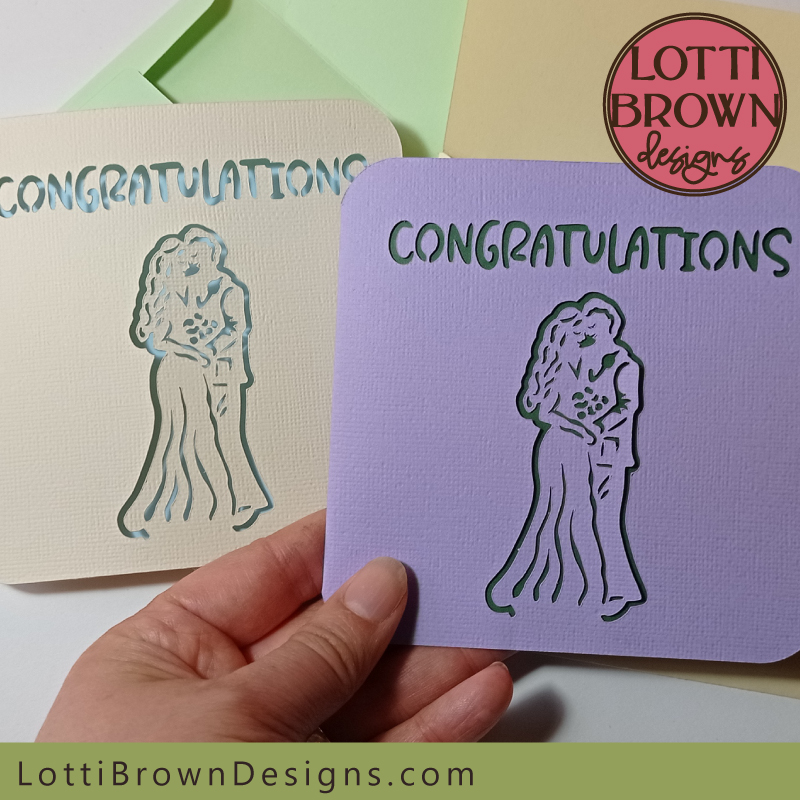 Wedding card SVG template
And cards to match ('bride and groom', as above).
You Might Also Like:
Lotti Brown's Designs & Templates
How-tos...
- How to use SVG cut files for Cricut (also other cut file formats & machines)
Want to keep in touch?
Sign up below for my free email newsletter...
My newsletter is usually sent out once a month (at the end of one month or the start of the following month) and you can unsubscribe any time...
Sign up below...!
Recent Articles
-
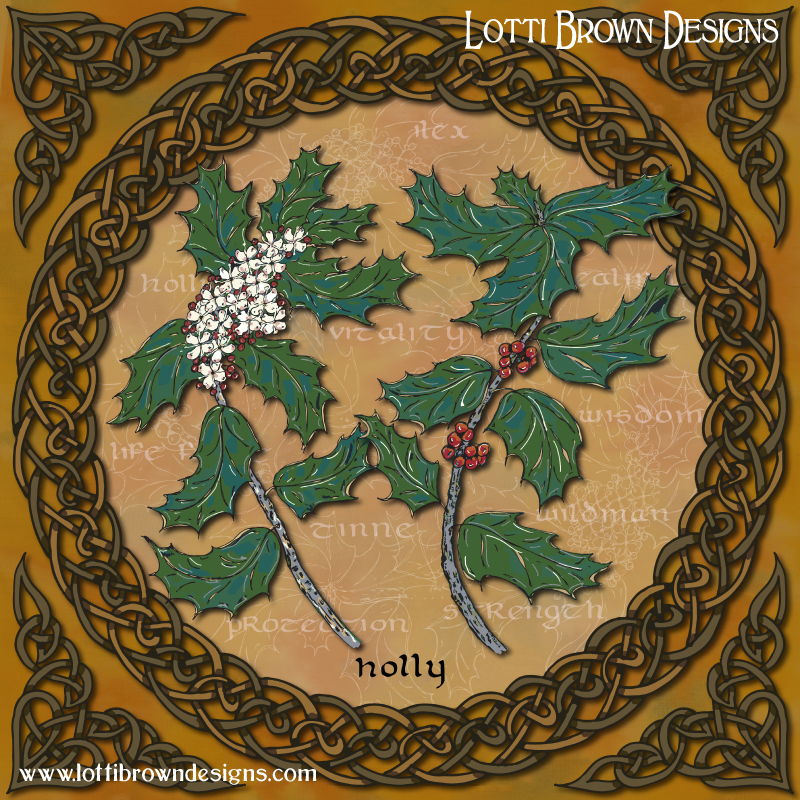
Holly Tree Symbolism and Celtic Tree Calendar Holly Tree Art
Jul 07, 25 08:29 AM
Explore holly tree symbolism and the Celtic Tree Calendar with my Celtic Holly Tree Art -
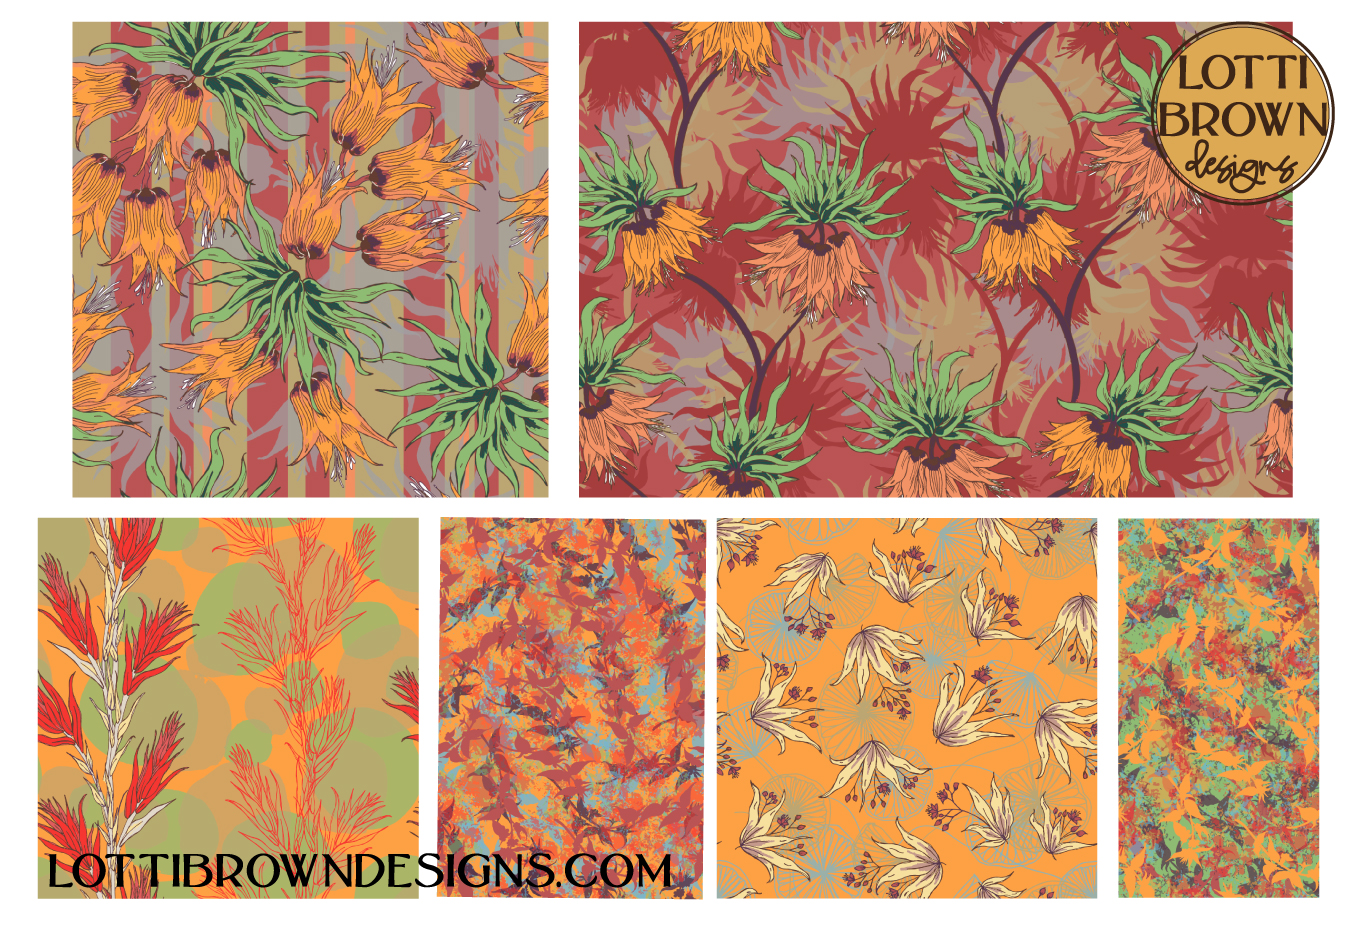
Maximalist Wallpaper and Fabrics by Lotti Brown
Jul 02, 25 05:10 AM
Vibrant maximalist wallpaper and fabrics with a tropical feel and inspired by traditional heritage designs given a twist! -
June Nature Journal Page
Jun 30, 25 06:19 AM
Explore my June nature journal pages with me - flowers, birds, and nature from East Yorkshire...
Follow me:
Share this page:

