SPRING 2025 - I've just completed a WEBSITE REVAMP! Everything is still here but may be in a slightly different place where than you left it and there's also lots of new sections, so if you're having trouble finding something in particular or you spot something that's not working as it should, please do get in touch and I'll do my best to help!

Santa Claus SVG Cardstock Project
Get ready for Christmas with my jolly Santa Claus SVG- I'll show you how to use him in an easy cardstock project for your cutting machine, that's a perfect crafty 'make' to add to the festive season. You could add him to your window decorations, make a Christmassy scene, sit him in your tree, or just get the kids making ready for the holidays...
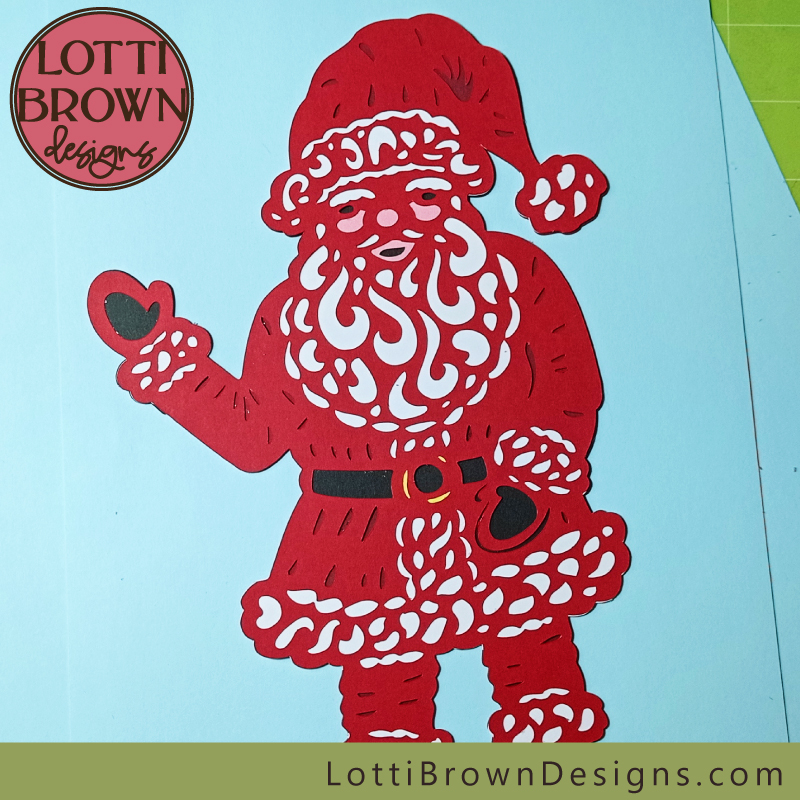 Make a cardstock Santa Claus
I'm using my Santa SVG file design and cutting him from light card with my Cricut Maker cutting machine, but you could cut him out by hand, use vinyl, make a stencil, cut him from light wood, acetate... whatever your crafty heart desires and your tools are capable of!
You can use the Santa cut file for your personal craft projects and also for small-business crafts (up to 200 products) - in both cases, just for physical products only, no digital products or sharing.
I drew Santa by hand to make sure he's full of character and hand-crafted charm! I designed him specially so that you can choose the project you want to make with him - the top layer of the cut file is one complete layer, and you could choose to just use this and you'll still get a great Santa! No features are missing, just the additional colours that layer up behind.
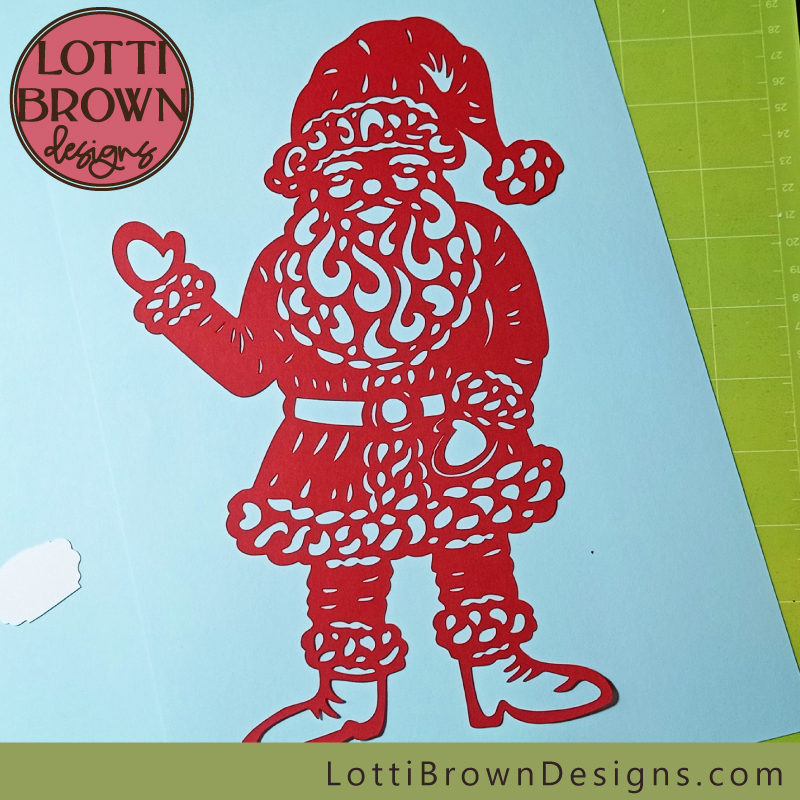 Santa cut file using only the intricate top layer of the papercut
The bottom layer works as a silhouette layer, so you can add a contrasting colour and just use these two layers if you choose - or go for the full multi-layered, multi-coloured effect (both pictured below) - just decide what suits your project best!
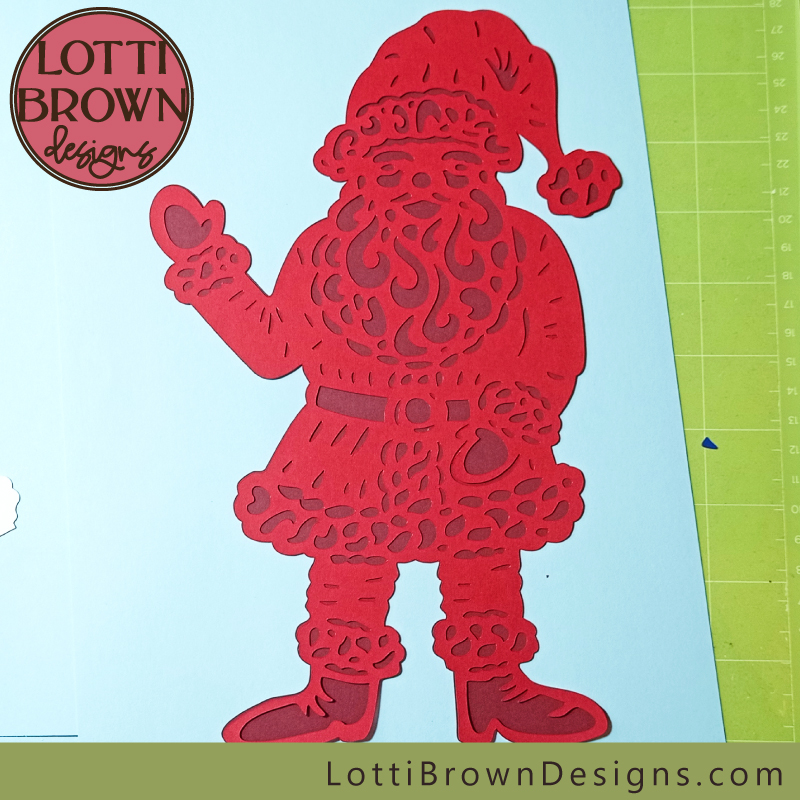 Santa with top layer and bottom layer only - ideally, choose a greater contrast in colours (perhaps black or white for the background) if you're just using these two layers!
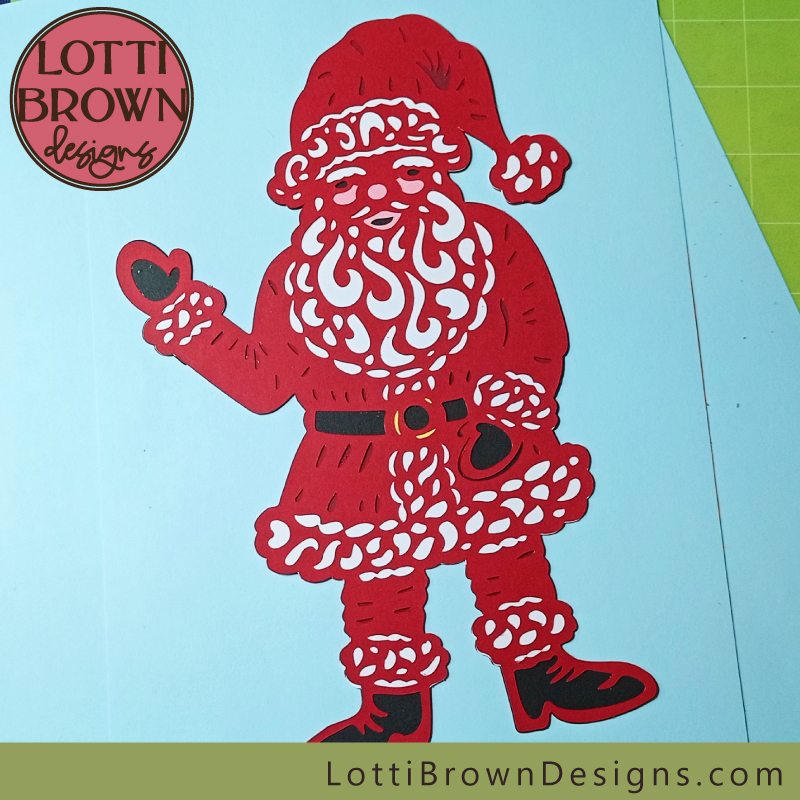 Full-colour multi-layered Santa SVG file - easy to layer up!
My Santa cut file is easy to layer up and use, and I'll show you just how to do it in my project tutorial for the full layered version, below...
How to Make your Santa Claus SVG Cardstock Project
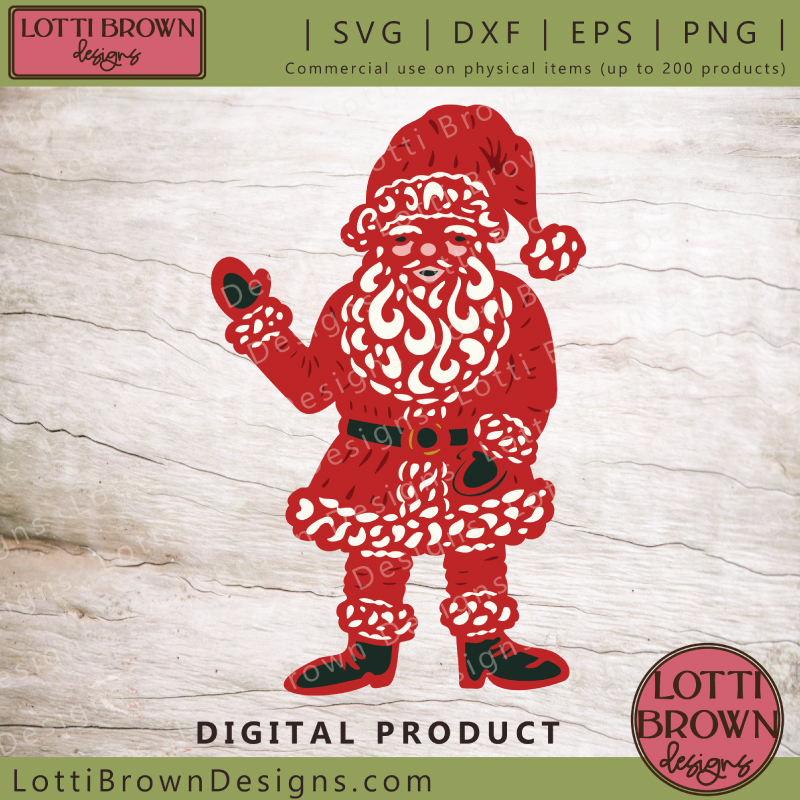 Santa Claus SVG file - SVG, PNG, DXF, EPS versions come with the file
We'll be using my Santa Claus SVG cut file - the SVG, PNG, DXF, and EPS versions are all included in the files, suitable for Cricut, Silhouette, ScanNCut and many other cutting machines, plus cutting projects done by hand or printing projects. Get him here...
You can see how the layers work on the image below - don't worry, I'll show you step by step exactly what order to do everything in, and how to layer it all up!
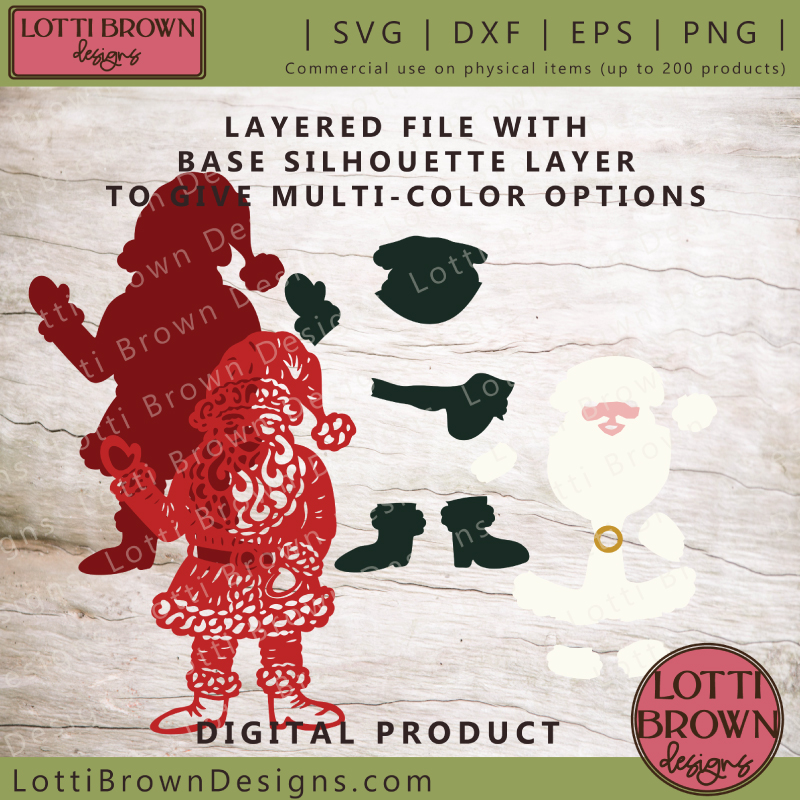 Showing all the layers for the Santa Claus file
What you'll need for the project:
- The Santa Claus cut file from my store - instant download, worldwide
- Card, paper, vinyl or other suitable materials in six different colours - I'm using cardstock - red seems obvious for the main Santa layer - I think he might also look really great in a slightly darker red! White or cream is best for the beard and trim, black (or a dark grey or brown) for the boots, gloves, belt and facial features, pink or another skin colour for the face, and yellow for the belt buckle. This will give you a traditional-looking Santa - if you'd like your Santa to try out some different colours, go for it (and send me a photo, please, I'd love to see!!)
- Cutting machine & software/tools OR printer & craft knife
- Suitable adhesive for your chosen material - for paper or card, try adhesive foam pieces, glue dots, or micro-dots. I'm using micro-dots for this project as they're particularly good for the intricate cut areas.
Let's Make Santa Claus in Cardstock
So let's go - once you've got everything cut out via your chosen method, gather all your cut Santa pieces together - I like to try and keep them in some semblance of order and the right way up, else it can make everything a lot trickier than it needs to be (...speaking from experience)!
If you need any help with using your file, look here...
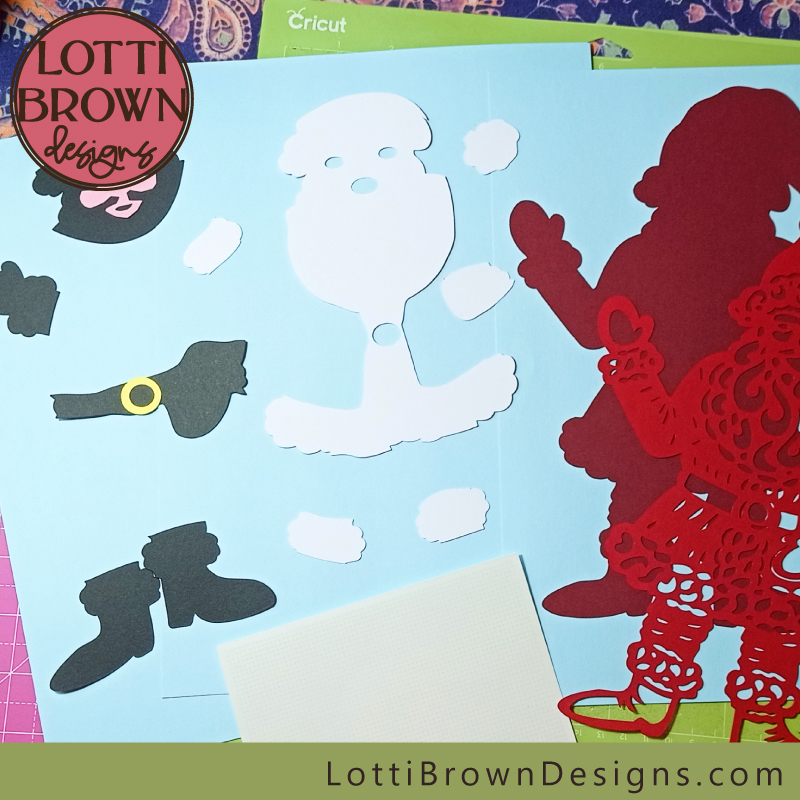 Everything is cut out and ready to go!
- First, let's attach the belt buckle - we're attaching it to the top layer, the intricate cut Santa shape. It's easy to attach - to the back of the red top layer... I've used glue micro-dots to attach it, you might be able to see them in the photo below - I've stuck them onto the reverse of the red Santa layer in the central belt-buckle area...
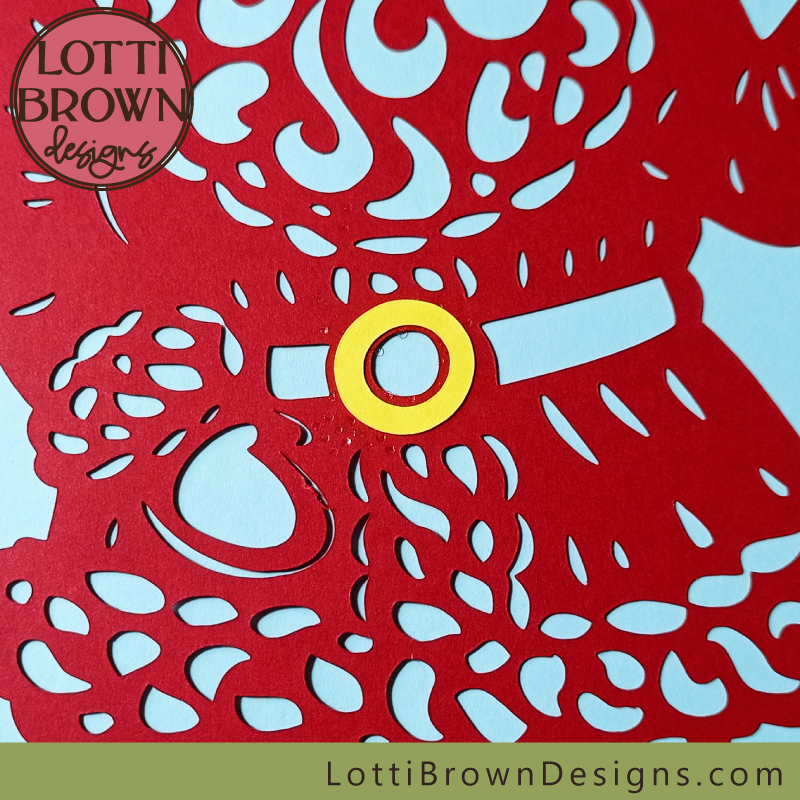 Stick the yellow belt buckle to the back of the Santa top layer
- Turn Santa over and check him from his front - he should look something like this, see the image below...
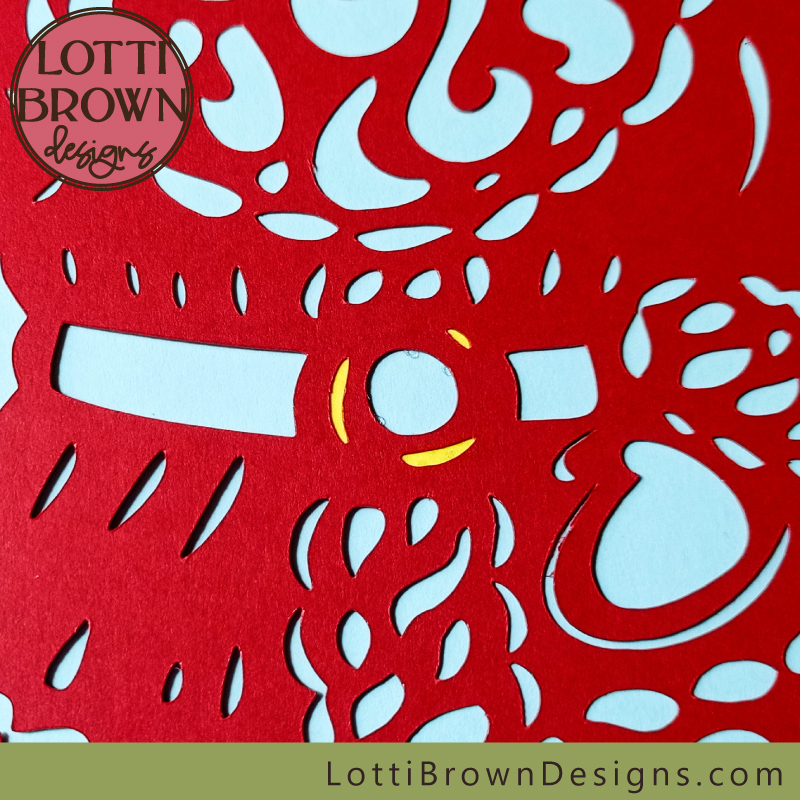 Santa's belt buckle seen from the front
- Next, we're going to do Santa's face - this is his nose, cheeks and mouth - but note that his eyes need to be left clear as they're going to show through black from a lower layer. The cuts for his moustache should be left clear, too, as these will show through white, from the beard layer. Again, do this from the back, with micro-dots or another adhesive method of your choice...
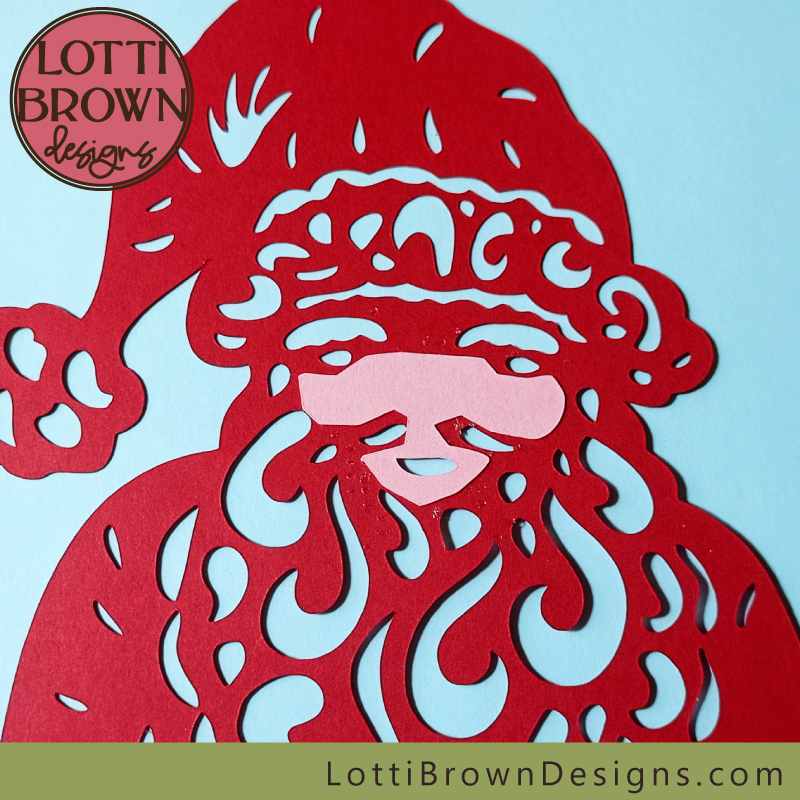 Adding Santa's face to the reverse of the intricate cut top layer
- Turn Santa back to face the front and check he looks something like the photo below...
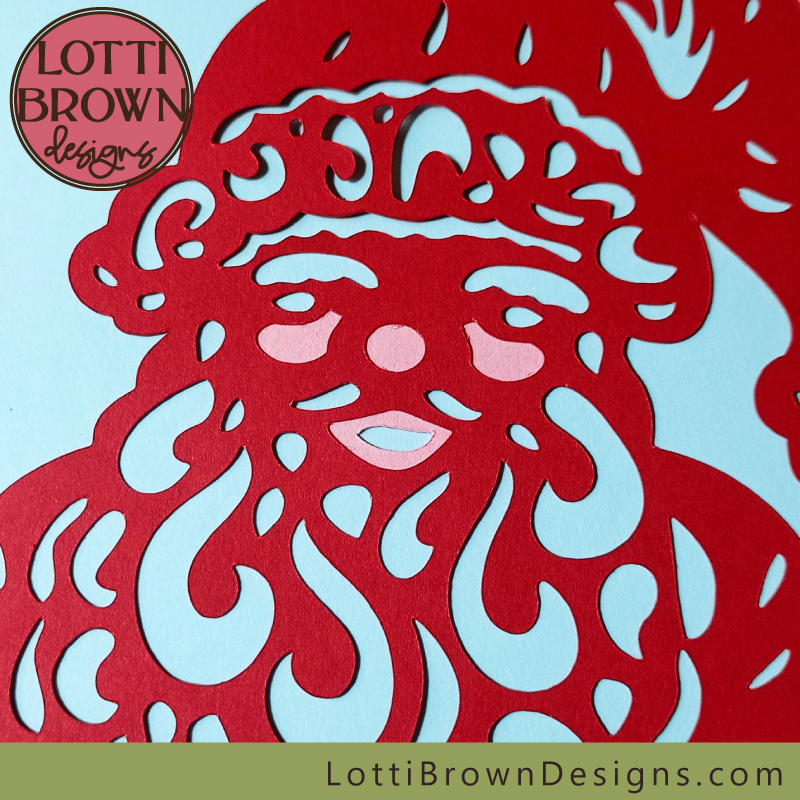 Santa's face is now in place!
- Our next step is the white layer - this forms Santa's beard, moustache, eyebrows, the trim on his hat and the trim on his coat and trousers. Once again, let's work from the back to stick it down...
- Here, you just need to make sure that the outer edges of all the pieces line up with the outer edge of the red top layer and it should all fall into just the right place. The trickiest thing I found was getting the cuffs and trousers trim on the right way around! Here's what he looks like from the back...
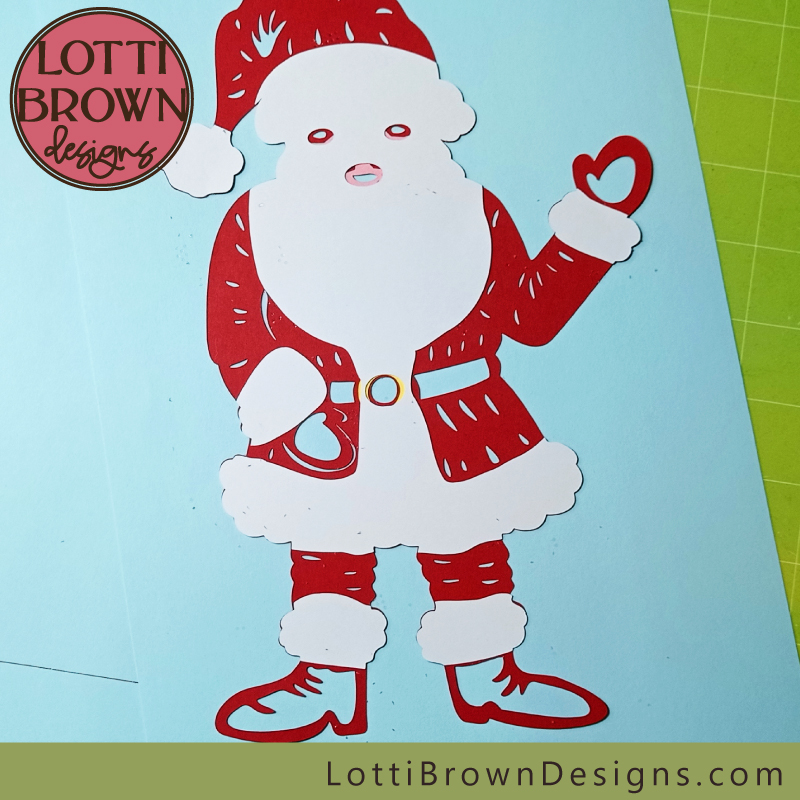 Showing the reverse of the Santa Claus papercut with beard and fur trim added - seen from the back
- Make sure you check Santa from the front too, to ensure nothing's creeping over where it shouldn't show, or leaving a gap...
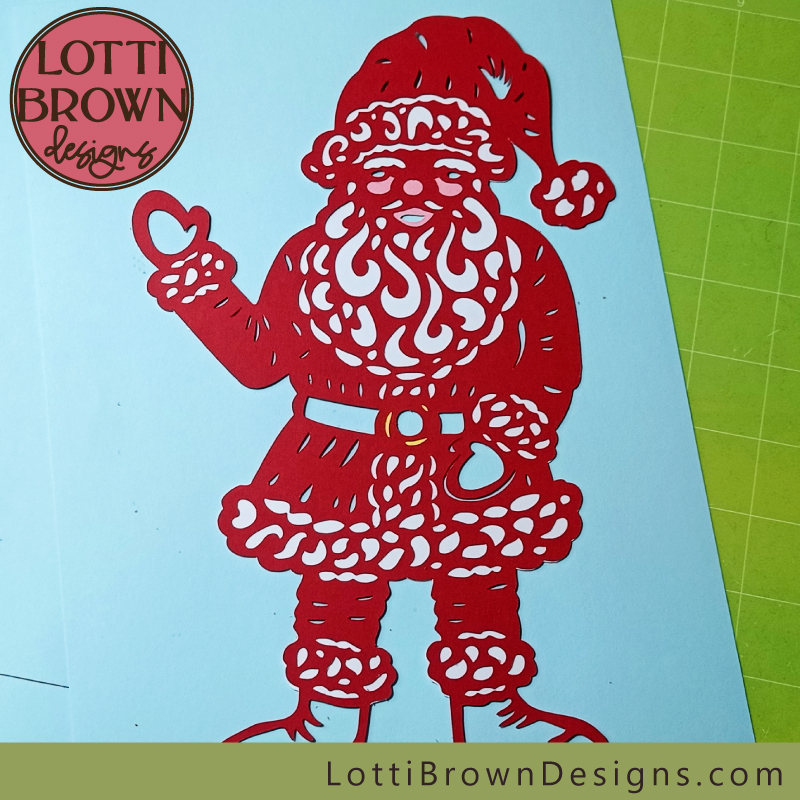 Santa with his beard and all his coat and hat trim in place
- The black layer's coming next - once again, I worked from the back to stick the pieces on for his boots, gloves, belt and a piece that fits behind the face so that the eyes and mouth show through as features. And again, just fit the outer edges to the outer edges of the top red layer and everything should slot in place just fine.
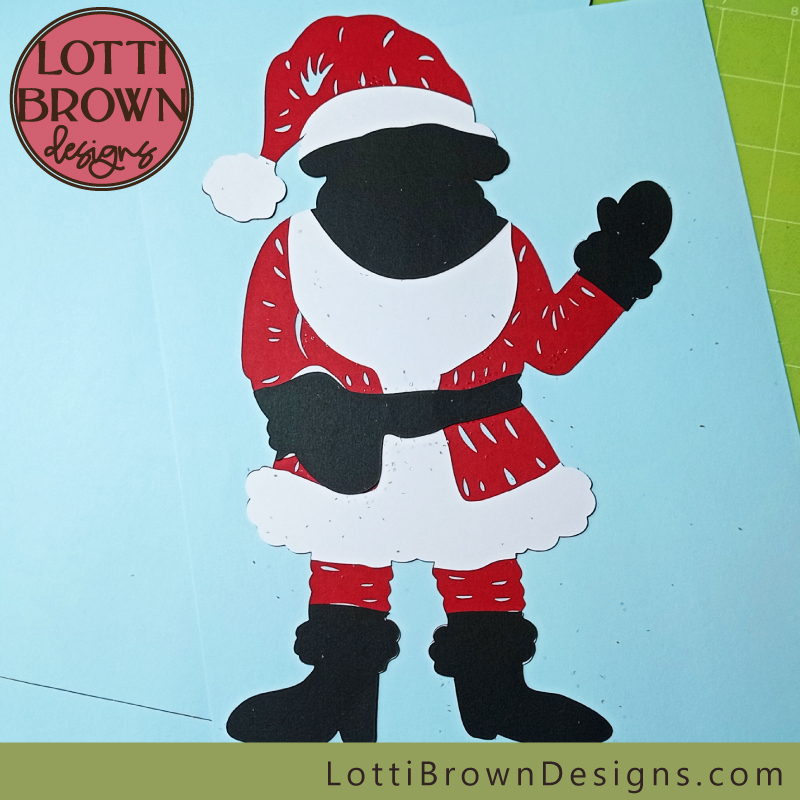 Adding the black layer - showing the reverse of the project
- Remember to check Santa from the front too! This is how he should be looking (below)! Nearly done now!
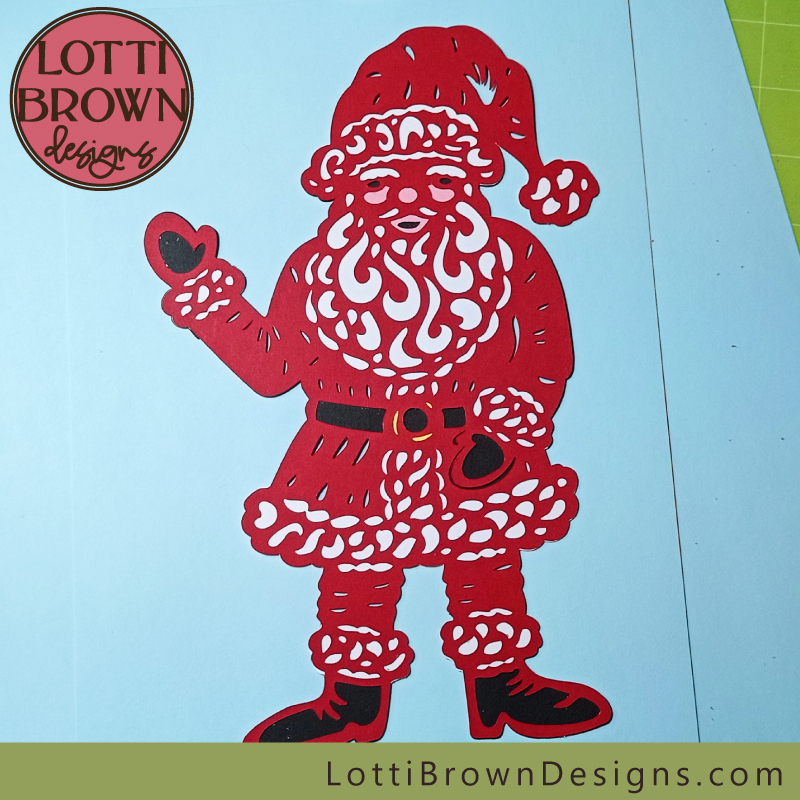 Santa now has eyes, mouth, boots, gloves and a belt!
- The final step is just to add the dark red background silhouette layer to the back of the project - this allows the creases of Santa's outfit to show through to add some shape and detail to his coat, hat and trousers. Here's how he should look...
 The completed Santa Claus layered cardstock project
Ho ho ho!
Santa's feeling festive and ready to go!
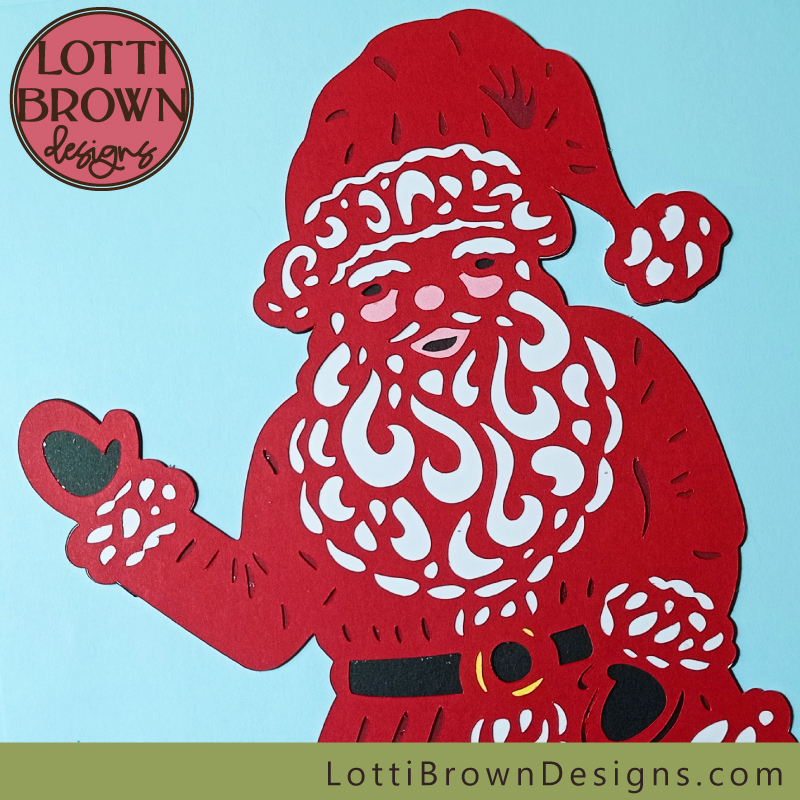 A closer look at my Santa Claus layered cardstock crafting project for your Cricut
I hope that my Santa Claus SVG cardstock crafting project inspired you! If you'd like to make your own Santa, you can get the file in my store here...
I made my Santa out of lightweight card, but you could make your Santa from light woods, acetates, vinyl or hand-cut him - whichever way you prefer to craft. Please note that if you're using vinyl for this project, you might prefer to 'slice' some of the layers in your design space, as an alternative to layering up.
Here are some more ideas for crafts you could make with my Santa Claus SVG file:
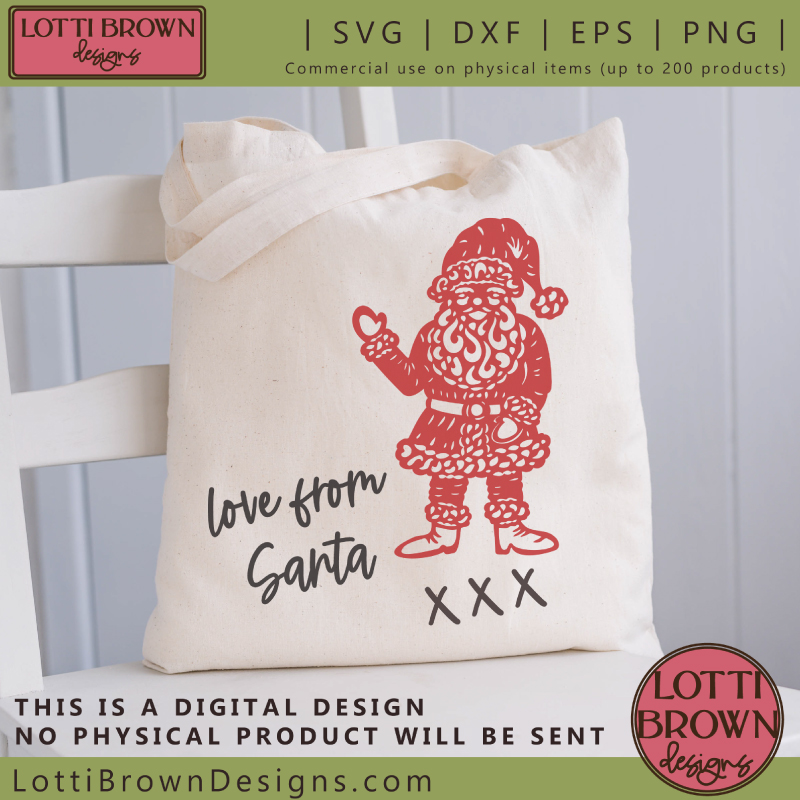 You could use iron-on vinyl (HTV) to add Santa to a bag or sack to hold all those Christmas gifts on Christmas morning.
You could use iron-on vinyl (HTV) to add the Santa Claus SVG design to fabrics, like the tote bag above - it could make a lovely (small-ish) sack for Santa's presents on Christmas morning...
If you'd like to make a doormat, like the one below, you will need specialist stencil-vinyl, then paint/stencil on the design in acrylic paint.
Please note, that no text is included with my Santa Claus SVG file.
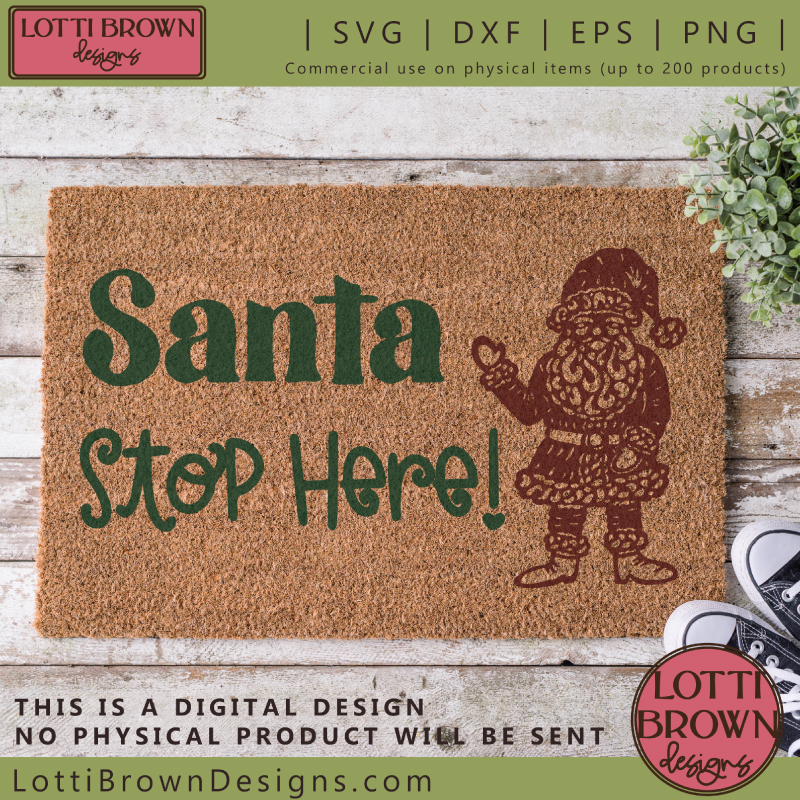 You could paint a Santa design onto a doormat using stencil-vinyl to mask off areas to keep clear of paint
Get my Santa Claus SVG file from my store here...
SVG/DXF/PNG/EPS file formats
You can use Santa for your own personal craft projects or for small business crafting (up to 200 products)
Physical products only, no digital products or sharing
You Might Also Like:
Lotti Brown's Designs & Templates
How-tos...
- How to use SVG cut files for Cricut (also other cut file formats & machines)
Want to keep in touch?
Sign up below for my free email newsletter...
My newsletter is usually sent out once a month (at the end of one month or the start of the following month) and you can unsubscribe any time...
Sign up below...!
Recent Articles
-
Willow Tree Symbolism and Celtic Willow Art
Apr 11, 25 05:43 AM
Explore willow tree symbolism and meaning - Celtic willow art and printed products... -
Wild Dog Rose Pattern & Products
Apr 07, 25 06:12 AM
Pretty dog rose pattern and products in a nostalgic heritage style recalling pretty hedgerows of flowers... -
British Robin Book Recommendations
Apr 04, 25 06:26 AM
My British Robin book reviews and recommendations - learn about Britain's favourite bird...
Follow me:
Share this page:


