SPRING 2025 - I've just completed a WEBSITE REVAMP! Everything is still here but may be in a slightly different place where than you left it and there's also lots of new sections, so if you're having trouble finding something in particular or you spot something that's not working as it should, please do get in touch and I'll do my best to help!

Sunflower SVG
for Cricut Crafting
- Home
- SVG files
- Project Ideas
- Sunflower Project
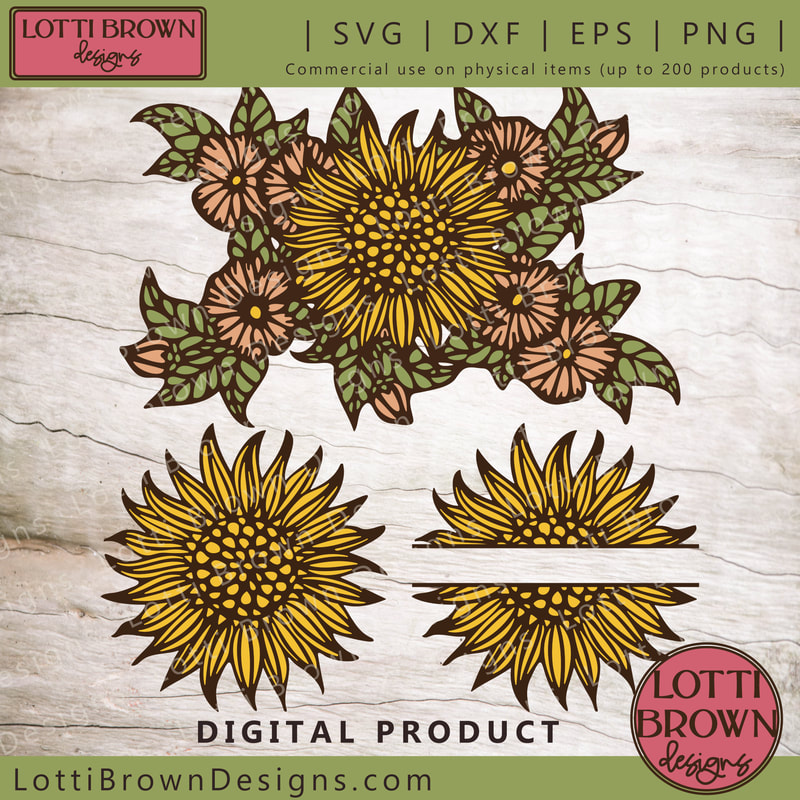
Craft project sunflower SVG for Cricut crafting, also Silhouette, ScanNCut, etc - a pretty floral papercutting project tutorial...
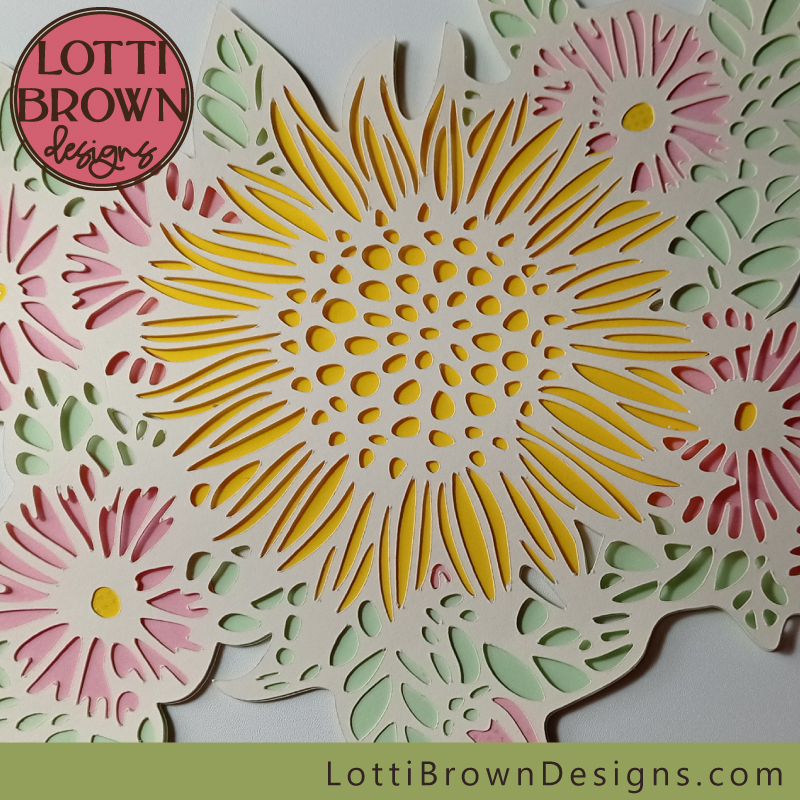 Layered sunflower craft project for Cricut and other cutting machines
Craft tutorial for this floral sunflower svg - layered papercutting example using cardstock. You could also create this design in other materials, such as layered vinyl, iron-on vinyl, stencilling etc.
- Ideal for use with cutting machines such as Cricut, Silhouette, ScanNCut - but can also be cut by hand.
- This project uses my layered floral sunflower svg cut file from my store - available for instant download worldwide.
- The file is available in SVG, DXF, EPS & PNG formats so is suitable for a wide range of different cutting machines or for cutting by hand.
Creating the Sunflower Floral Papercut Project
Layered sunflower SVG for Cricut & other cutting machines...
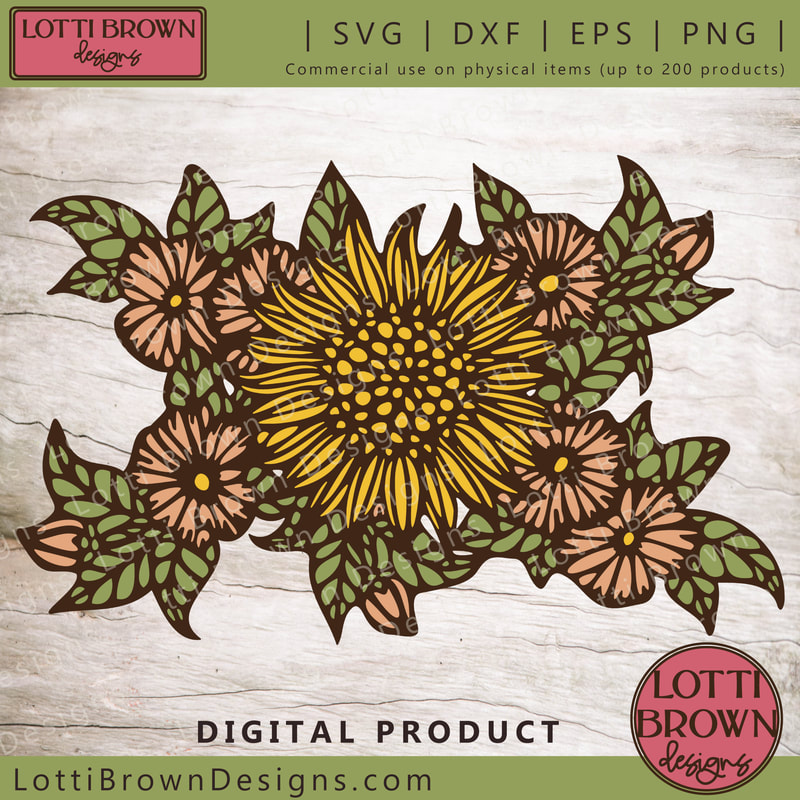 Layered sunflower SVG for Cricut crafting
The multi-coloured effect is produced by layering up of colours - so the file includes all the different coloured layers you need to create the design in four colours...
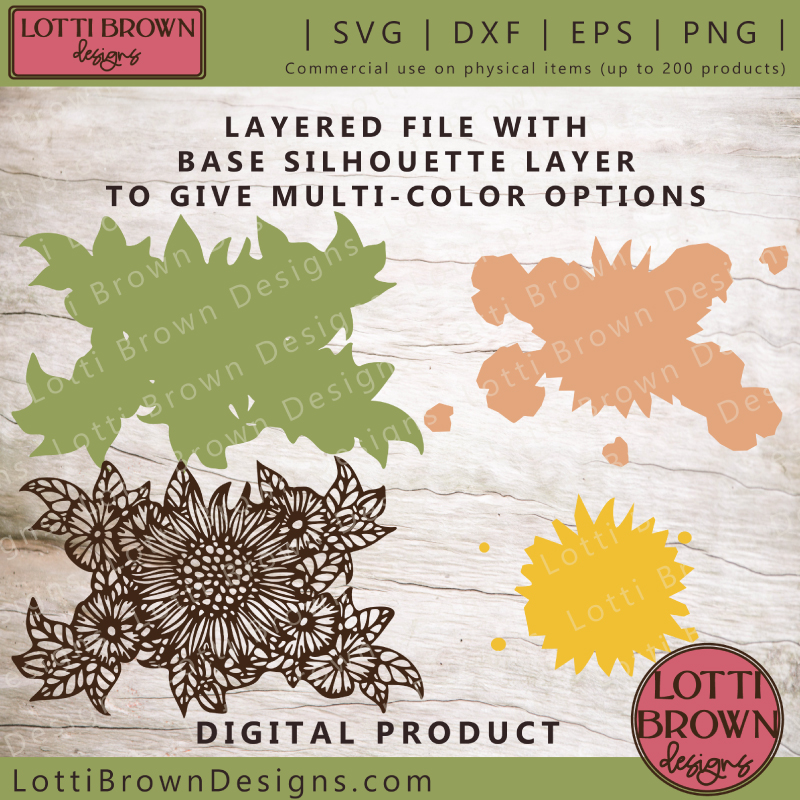 Layered papercutting files for the sunflower project
So let's make the sunflower and floral papercut project together...
Let's make the layered sunflower SVG for Cricut, Silhouette, or ScanNCut together...
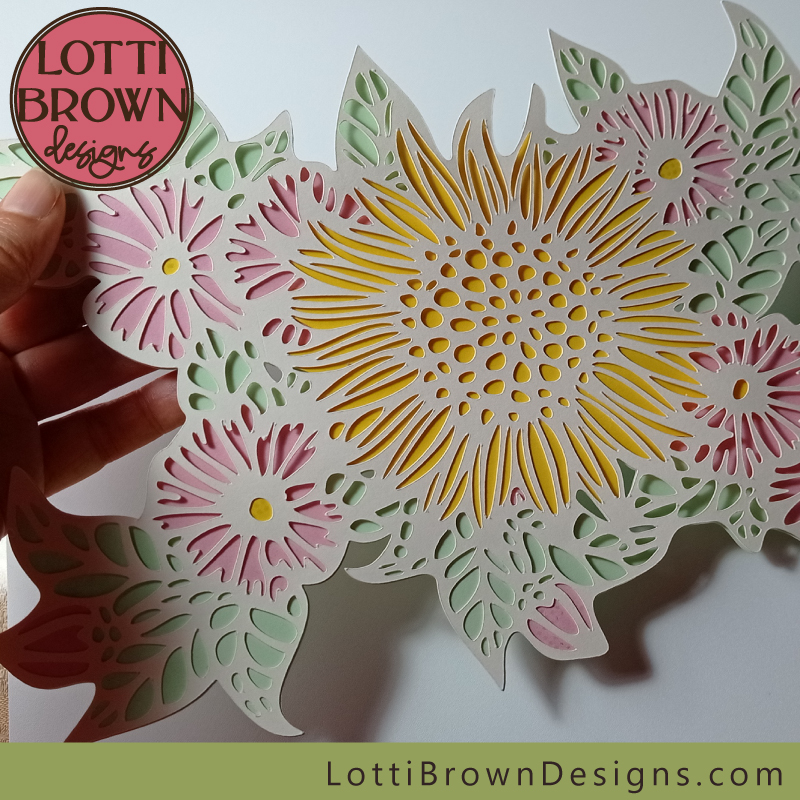 Here's the sunflower papercut art we'll make with the SVG file
You will need:
- layered floral sunflower svg cut file (SVG, DXF, EPS, PNG formats)
- card, paper, vinyl or other suitable materials in four different colours - I'm using cardstock - 300gsm smooth ivory cardstock for the intricate layer and coloured craft card (160gsm) for the background layers
- cutting machine & software/tools OR printer & craft knife
- suitable adhesive for your chosen material - for paper or card, try adhesive foam pieces, glue dots, or micro-dots. I'm using glue dots and micro-dots for the more intricate areas
Let's start crafting...
You will need to cut each file layer separately in a different colour to create the effect you see here - so load the file into your cutting machine, or print off the PNG files and cut the layers by hand and I'll see you back here for the assembly instructions...
If you need any help with using your file, look here...
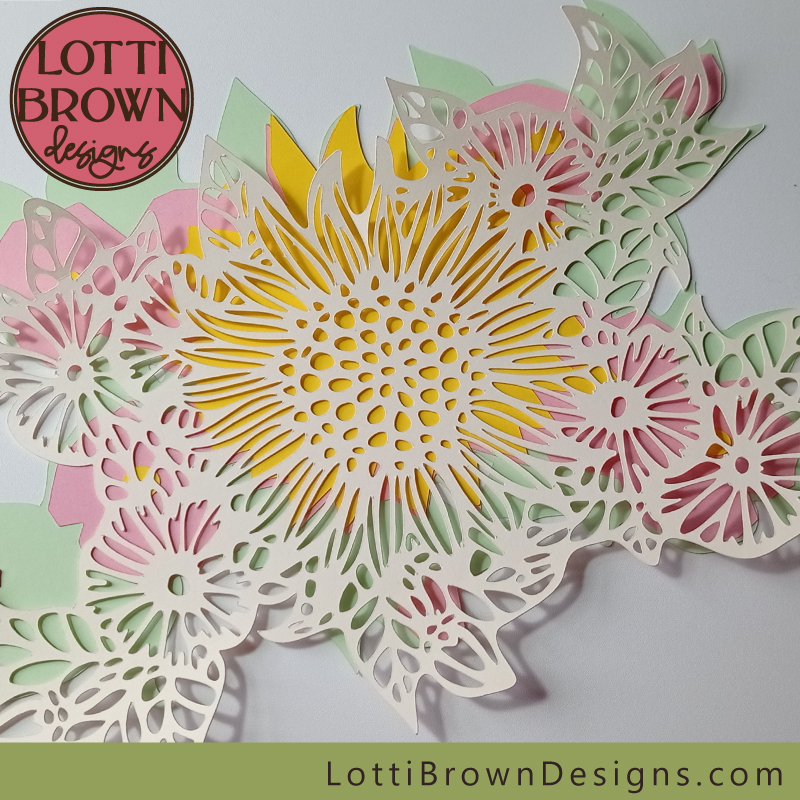 Cut all the layers out of different coloured card or paper...
- Gather all your cut layers together ready to assemble... I've used a pink card for the peach layer as it was the closest colour I had.
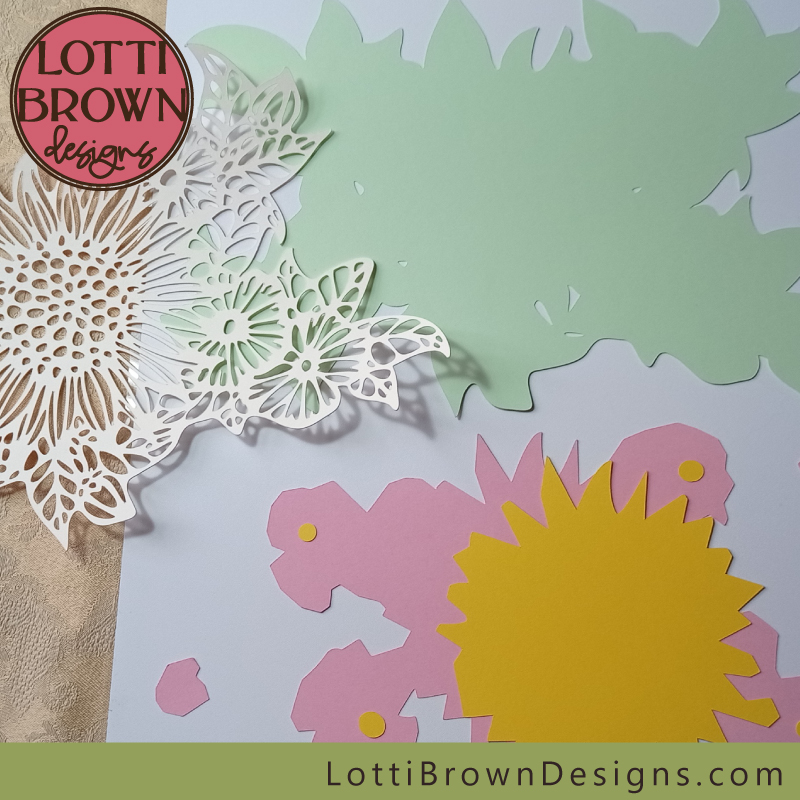 Papercut layers ready to assemble - all cut with my Cricut Maker
- I found it easiest to start with the peach/pink and yellow layers. First, we'll just deal with the largest piece of each...
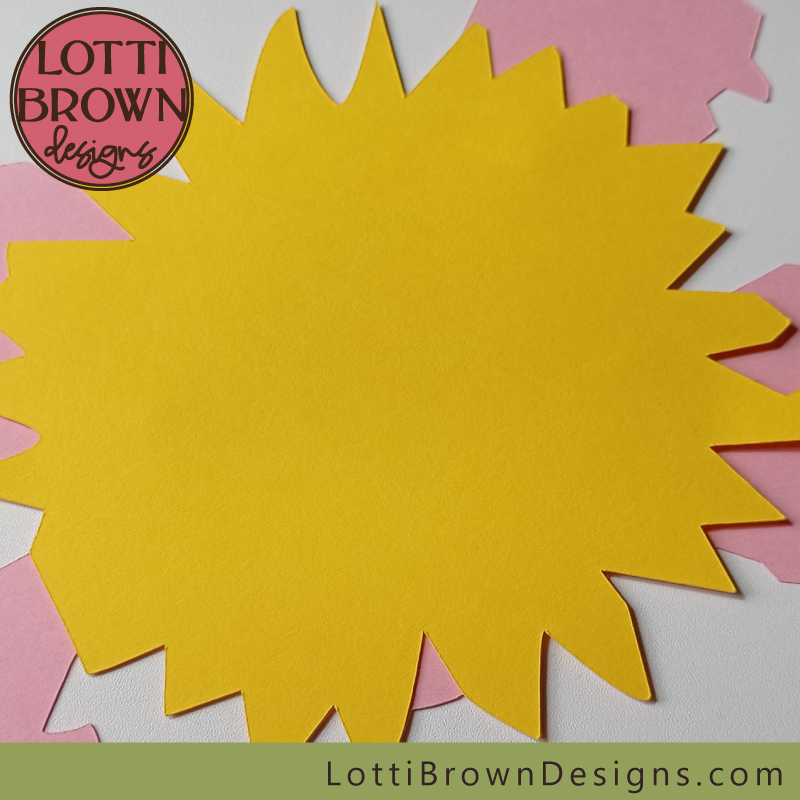 Start with the yellow and pink/peach layers
- Line up the largest yellow piece (the sunflower) with the large pink/peach piece. Line up the petals at the top and bottom as shown in the two images below...
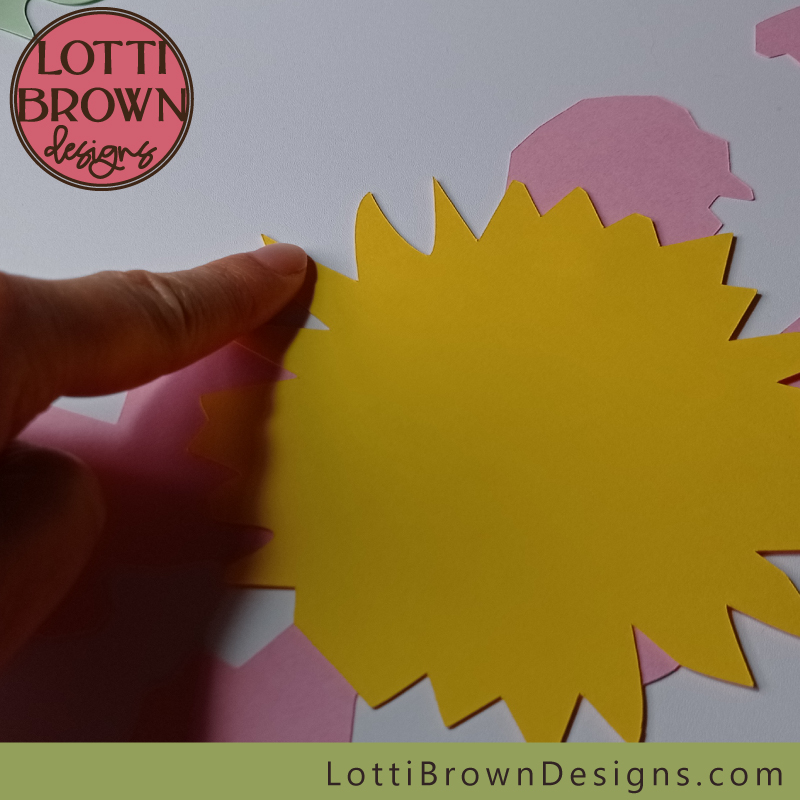 Line up the petals at the top...
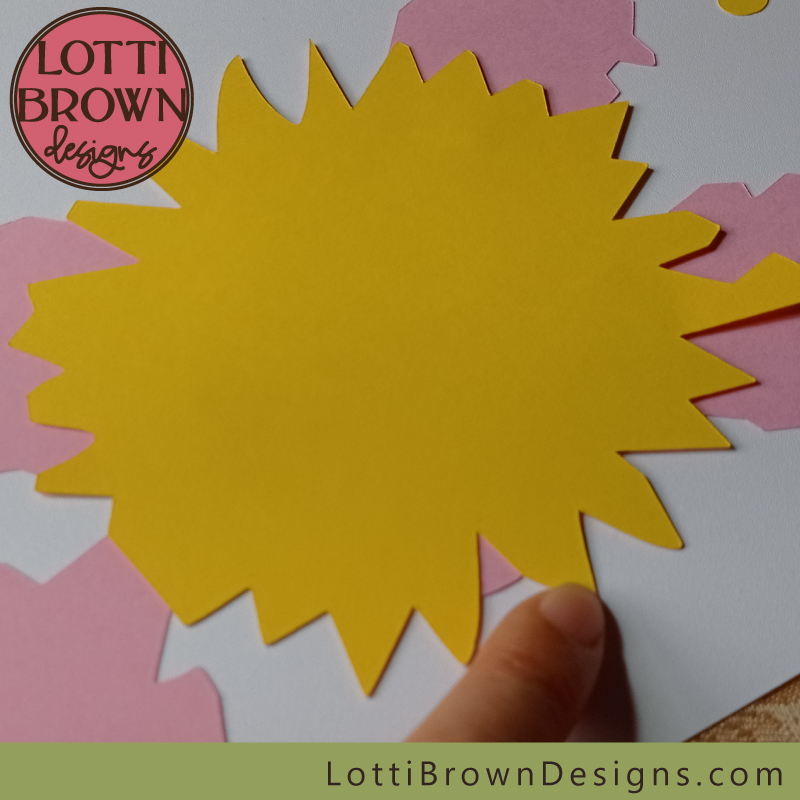 And at the bottom...
- When these two pieces are aligned you can stick them down - I recommend foam adhesive pads or glue spots.
- Next, we'll add the small yellow spots that form the centre of the pink/peach flowers. There are four of these. These will be added to the reverse of the top layer (the intricate cut layer)...
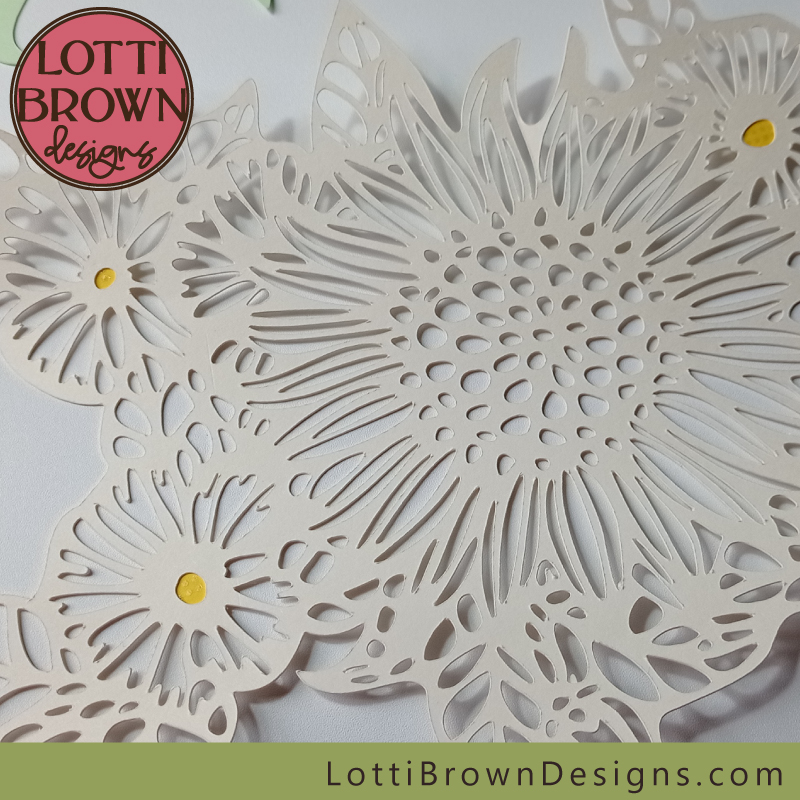 Adding the yellow centres of the flowers to the reverse of the intricate top layer...
- I found it easiest to work from the back of the intricate top layer to add the yellow dots to the centres of the small flowers. Use the file image or PNG file supplied to position these in the correct place (one of the flowers has its centre still attached to the main yellow piece).
- I attached mine with micro-dots which I think are great for working with small areas and intricate papercuts. I wish I'd applied them to the back of the top layer (intricate cut layer) and not to the dots, then they wouldn't show - so maybe try this in your project and let me know how it goes?
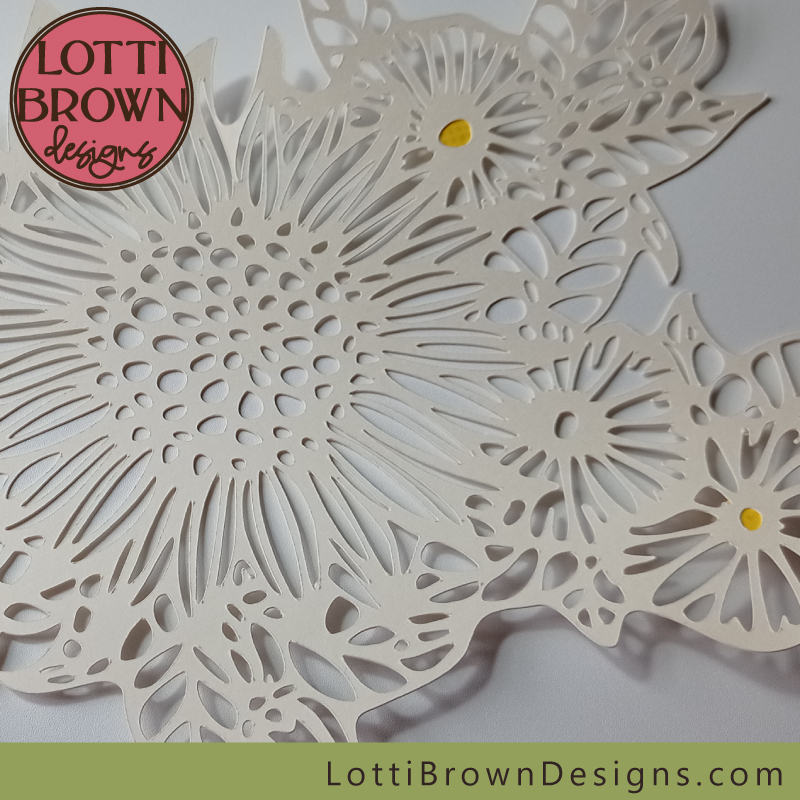 Work from behind to position the dots
- Next, we'll do the same with the small pink/peach pieces. These are the flower buds. There are three of them. Again, work from behind to get them positioned correctly (refer to the images) and try micro-dots to stick.
 Positioning the pink buds in place
- Once again, you can see I might have done a better job by applying the micro-dots to the back of the top layer - they don't show too much from a little distance though!
 Close up view
 Close up view
- All the small pieces are now attached to the intricate cut top layer
 All the small pieces are now attached to the intricate cut top layer of the sunflower design
- Now it's time to put the two pieces together - that's the intricate top layer (with the little pink and yellow bits now attached to it) that we've just been working with, plus the pink/yellow layer we did at the start...
- Carefully line up the layers before gluing - glue dots or micro-dots work well here or you could trim down some foam adhesive pieces. Try and get the edges of the sunflower petals stuck well and perhaps add a couple near the centre and some around the edges of the pink/peach flowers.
 Creating the floral layers - putting the pink/yellow and the intricate cut layer together as one
- Nearly there now, and it all feels like it's coming together. It's now time to add the final piece which is the bottom layer in green, which will create the leaves...
 Adding the bottom layer with the green leaves finishes off the papercut project
- The layers should line up around the edges - use glue dots or foam adhesive pieces around the edges to keep everything together. And that's it - your beautiful floral sunflower SVG for Cricut crafting cardstock project is finished!
 Floral sunflower layered cardstock art project
 Pretty sunflower layered cardstock craft project for Cricut and other cutting machines
I really hope you enjoyed the sunflower layered cardstock project!
If it inspired you and you'd like to create it yourself, you can get the layered floral sunflower svg file from my store here. It comes in SVG, DXF, EPS, and PNG formats so that you can use it with you own cutting machine or even cut by hand using the PNG file to print each layer. It also forms part of the sunflower design bundle here...
You can use the file for personal crafting use or for small business commercial use - both for physical products only, no digital products or shares allowed (please see the terms of use in the product description or on my website here).
You don't have to use the files for just papercrafting and papercutting either - have a go with vinyl, stencils, whatever materials you can cut with your cutting machine or by hand, you can use the files for - do get creating and have fun with it!
If you love sunflowers, also do have a look at my other sunflower SVGs for Cricut here - and all my florals and butterflies, here...
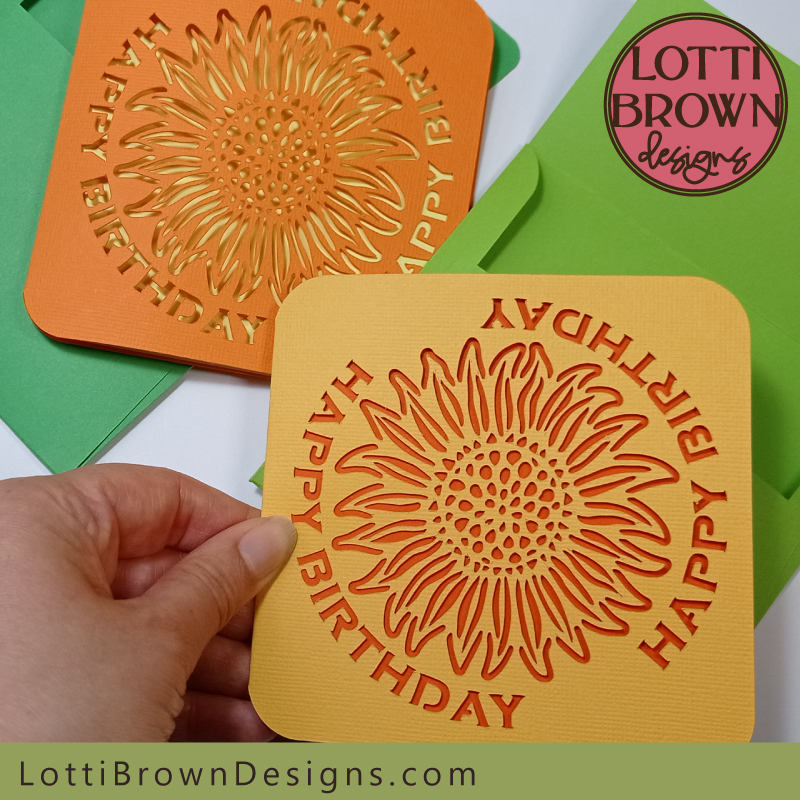
I also have a template for a sunflower birthday card here...
You Might Also Like:
Lotti Brown's Designs & Templates
How-tos...
- How to use SVG cut files for Cricut (also other cut file formats & machines)
If you enjoy floral art, please also take a look at my floral art prints here...
Want to keep in touch?
Sign up below for my free email newsletter...
My newsletter is usually sent out once a month (at the end of one month or the start of the following month) and you can unsubscribe any time...
Sign up below...!
Recent Articles
-
Willow Tree Symbolism and Celtic Willow Art
Apr 11, 25 05:43 AM
Explore willow tree symbolism and meaning - Celtic willow art and printed products... -
Wild Dog Rose Pattern & Products
Apr 07, 25 06:12 AM
Pretty dog rose pattern and products in a nostalgic heritage style recalling pretty hedgerows of flowers... -
British Robin Book Recommendations
Apr 04, 25 06:26 AM
My British Robin book reviews and recommendations - learn about Britain's favourite bird...
Follow me:
Share this page:

